


Cauliflower Snowball
Cauliflower Snowball
Brassica oleracea var. botrytis d'Erfurt Boule de Neige
Cypriot cabbage
Received well, thank you.
marcel, 11/12/2023
Special offer!
Receive a €20 voucher for any order over €90 (excluding delivery costs, credit notes, and plastic-free options)!
1- Add your favorite plants to your cart.
2- Once you have reached €90, confirm your order (you can even choose the delivery date!).
3- As soon as your order is shipped, you will receive an email containing your voucher code, valid for 3 months (90 days).
Your voucher is unique and can only be used once, for any order with a minimum value of €20, excluding delivery costs.
Can be combined with other current offers, non-divisible and non-refundable.
Home or relay delivery (depending on size and destination)
Important : des droits de douane sont susceptibles de vous être facturés par la douane de votre pays lors de la livraison.
Schedule delivery date,
and select date in basket
This plant carries a 6 months recovery warranty
More information
We guarantee the quality of our plants for a full growing cycle, and will replace at our expense any plant that fails to recover under normal climatic and planting conditions.

Description
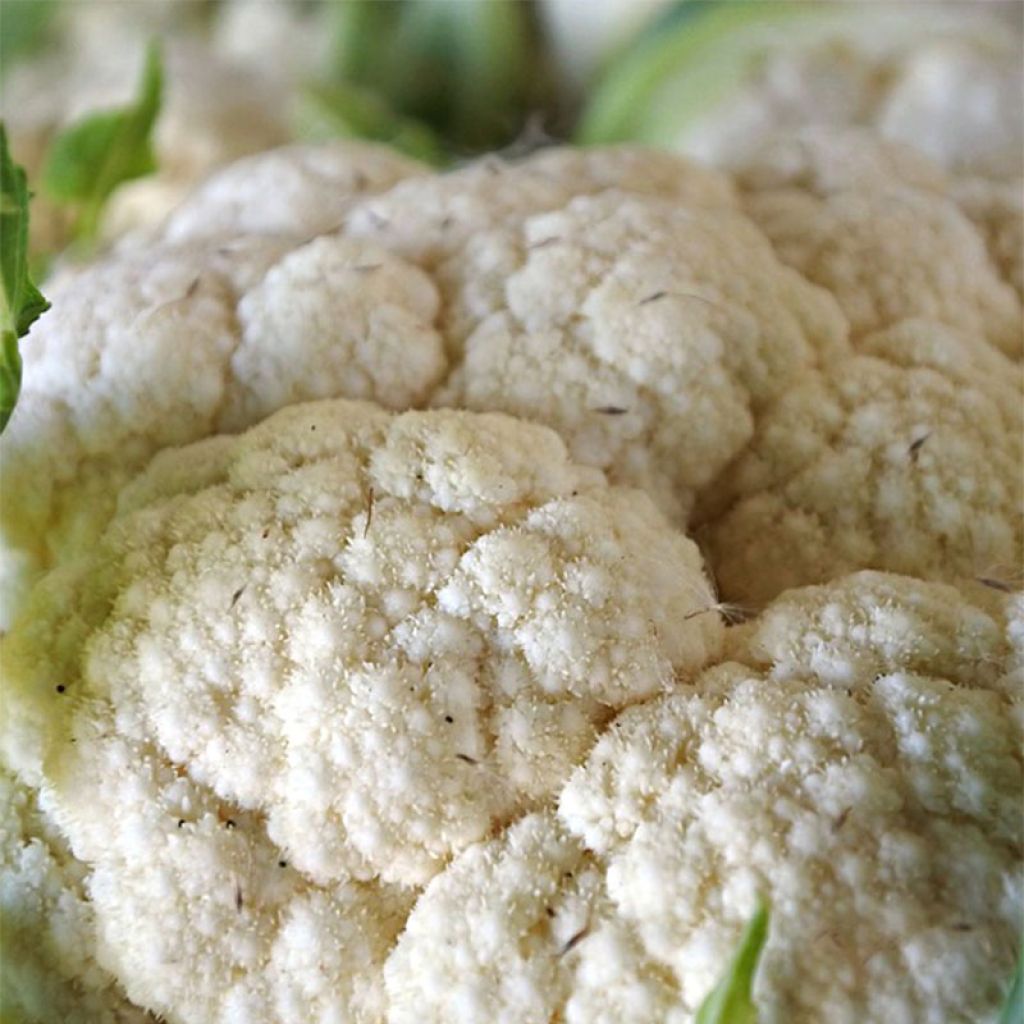
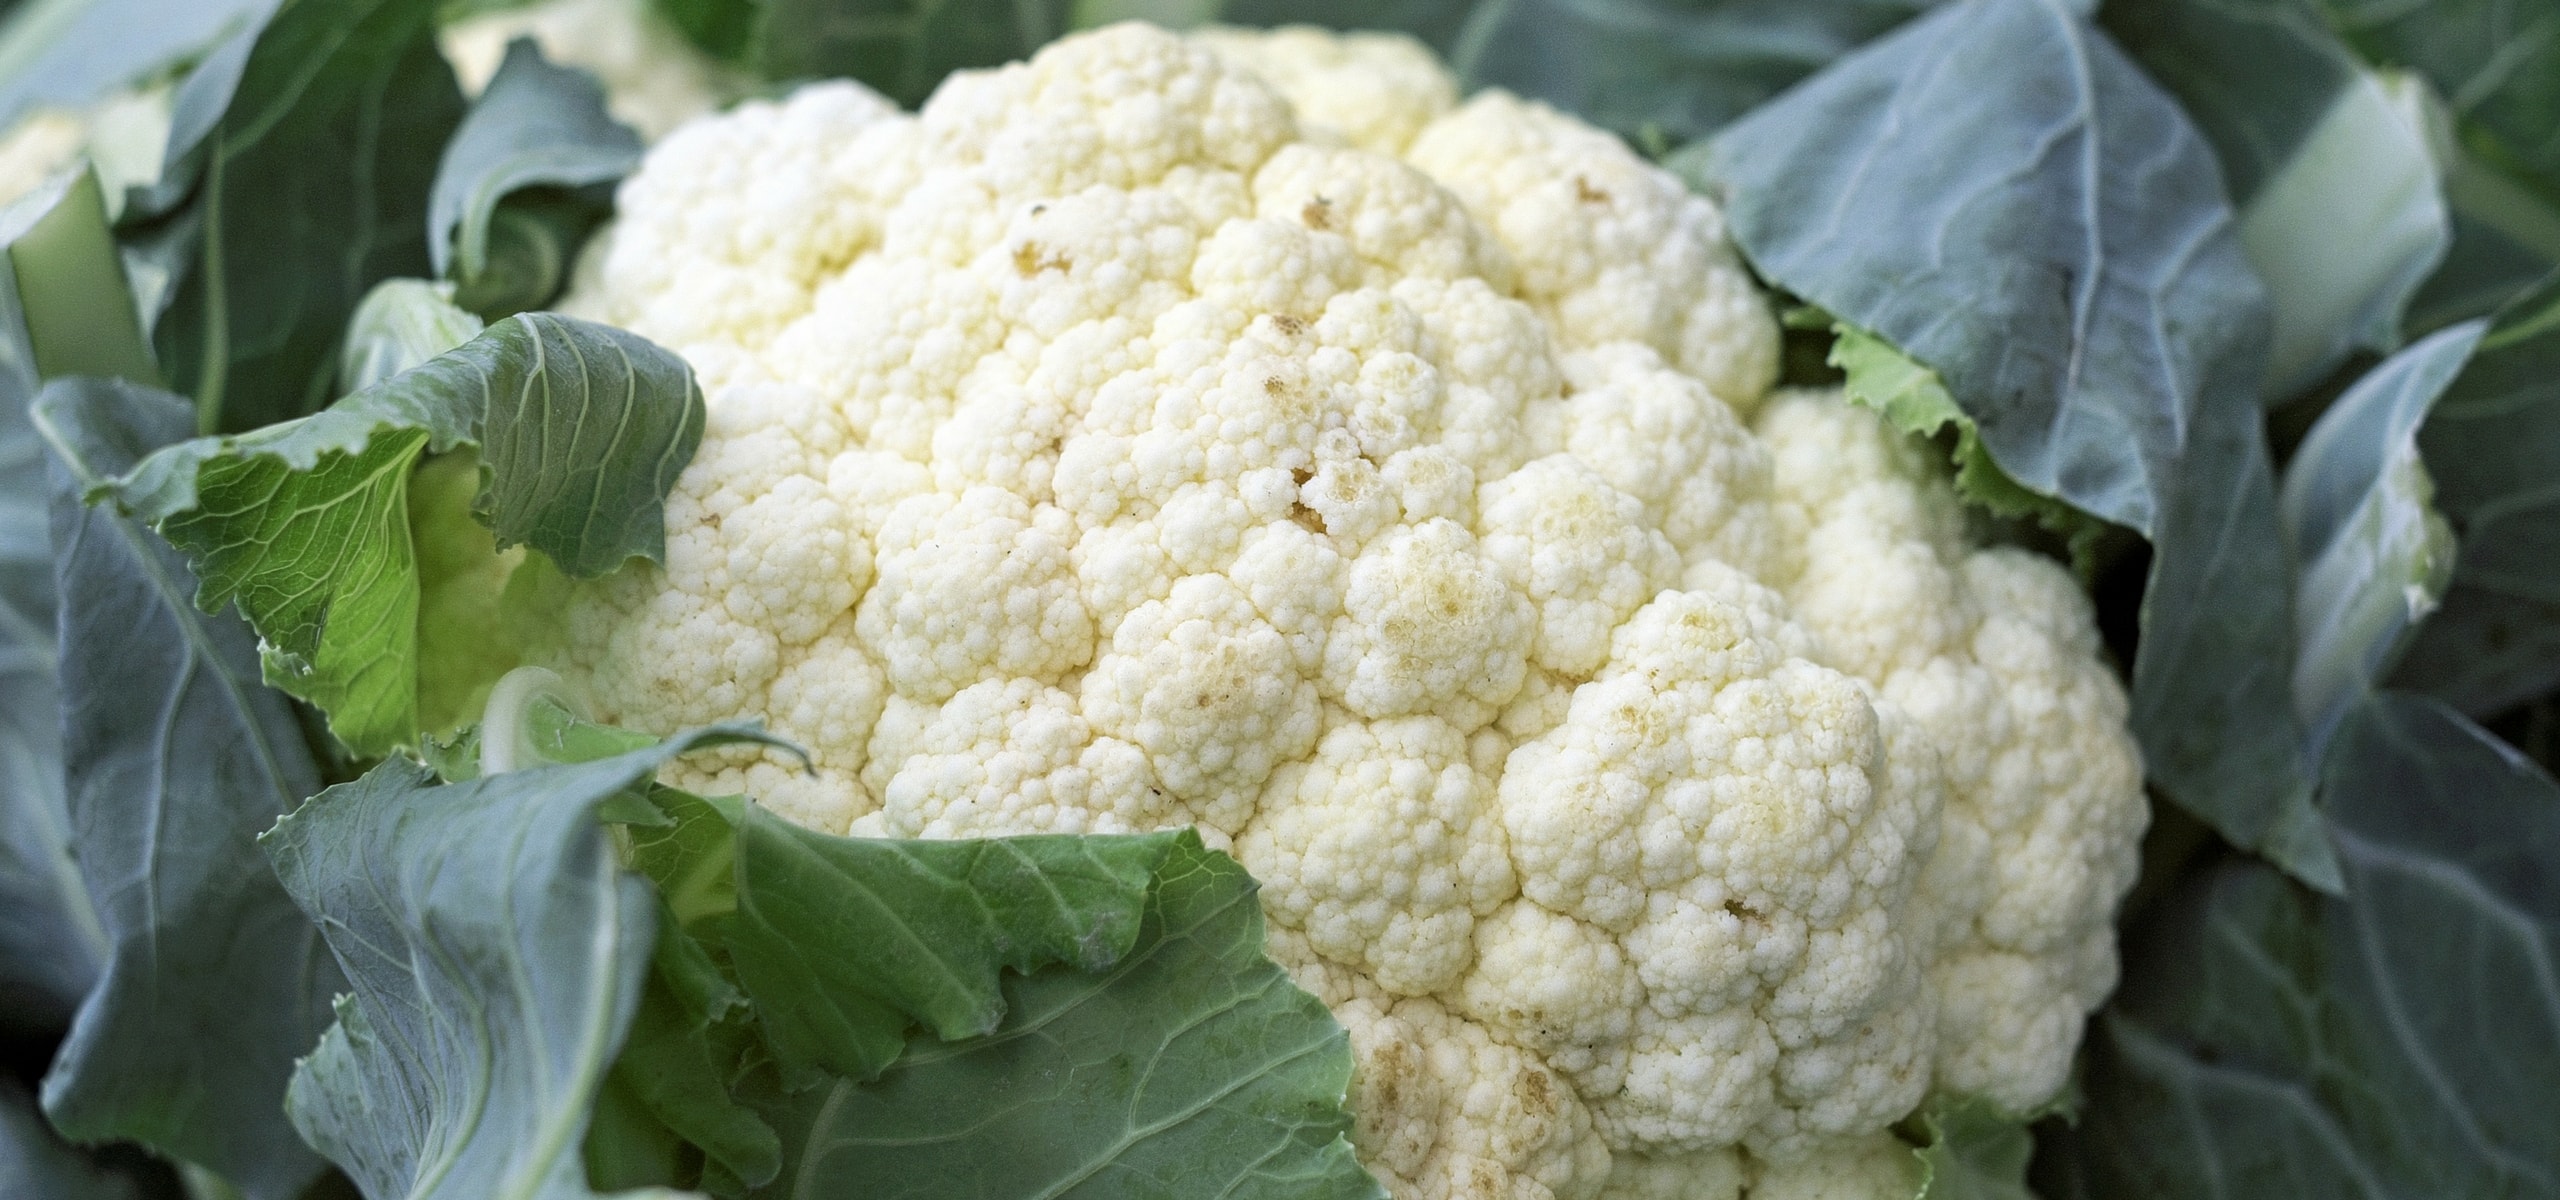
‘Snowball’ cauliflower is a superb American heirloom variety, thought to be selected from the German ‘Erfurt’ variety. This early cauliflower forms small, pure white heads surrounded by beautiful wavy green leaves. A delicate, fine-textured variety that is best eaten fresh. Sow under cover in September/October, plant out in March and harvest from June to July.
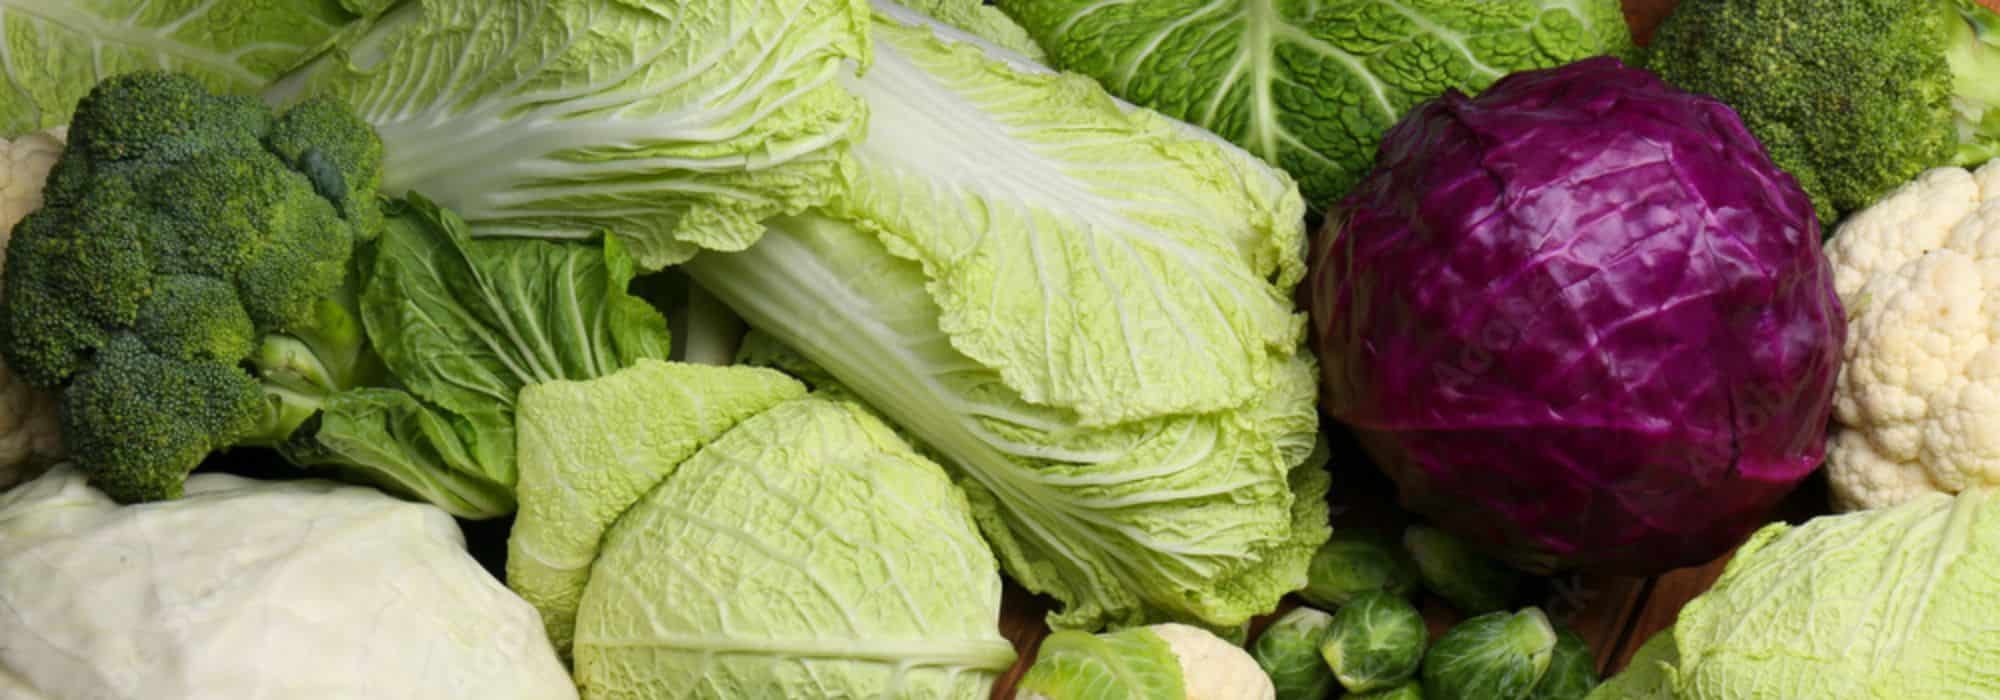
Cauliflower (Brassica oleracea botrytris) is a popular vegetable belonging to the large Brassicaceae family (ex-Cole family). This biennial plant is grown as an annual for its edible flower head (meristem). It is thought to be native to the Island of Cyprus. The most common varieties display creamy white heads (or “curd”). However, more recently, different coloured cultivars have been introduced with orange, purple or green heads. Cauliflower has a mild, nutty taste. It is delicious eaten raw with dips, blended in velouté soups, or lightly steamed and added to gratins or quiches. It also goes very well with curry. From a nutritional point of view, it is very healthy: it is low in calories but very rich in vitamins, fibre and minerals. The orange varieties contain beta-carotene.
Cauliflower can be a rather tricky vegetable to grow. It requires deep, rich soil, and regular watering. It enjoys plenty of sun but not too much heat as this tends to make the florets taste more bitter. Better results are generally achieved in cooler, rainier climates. There are many varieties to choose from. By respecting the correct growing period, it is possible to harvest cauliflowers nearly all year round.
Harvesting: To harvest Cauliflower, simply cut off the central head with a sharp knife when it feels suitably compact and heavy.
Storage: Cauliflower does not keep very well. It is best to eat it quickly after harvesting, although it will keep for a few days in the refrigerator. It is also possible to freeze the florets after having blanched them in boiling salty water for a few minutes.
Good to know: For the past few years, swede midges (Contarinia nasturtii) have been causing considerable damage to brassica plants. We recommend protecting your crops with insect netting from mid-May to mid-July.
Even if the vegetable garden is first and foremost a place for growing great quality veg, it’s always a good idea to leave a bit of room for flowers. Growing flowers alongside your vegetable plants will make your general gardening experience more enjoyable and is a great way to attract pollinators and repel garden pests! Flowers such as gaillardia, marigolds, zinnias, cosmos or nasturtiums can be sown in and around the rows of vegetables. Herbs such as dill can be very useful also. Bear in mind that some companion plants self-seed easily and can be a bit invasive (borage, chives, lemon balm etc.)
Harvest
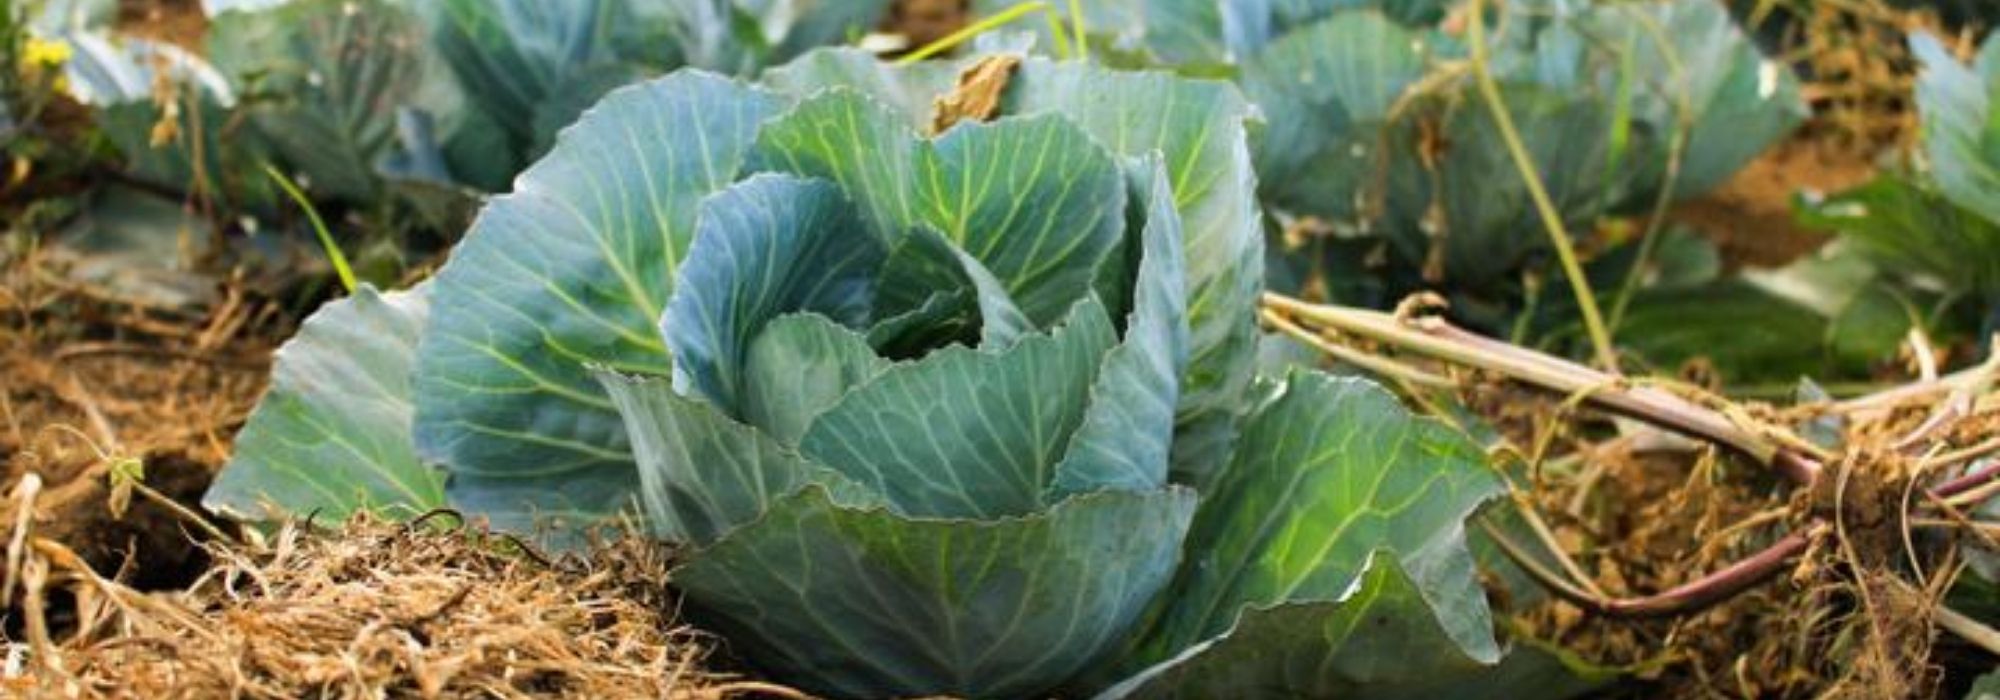
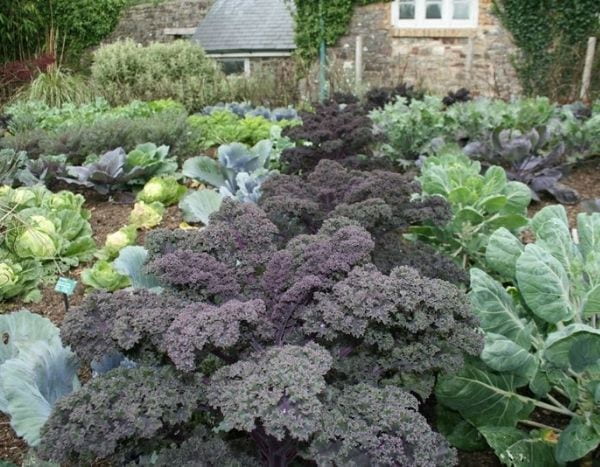
Plant habit
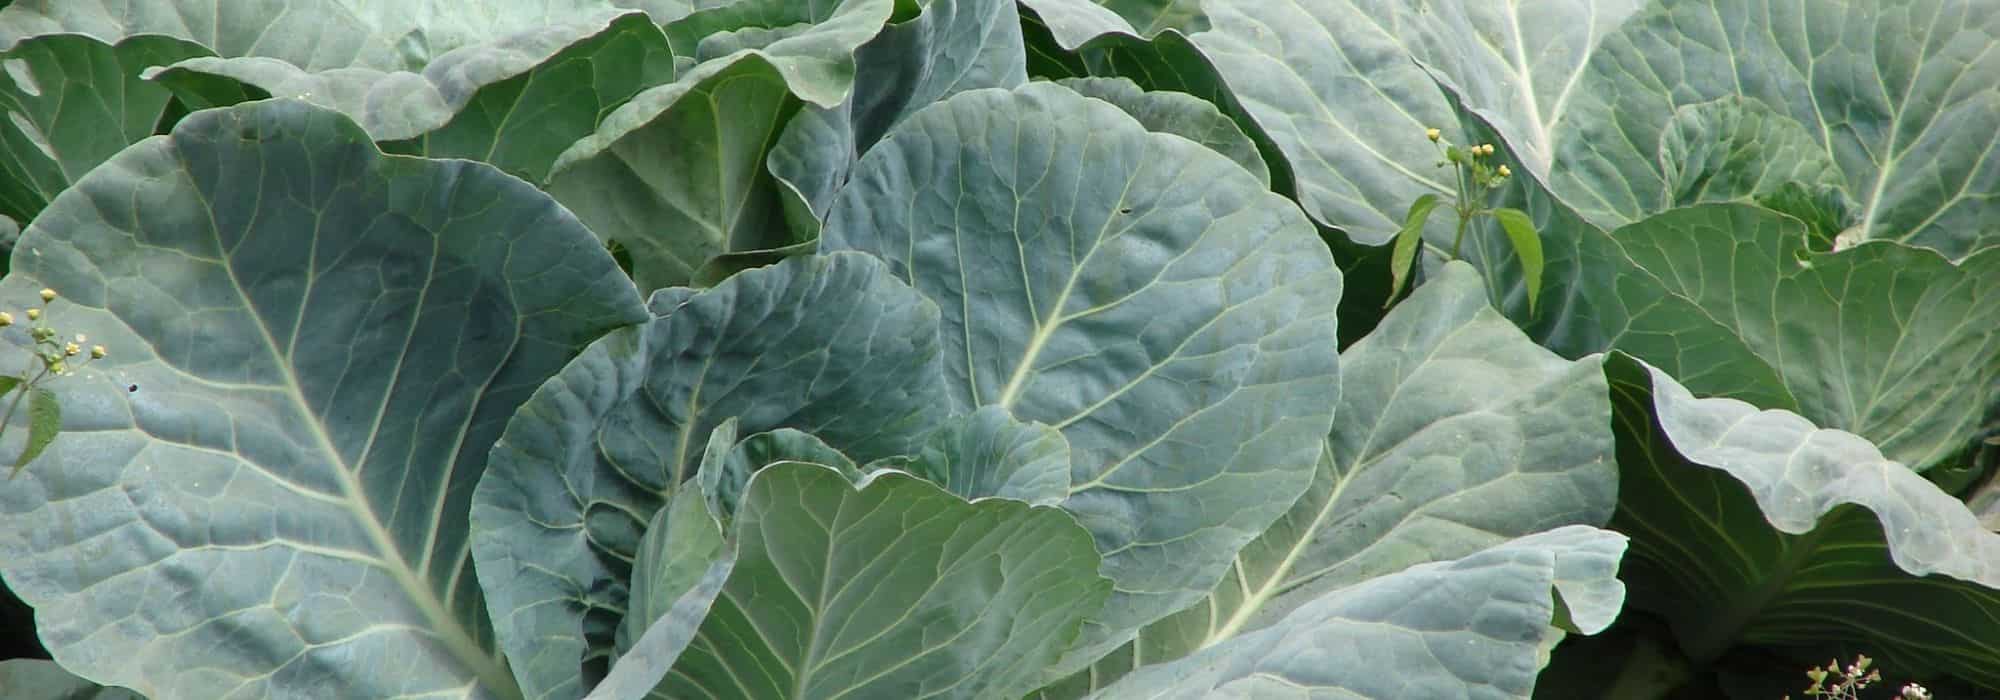
Foliage
Botanical data
Brassica
oleracea var. botrytis
d'Erfurt Boule de Neige
Brassicaceae
Cypriot cabbage
Cultivar or hybrid
Annual
Planting and care
Sowing: The germination temperature for Erfurt Snowball Cauliflower is around 12°C and takes about 14 days.
This cauliflower is sown under shelter in September/October and planted in March for a harvest from June to July.
You can either sow the seeds directly in the ground or prepare seedlings that will later be planted in their final position in the garden.
Preparing seedlings: From late autumn to the end of spring, sow cauliflower seeds at a depth of 1 cm in a tray filled with good seed compost, either at home or in a heated shelter. Cover lightly with compost or vermiculite. Cover with the transparent lid of the tray or plastic film until germination. Don't forget to keep the substrate moist but not waterlogged!
When the young plants appear strong enough to handle, transplant them into pots. For seeds sown under heated shelter, gradually acclimatize them to cooler temperatures before transplanting them into the garden, when there is no longer any risk of frost.
Direct sowing: In well-amended and finely worked soil, create furrows about 1 cm deep, spaced 60 cm apart. Sow the seeds and cover them with a thin layer of fine soil. Once the seedlings are well developed, thin them out, keeping only one plant every 60 cm.
Cultivation
Cauliflower is a demanding vegetable that requires well-fertilized soil rich in nitrogen and potassium. It is recommended to apply a generous amount of mature compost (about 3/4 kg per m2) in autumn, by raking it in to a depth of 5 cm, after loosening the soil as you would for any vegetable crop. It is not very tolerant of soil pH and should be between 5.6 and 6.5. In acidic soil, it is necessary to gradually increase the pH by adding calcium in the form of Dolomite or Lime.
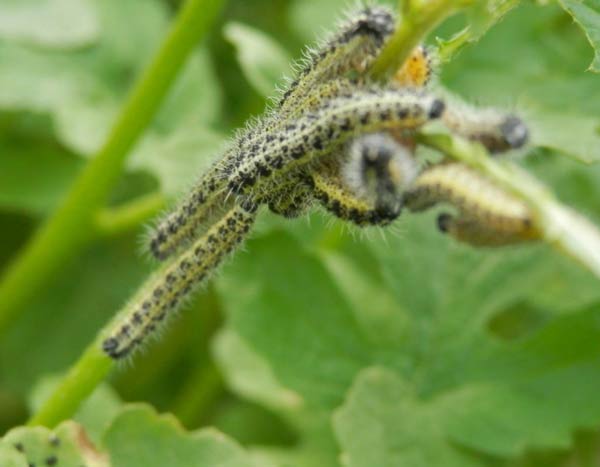
Cauliflower, like all cabbages, is quite susceptible to diseases such as Clubroot and pests (Cabbage White Butterfly, Cabbage Fly, Flea Beetle, Gall Midge...), so it is very important, for this crop, to practice crop rotation.
It is beneficial to associate cauliflower with many vegetables such as tomatoes, lettuce... But avoid planting it next to other Brassicas as well as zucchini, fennel, lamb's lettuce, leeks, and strawberries.
Seedlings
Care
Intended location
Planting & care advice
-
-

-
-
-
-

-
-
-
, onOrder confirmed
Reply from on Promesse de fleurs
Recently viewed products
Haven't found what you were looking for?
Hardiness is the lowest winter temperature a plant can endure without suffering serious damage or even dying. However, hardiness is affected by location (a sheltered area, such as a patio), protection (winter cover) and soil type (hardiness is improved by well-drained soil).

Photo Sharing Terms & Conditions
In order to encourage gardeners to interact and share their experiences, Promesse de fleurs offers various media enabling content to be uploaded onto its Site - in particular via the ‘Photo sharing’ module.
The User agrees to refrain from:
- Posting any content that is illegal, prejudicial, insulting, racist, inciteful to hatred, revisionist, contrary to public decency, that infringes on privacy or on the privacy rights of third parties, in particular the publicity rights of persons and goods, intellectual property rights, or the right to privacy.
- Submitting content on behalf of a third party;
- Impersonate the identity of a third party and/or publish any personal information about a third party;
In general, the User undertakes to refrain from any unethical behaviour.
All Content (in particular text, comments, files, images, photos, videos, creative works, etc.), which may be subject to property or intellectual property rights, image or other private rights, shall remain the property of the User, subject to the limited rights granted by the terms of the licence granted by Promesse de fleurs as stated below. Users are at liberty to publish or not to publish such Content on the Site, notably via the ‘Photo Sharing’ facility, and accept that this Content shall be made public and freely accessible, notably on the Internet.
Users further acknowledge, undertake to have ,and guarantee that they hold all necessary rights and permissions to publish such material on the Site, in particular with regard to the legislation in force pertaining to any privacy, property, intellectual property, image, or contractual rights, or rights of any other nature. By publishing such Content on the Site, Users acknowledge accepting full liability as publishers of the Content within the meaning of the law, and grant Promesse de fleurs, free of charge, an inclusive, worldwide licence for the said Content for the entire duration of its publication, including all reproduction, representation, up/downloading, displaying, performing, transmission, and storage rights.
Users also grant permission for their name to be linked to the Content and accept that this link may not always be made available.
By engaging in posting material, Users consent to their Content becoming automatically accessible on the Internet, in particular on other sites and/or blogs and/or web pages of the Promesse de fleurs site, including in particular social pages and the Promesse de fleurs catalogue.
Users may secure the removal of entrusted content free of charge by issuing a simple request via our contact form.
The flowering period indicated on our website applies to countries and regions located in USDA zone 8 (France, the United Kingdom, Ireland, the Netherlands, etc.)
It will vary according to where you live:- In zones 9 to 10 (Italy, Spain, Greece, etc.), flowering will occur about 2 to 4 weeks earlier.
- In zones 6 to 7 (Germany, Poland, Slovenia, and lower mountainous regions), flowering will be delayed by 2 to 3 weeks.
- In zone 5 (Central Europe, Scandinavia), blooming will be delayed by 3 to 5 weeks.
In temperate climates, pruning of spring-flowering shrubs (forsythia, spireas, etc.) should be done just after flowering.
Pruning of summer-flowering shrubs (Indian Lilac, Perovskia, etc.) can be done in winter or spring.
In cold regions as well as with frost-sensitive plants, avoid pruning too early when severe frosts may still occur.
The planting period indicated on our website applies to countries and regions located in USDA zone 8 (France, United Kingdom, Ireland, Netherlands).
It will vary according to where you live:
- In Mediterranean zones (Marseille, Madrid, Milan, etc.), autumn and winter are the best planting periods.
- In continental zones (Strasbourg, Munich, Vienna, etc.), delay planting by 2 to 3 weeks in spring and bring it forward by 2 to 4 weeks in autumn.
- In mountainous regions (the Alps, Pyrenees, Carpathians, etc.), it is best to plant in late spring (May-June) or late summer (August-September).
The harvesting period indicated on our website applies to countries and regions in USDA zone 8 (France, England, Ireland, the Netherlands).
In colder areas (Scandinavia, Poland, Austria...) fruit and vegetable harvests are likely to be delayed by 3-4 weeks.
In warmer areas (Italy, Spain, Greece, etc.), harvesting will probably take place earlier, depending on weather conditions.
The sowing periods indicated on our website apply to countries and regions within USDA Zone 8 (France, UK, Ireland, Netherlands).
In colder areas (Scandinavia, Poland, Austria...), delay any outdoor sowing by 3-4 weeks, or sow under glass.
In warmer climes (Italy, Spain, Greece, etc.), bring outdoor sowing forward by a few weeks.