


Growing a daylily in a pot
Adopt this generous perennial on your balcony or terrace!
Contents
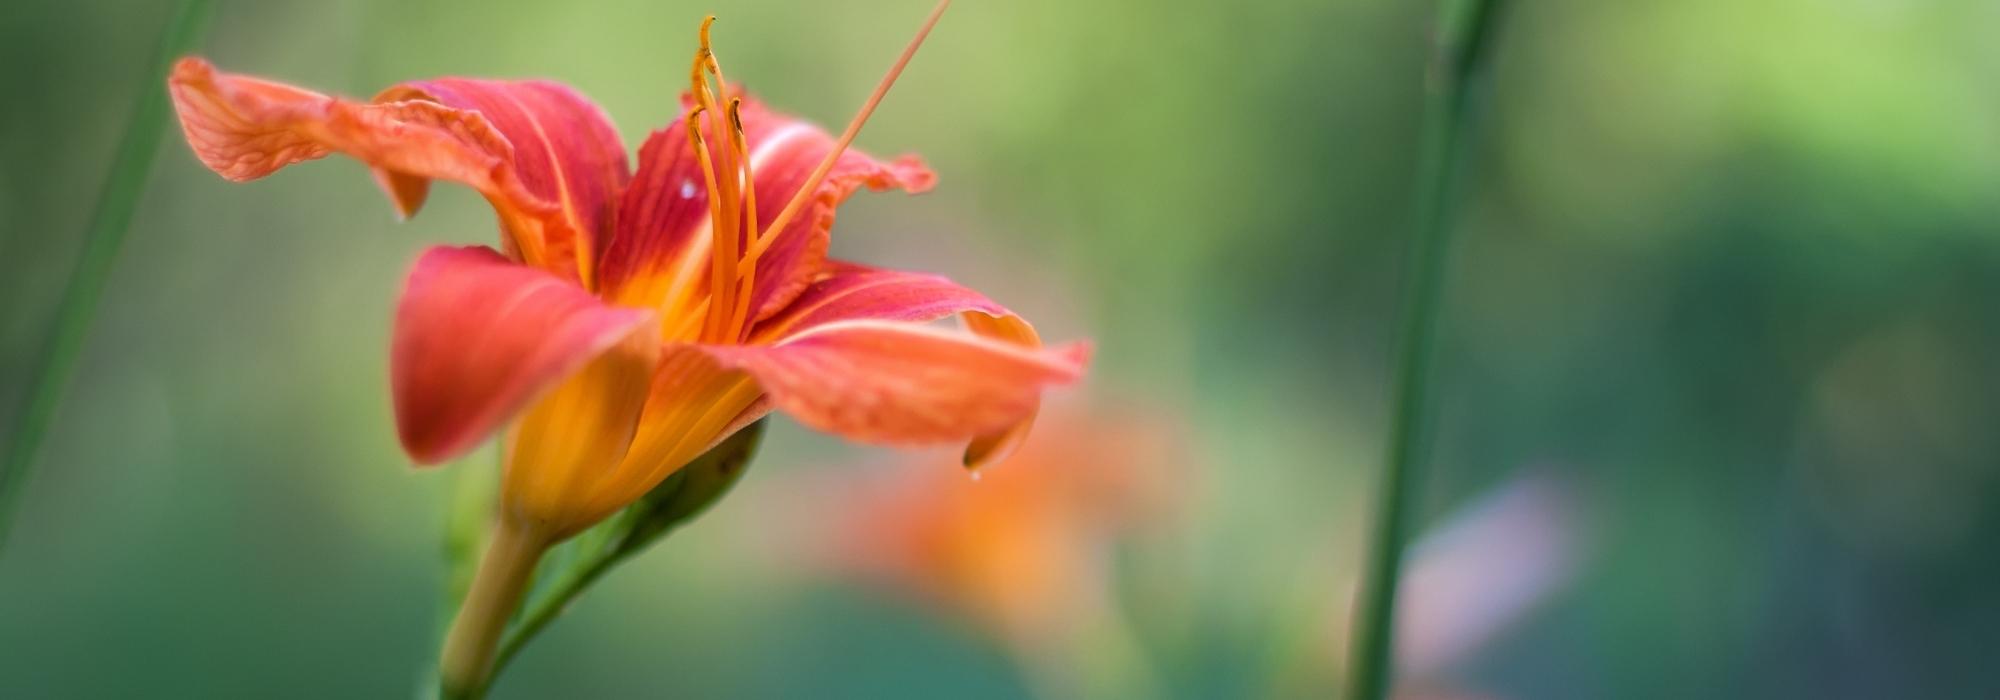
Daylilies or hemerocallis are considered the perfect perennial. Just consider: long flowering throughout the summer, an abundance of flowers and a variety of colours, ease of maintenance, and low requirements. The good news is that you can easily grow them in pots, thanks to the many compact varieties that are often the most floriferous. Find a spot for them on your balcony or terrace if you have a south, southeast, or southwest orientation, to provide them with 5 hours of sunlight per day. You should also water them regularly, as in pots they need more care than in the ground. Discover how to grow them in pots and which varieties to choose.
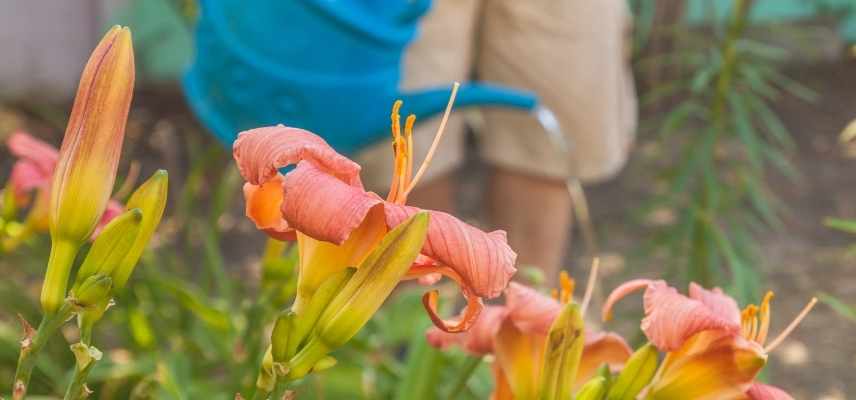
Daylilies, so beautiful in the garden, can also be grown in pots on a terrace or balcony

What type of pot for my daylily?
To plant daylilies in pots, ensure you have a container with a drainage hole or one that you will drill yourself. It should be at least 30 cm deep, and deeper if you can find one. As the clump of the daylily expands year after year, a sufficiently large rectangular container or a round pot with a diameter of 40 to 60 cm is a good choice.
Depending on the material of your container, you will need to water differently; indeed, a terracotta pot dries out faster than other materials available on the market.

Terracotta, glazed terracotta, or plastic are more or less porous: adjust your watering accordingly!
What substrate to use?
First, ensure a drainage layer at the bottom of the pot, using clay balls or pumice.
Next, create a substrate that retains water, as the daylily enjoys cool soils.
With drainage secured at the bottom of the pot, there’s no need for a draining substrate: choose a special potting mix for flowering plants, or make a mixture of equal parts potting mix and compost. Alternatively, use 1/3 garden soil, 1/3 potting mix, and 1/3 compost.
Discover other Hemerocallis - Daylilies
View all →
Available in 3 sizes

Available in 1 sizes

Available in 1 sizes

Available in 2 sizes

Available in 2 sizes

Available in 3 sizes

Available in 3 sizes

Available in 2 sizes

Available in 3 sizes

Available in 1 sizes
Where should I place my daylily for optimal exposure?
From spring onwards, ensure that the daylily receives at least 5 hours of sunlight per day. In summer, you can slightly adjust this exposure. If your location faces more to the east, allow the pot maximum sun. If it is more south-west facing, provide some shade to your plant during hot weather, as the soil in the pot will dry out very quickly.
In autumn and winter, the foliage may partially or completely disappear. Daylilies are very hardy, you can leave the pot outside all year round. However, if you are located in USDA zone 7 or lower, meaning you may experience frosts above -12/-15 degrees, bring it indoors to a non-heated room. If this is not possible, mulch the surface of the pot generously. As soon as spring arrives, place your pot back outside in the sun.
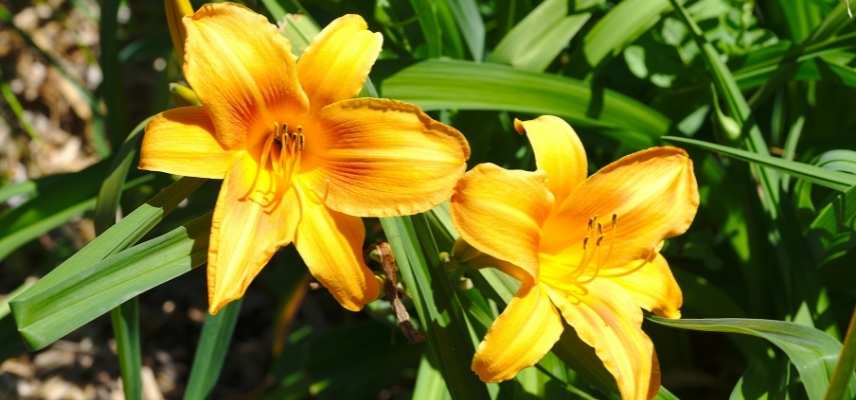
Daylilies in pots will bloom well and generously in the sun
What are the most suitable varieties?
In the world of daylilies, several varieties are small in stature: ranging from 30 to 50 cm in height. These varieties are ideal for pot planting, and you won’t be disappointed as they are known to be the most floriferous! Moreover, there is a good selection in this category with a variety of colours:
- The famous ‘Stella de Oro’: a variety with a beautiful bright yellow, renowned for its robustness and longevity, fragrant, blooming from May to October;
- The ‘Everydaylily’ series: very beautiful flowering from June to October, featuring 3 varieties in pink and red tones with yellow throats;
- The chic ‘Thumbelina’ with lovely single trumpet-shaped flowers in bright orange. It blooms abundantly in June and July and possibly in September if the soil remains cool;
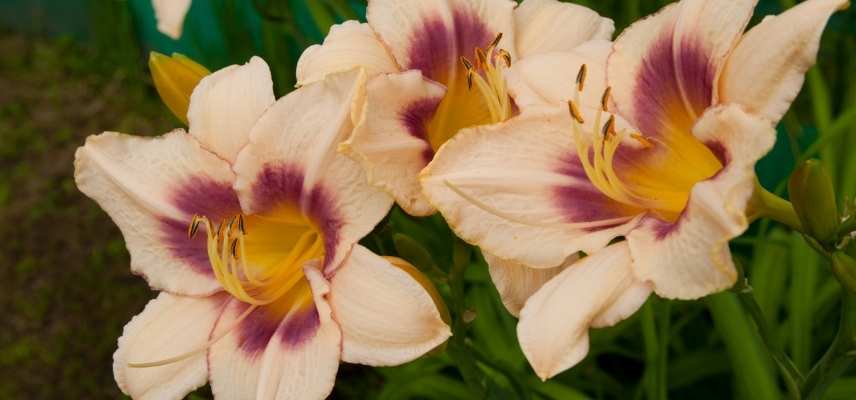
- Old rose flowering varieties: ‘Chicago Knobby’ or ‘Dragons Eye’. These varieties have a romantic and vintage appearance, with large fringed petals and dark halos on bright yellow throats;
- Red varieties like ‘Pardon Me’ or ‘Gipsy Turtle’ have deep, velvety red flowers, giving them a sophisticated look. ‘Red Rum’ in light cherry red is fresher and brighter;
- Soft colours, salmon or pink, such as ‘Barbara Mitchell’ or ‘Siloam Double Classic’. The essence of romance, with fringed petals and large flowers;
- Also worth mentioning is ‘Jason Salter’, unique with its bright yellow and large brown halo.
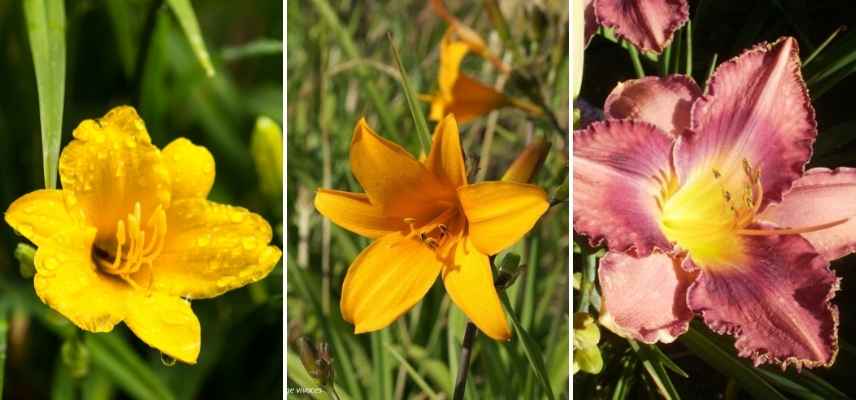
Daylily ‘Stella de Oro’, Daylily ‘Thumbelina’, and Daylily ‘Chicago Knobby’
When and how to plant?
Plant your daylily ideally at the end of winter and the beginning of spring, between February and April. You can also plant the clump in autumn between September and November, provided that the temperature does not drop below -12 degrees in winter. Avoid planting during periods of extreme heat or frost.
- Place the root ball in a basin of water to moisten it;
- Pour into your drainage hole container a layer of drainage in the form of clay balls or pumice;
- Set your root ball on a layer of substrate and then add your mix to fill your pot well, ensuring that your root ball is level, that is to say, 2 or 3 cm below the rim of the pot;
- Firm down well and water thoroughly.
You can mulch your daylily to limit evaporation from future waterings if you plant in spring. This is even recommended during the growth and flowering period, as evaporation occurs much more quickly in pots.
In the case of autumn planting: water only at planting, and mulch only if you fear significant frosts. The plant being in dormancy in winter does not need to be watered.
How to water and amend?
As soon as you see new growth in spring and until the end of flowering, support your watering. Check your substrate: water whenever the top few centimetres of your potting soil are dry. Do not let your potting soil dry out further. Adjust according to your climate and heat, but consider watering about 2 to 3 times a week in spring and daily at the peak of summer and flowering. Rain will only count as watering if it is heavy and you do not have a roof preventing it from reaching your pots!
Feed your daylily every year! In pots, it requires more amendment than in the ground. As it is a flowering plant, avoid a nitrogen-rich feed that promotes foliage at the expense of flowers. Every spring, add a few centimetres of compost or worm compost on the surface of the pot.
Care
During flowering, cut faded flowers to encourage the appearance of new ones, but feel free to cut them earlier to create lovely bouquets! Trim the foliage down to the ground in autumn to remove tired leaves and stems. You can also do this in August to promote the growth of new foliage, or even a new flowering. Your substrate will thin out year after year, so add compost when you notice this depletion.
After 3 or 4 years, you can divide the clump to make space in your pot and fill a new one or give a young plant of daylily to a lucky recipient!
- Subscribe!
- Contents
 are a popular choice for gardeners due to their vibrant colours and easy maintenance. Growing them in pots is an excellent option for those with limited space or who wish to add versatility to their garden layouts.
**Choosing the Right Pot**
Select a pot that is at least 40cm in diameter and has good drainage. Daylilies thrive in well-drained soil, so ensure your pot has several drainage holes.
**Soil and Planting**
Use a high-quality potting mix designed for flowering plants. Plant the daylily so that the crown (the part where the roots meet the stem) is about 2.5cm below the surface of the soil.
**Positioning**
Daylilies prefer a sunny location but can tolerate partial shade. In hotter climates, some afternoon shade can help protect the flowers from excessive heat.
**Watering**
Keep the soil consistently moist, especially during the growing season. Water deeply when the top inch of soil feels dry to the touch. Avoid overwatering, as this can lead to root rot.
**Feeding**
Feed your daylilies with a balanced, slow-release fertilizer at the beginning of the growing season to encourage vibrant blooms.
**General Care**
Remove spent flowers regularly to promote further blooming. At the end of the blooming season, cut back the foliage to keep the plant tidy.
By following these simple tips, you can enjoy the stunning beauty of daylilies in your container garden.")
Comments