


How to install a wooden beach fence to enclose your garden?
Everything for a well-placed natural barrier
Contents
Widely used to retain on the French coastline, the wooden beach fence is also an interesting solution for delimiting a property, a vegetable garden, a pond, or even creating a chicken enclosure. This natural fence, typically made from chestnut wood, has many advantages. Also known as Girondine fence or Girondine barrier in French, it is robust against the elements, requires no maintenance, and lasts a long time (with an average durability of 30 years), all while boasting an attractive aesthetic! To ensure a stable fence, it is essential to install support stakes or posts beforehand. To learn more, discover our technical tips and tricks without delay!
Some characteristics of the wooden fence
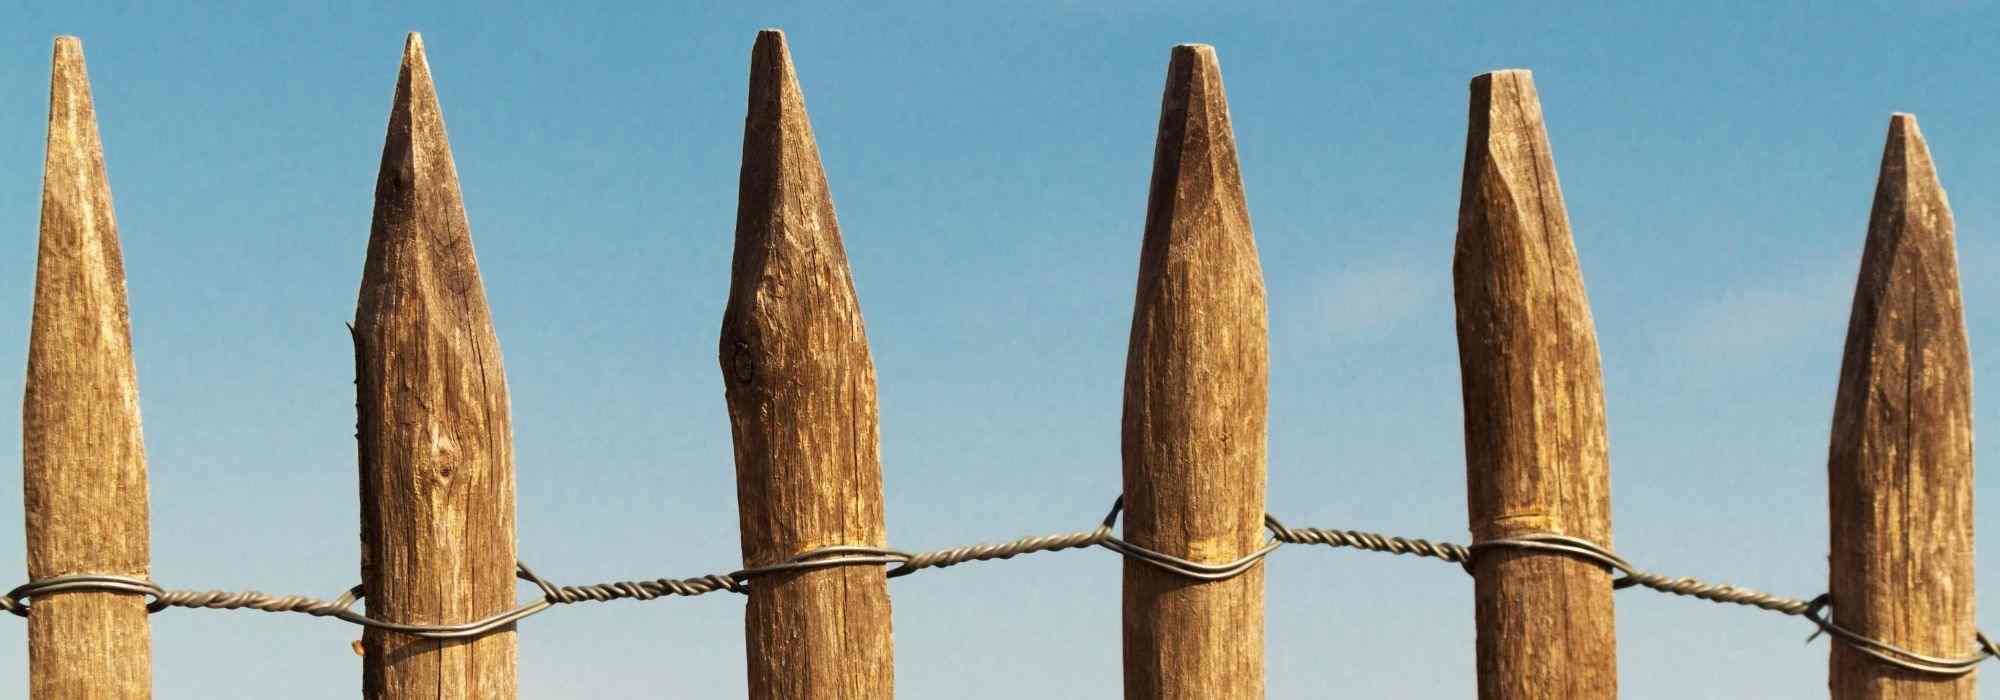
- It consists of pointed wooden slats at one end, connected by galvanised wire.
- There are different heights of fencing (generally 50 cm, 80 cm, 1 m, 1.20 m, 1.50 m, 1.75 m, and 2 m) with gaps between each slat ranging from 2 to 10 cm.
- You can also find fencing made from oak or black locust wood, which are naturally rot-resistant like chestnut.
- The wood of the fencing takes on a grey hue over time.
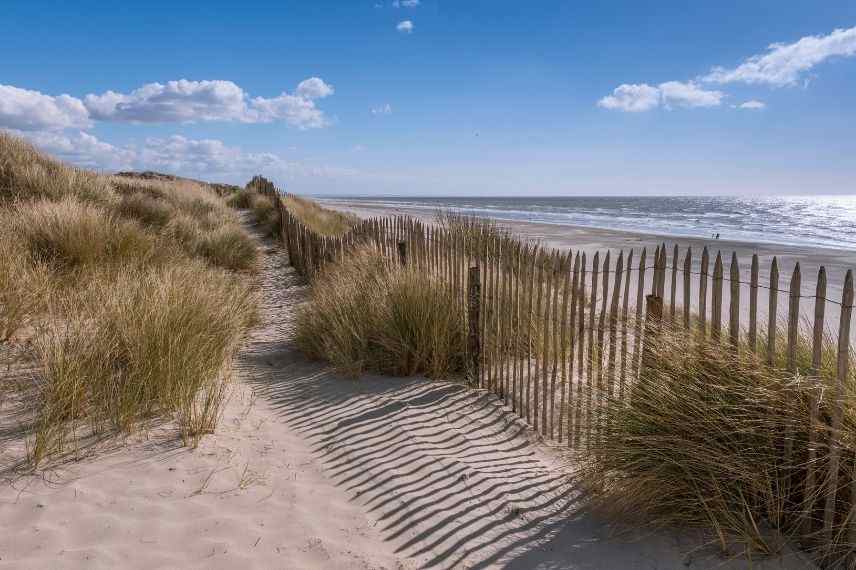
A girondine barrier by the sea
Read also
10 climbing plants ideal for fencesPreparing the ground
Before you start installing your fence, it is important to prepare your site:
- Clear the area for the future fence. Remove plants, the old fence, large stones, or any other clutter.
- Level the soil as much as possible.
- Ensure that no pipes or cables are buried in the ground where the fence will be installed.
- Take measurements of the area to be fenced (length, perimeter, number of corners, gate…) to plan the necessary materials.
- Mark your posts. Define the location of the ends (or corners) of your fence. Drive in marking stakes and then stretch a line between them. This helps to outline the layout of the future fence and ensures proper alignment of the posts.
The necessary equipment
- a manual auger (or a petrol one if you have a long fence to install); its diameter should match the diameter of the fence posts
- optionally, a crowbar to break up buried stones
- a fence mallet or a post driver
- a chalk line, a spirit level
- a pair of cutting pliers, a pair of pincers
- a tape measure of sufficient length (depending on the distance of the fence to be installed – tape measure or decametre)
- a screwdriver with a bit and stainless steel anti-splitting screws; these prevent the wood from splitting and will not rust due to the weather (anti-corrosion)
- site stakes for marking
- a wheelbarrow, a rake for leveling the soil
- a shovel, a spade
- pointed untreated wooden fence posts preferably
- one or more rolls of the wooden beach fencing
Tip: if you do not have a screwdriver, you can replace the screws with stainless steel staples (also known as clout nails). Remember to bring a hammer.
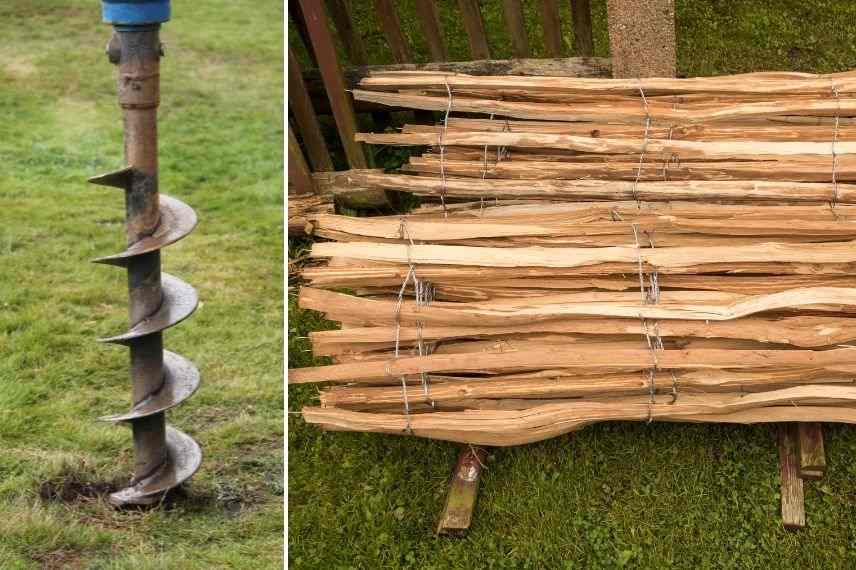 On the left: an auger; on the right, rolls of wooden fencing</caption]
Choosing fence posts
The length of the stakes depends on the height of the fence. To ensure proper support for the fence, 1/3 of the stake’s length must be buried. Knowing this, you can choose your stakes according to the desired fence height. For example, if you buy a fence that is 120 cm high, you would choose stakes that are 160 cm long (120 + ⅓ = 120 + 40).
Round, sawn, or square stakes, their diameter or section varies between 6 and 10 cm. The thinner ones are suitable for common uses, while the thicker wooden posts are for locations exposed to the wind.

Stakes and posts of various sizes
Spacing to allow between fence posts
- To simplify, for a fence up to 1 metre high, allow a spacing of 2 m between the posts.
- For a fence between 120 cm and 150 cm, count on a spacing of 150 cm.
- Finally, for a tall fence, we recommend a distance of 120 cm for a fence of 175 cm high and 1 m for a fence of 2 m high.
You can now calculate the number of fence posts you need based on the measurements taken earlier.
If you want a particularly rigid and shock-resistant fence, reduce the spacing between each post.
For corner fences, you can choose to use posts with a larger diameter or support your post with 1 or 2 struts. In the latter case, additional posts will need to be planned.
How to install a wooden beach fence?
Planting wooden stakes
- With the location of your fence already defined, lay all the posts on the ground at regular intervals.
- Using the auger, dig the holes while respecting the appropriate depth and spacing, as well as the alignment indicated by the string line.
- Remove the soil that has come to the surface (using a spade and wheelbarrow).
- Slide the stakes into the holes and drive them in using a flat-headed mallet or post driver.
- Check the vertical alignment of each stake with a spirit level.
- Compact the soil around the stakes.
- Remove the staking and the string line.
Tip: As fence stakes are not always perfectly straight, try to orient the straightest side of the stakes towards the fence. This will make it easier to secure against the stakes.
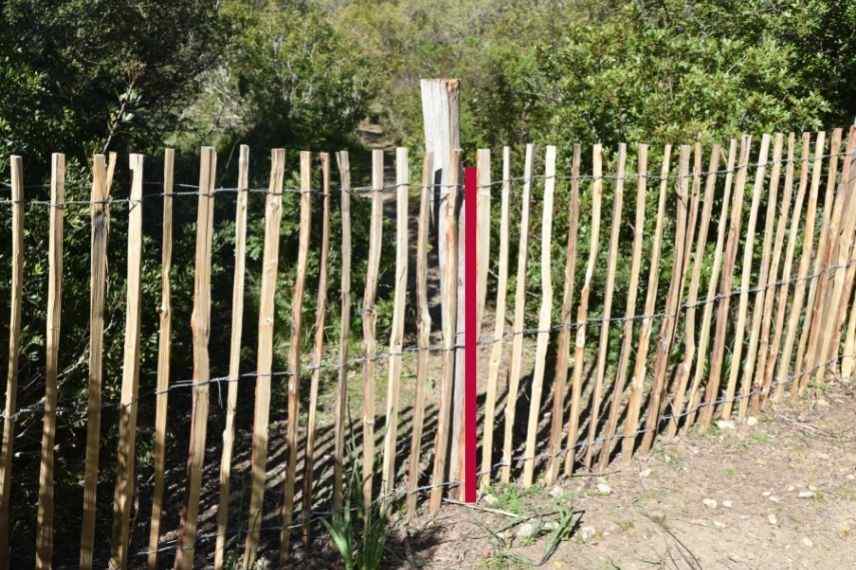
For a neat result, when installing the stakes, drive them in so that they are shorter than the height of the fence (red line in the photo). Here, the protruding stake is not very aesthetic.
Installing the fence
- Lay your roll of fence flat on the ground.
- Using wire cutters, cut the steel wire that keeps the roll closed.
- Unroll the fence along the stakes.
- Lift one end of the fence and press the first slat against the first stake.
- At the level of the horizontal wires of the fence, secure the slat against the stake (screw above or below the wire). If you are using clout nails, they should be nailed to the stake, straddling each horizontal wire.
- For the following stakes (intermediate posts), stretch the fence as much as possible. To do this, slide a spade (or shovel) between a slat of the fence and the stake, leverage against the wooden stake with your spade, and make a slight lever movement. This creates tension on the fence. Hold the spade and screw or nail the fence (this step is easier with two people). A well-stretched and rigid fence will have better resistance to wind.
- Check the sturdiness of the fence as you secure it to the posts.
- If you wish to join two rolls of fence (for a long length), remove the last slat of the already installed fence by loosening the twisted wires using pliers. Place the first slat of the next fence between the untwisted wires and twist them back onto themselves and onto the nearby wires.
Tip: To make it easier to secure the fence, hold it upright against the stakes using pieces of string. You can detach them as you progress.
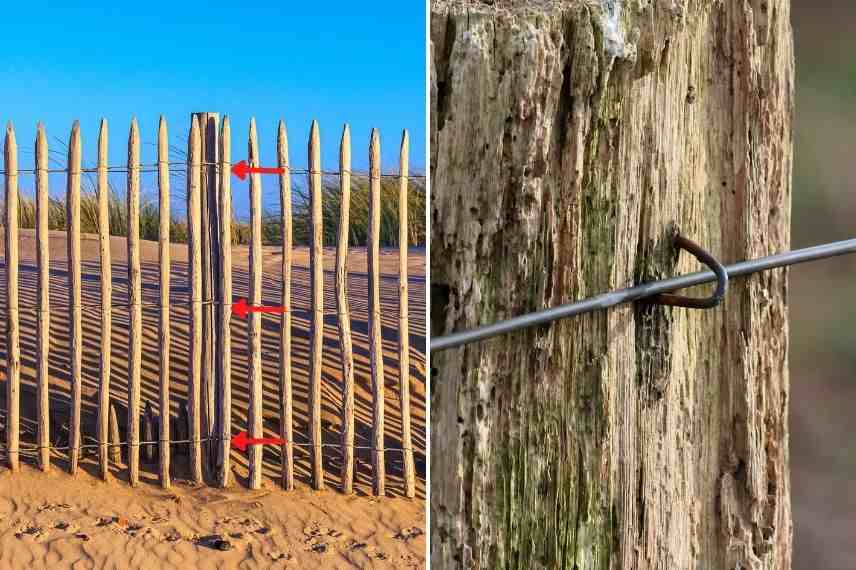
If you are using clouts, nail them straddling each wire line.
Should the points of the fence face up or down?
Generally, fences are installed with the points facing up so that rainwater runs off along the points and does not stagnate. However, you can certainly choose to install your fence with the points facing down if you find it more aesthetically pleasing. This may also prevent children from getting hurt. However, the fence may deteriorate a bit faster over time.
- Subscribe!
- Contents

Comments