


How to repot a houseplant?
All our tips!
Contents
Indoor plant care is specific, differing from that of outdoor potted or garden plants. Although all indoor plants are different and have varying needs, there are still some general, universal tips that apply to all plants. The repotting stage of a plant is a key step that, when done correctly, determines the healthy development of your plant.
In this article, discover our tips on repotting, choosing the pot, substrate, exposure, and care after repotting.

When should you repot?
If there is one question with a valid answer for all indoor green plants, it is this one:
- It is advisable to repot plants at the beginning of spring, when they show signs of restarting growth, generally around April. This is the ideal time. If a plant shows urgent signs of needing repotting, you can do it outside of spring, but avoid repotting during the winter dormancy period or in the heat of summer.
- Repot every year, every 2 years, or sometimes every 3 years depending on the plants and their growth. The larger ones, when there is no bigger pot available or when they are difficult to move, are only surfaced (see last paragraph).
How to tell if a green plant needs repotting, knowing that indoor plants like to be snug in their pots:
- It may show an obvious sign: its roots are coming out from the pot, through the drainage holes, it is then time to offer it a larger home.
- It starts to be very tight at the diameter of the pot, wanting to push against the edges, or it is overflowing too much.
- No signs of this type, but it is so much larger than its pot that it drinks the watering water very quickly and its substrate dries out in 24 hours even in winter.
- It is languishing, perhaps lacking a new substrate, which it has exhausted long ago.
Be aware that if your plant shows signs of distress, as long as you have not identified the cause, do not instinctively repot. This operation can finish it off if it is in survival mode. Check that it appreciates your watering method (no stagnant water at the bottom of the cache pot for a long time or a completely dehydrated substrate, in a dust-like state), that it is not affected by parasites, and that its leaves do not appear sick.
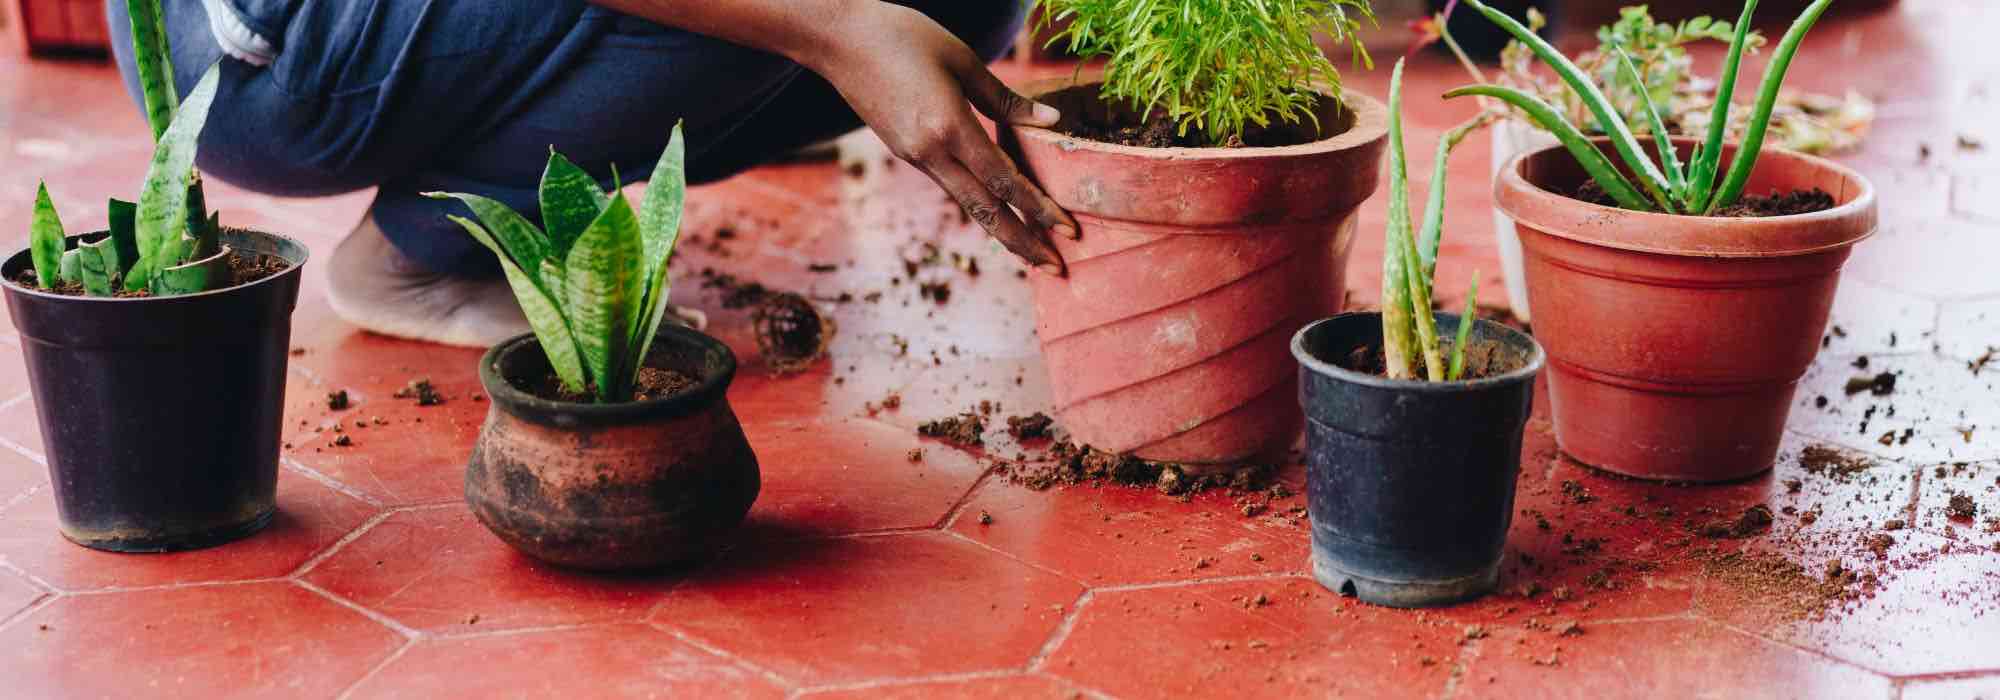
It is probably time to repot this plant whose root ball is quite developed
Which pot to choose?
Regarding the size of the container, it is advisable to choose a pot with a diameter that is 2 cm larger than the previous one. This is very little. Adapt this advice to your plant; it may be wise to choose a pot slightly larger than those 2 cm. The larger your plant and pot are, the larger the next pot will be. If you have waited too long to repot, skip a size as well. However, for all succulents and cacti, which grow slowly, these 2 cm should really be respected.
As for the choice of material, it depends on your plants, your region, and your interior; no generalities here. Most indoor plant pots are either terracotta or plastic, the aesthetic flaw of which can be improved with a decorative pot of your choice. Terracotta, being porous, allows the substrate to dry quickly, while plastic has the opposite effect; the substrate can take a certain time, sometimes too long, to dry.
You will learn which material is right for you based on several criteria:
- The type of plants. Succulents prefer terracotta. Water-loving plants are better in plastic pots.
- Your tendency to under-water or over-water. The soil of your plant should not still be damp a week after watering, as the roots suffer from this constant moisture and may rot.
- The atmosphere of your interior: more or less dry or humid, with heating or not, exposed to high temperatures or very temperate.
- The exposure of the plant: the substrate of a plant in very bright light will dry out faster than in a darker exposure.
If you find that your soil struggles to dry, switch to a terracotta pot, and if, conversely, it dries in less than a day (outside of mid-summer), switch to plastic. This last observation is general; it has exceptions depending on the type of plant.
Always choose pots that are only one or two sizes larger than the original pot; the plant will develop more leaves and fewer roots.
What substrate?
Some particularly hardy and resilient plants thrive well in a simple potting soil for indoor plants.
→ see my article on easy-to-grow indoor plants
Be particular about the composition of the potting soil. A very dark (black), sticky, and wet substrate may suffocate your plant. Additionally, it will compact too much around your plant. Choose a light and fibrous substrate that feels airy to the touch, often brown in colour. Since you cannot visually assess the contents of the bag before bringing it home, know that quality potting soil contains fibrous materials like coco or turf, but be cautious, as turf is a non-renewable resource, so it’s best to limit its use. However, some turfs are extracted from sustainably managed peat bogs, which is usually indicated on the bag.
Many plants have specific needs. For example, one might choose a substrate for cacti or a substrate for orchids for epiphytic plants.
At an advanced level, one can create their own substrate or add specific materials to their general potting soil according to the desired effect (such as perlite for drainage, sphagnum for water retention, to name a few).
Always equip yourself with clay balls to place a layer at the bottom of the pot to protect the roots from stagnant moisture.

Choosing or creating a custom substrate is a key element for success. Select a potting soil that is fibrous and light
Read also
Outdoor plants that also thrive indoorsRepotting technique
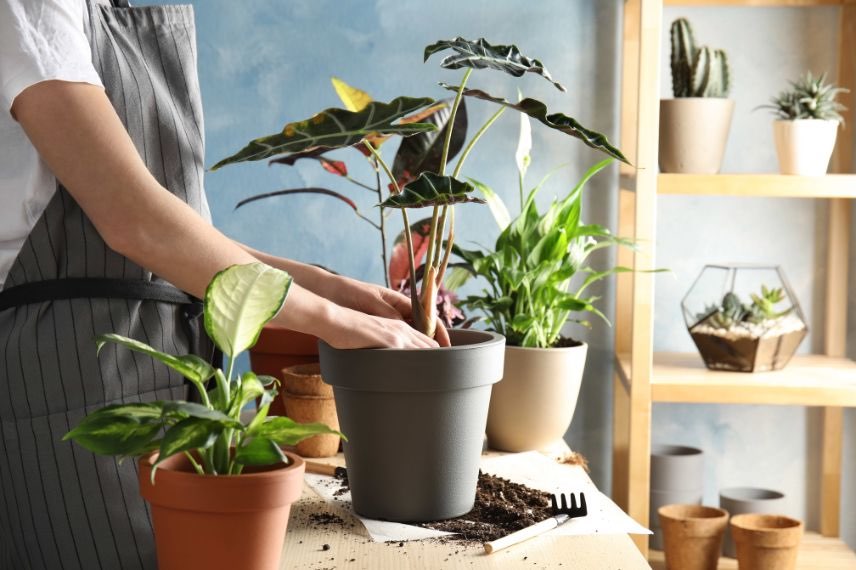
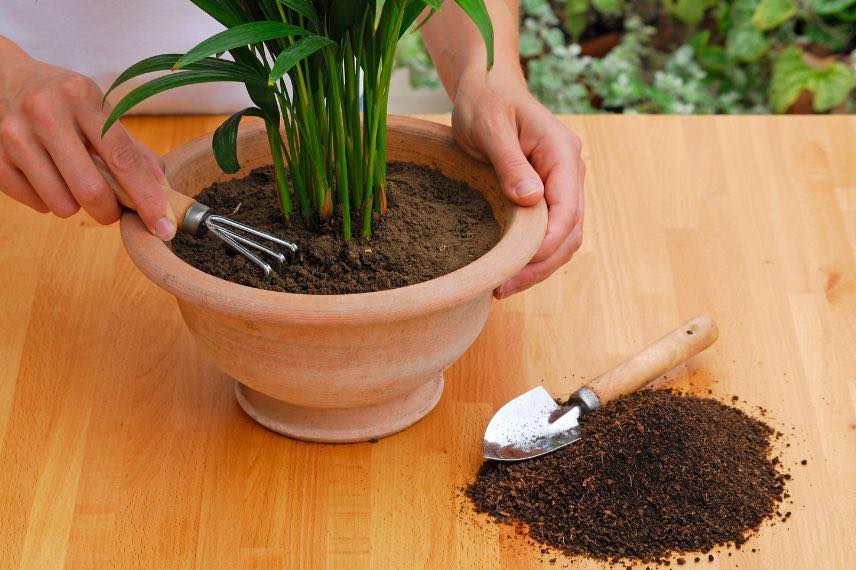
For repotting, proceed as follows:
- If you are doing this indoors, set up on a table and over a floor that you can easily clean and/or add a tarp and newspaper, for example, to protect the surfaces.
- Prepare your potting soil or substrate mix. Have everything on hand, ready to use, with the bags opened.
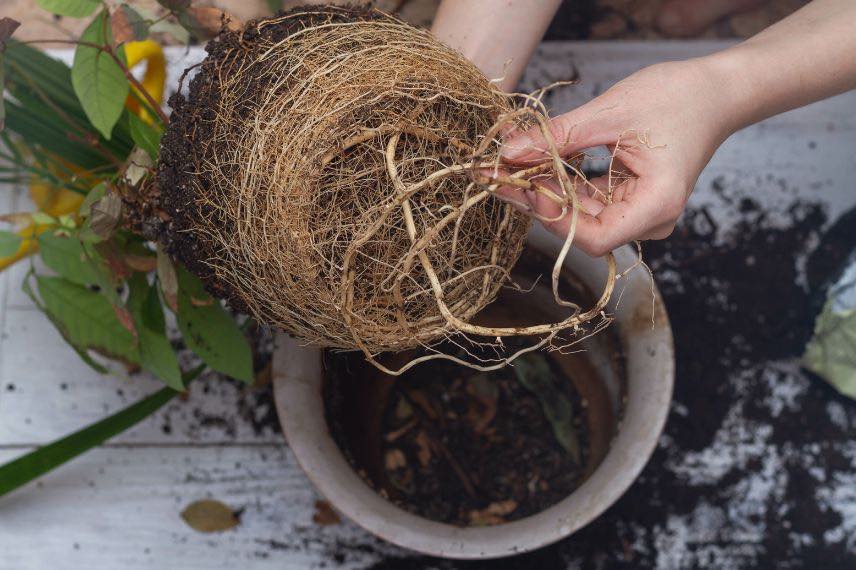
- Gently remove the root ball from its old pot and untangle the roots if necessary.
- If the operation seems difficult, water the root ball well several hours or the day before repotting.
- Pour a layer of drainage a few centimetres deep at the bottom of the new pot using clay balls.
- Add your substrate to about 1/3 of the pot.
- Position the root ball of your plant so that its base of leaves is level with the surface of the pot.
- Fill in with substrate, pressing down lightly and evenly.
- Fill to 2 cm below the rim of the pot and press down once more.
- Water over a sink.
- When the water has been absorbed, add a bit of substrate if necessary, if any gaps have appeared.
- Place the pot on a saucer or in a cache-pot.
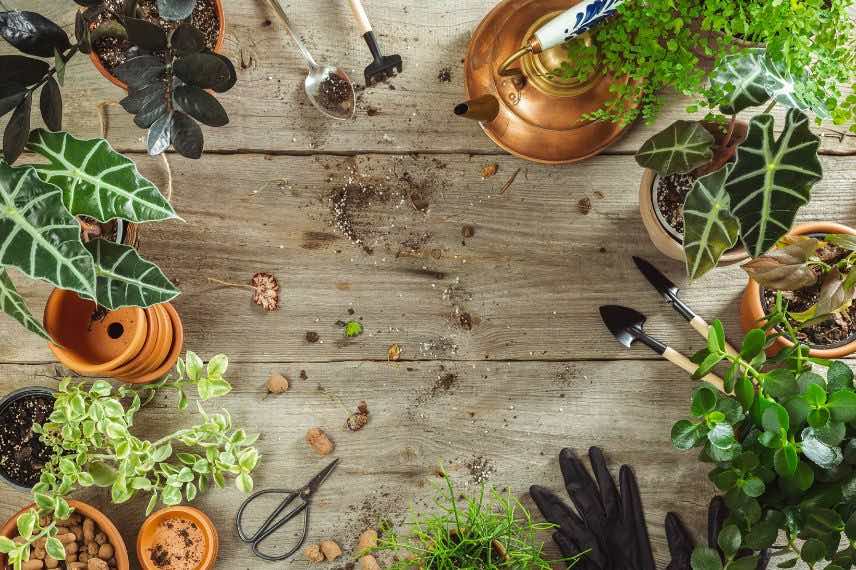
Protect your surfaces and work on a floor that you can easily clean; repotting is always a messy operation!
What exposure?
Exposure varies depending on the type of plant. However, here are a few general principles:
- Aside from succulents and cacti, no plant enjoys being scorched by the sun behind a south-facing window in summer. Even succulents can suffer from such treatment.
- Most houseplants prefer bright, indirect light. This means near a large north-facing window, near an east or west-facing window, or away from a south-facing window. Alternatively, they can be placed behind a sheer curtain on the south side. Any direct sunlight exposure should be avoided, except possibly in winter when the sun is gentle and does not last too long.
- A few rarer plants appreciate a more “shaded” exposure. In this case, they can be placed further away from the natural light source.
Maintenance
Watering
There is nothing more variable than watering, for the reasons mentioned in the chapter “which pot to choose?”. And because each genus of plants has different needs. You will discover which category of waterer you belong to through practice. In any case, do not let water stagnate at the bottom of the pot. Advice like “water once a week” quickly has its limits. Observe the root ball, the moisture of the substrate, touch the compost. Allow it to dry between waterings (except for a few plants). For a succulent, let the compost dry for a certain period (several days, 1 week, 2 weeks, depending on the plant and the season) before watering again. You will soon see that a small plant in a small pot needs little water with each watering. This is nothing like watering outdoor plants.
Fertiliser
Several amendments are available for the care of indoor plants. Besides the usual fertilisers, to be chosen and dosed according to the type of plants, you can also feed your plant with worm compost, for example.
Other
Regularly dust the leaves of your plants with a microfibre cloth or a soft cloth.
Surfacing
When plants are very large, when there is no larger pot available or the plant is too heavy to be removed from its pot, topping up is performed. The top few centimetres of old compost are removed and replaced with fresh compost and amendments.
Topping up involves replacing the top few centimetres of the old substrate with a new one
- Subscribe!
- Contents

Comments