


Repotting a camellia into a pot: the best practices
Our tips
Contents
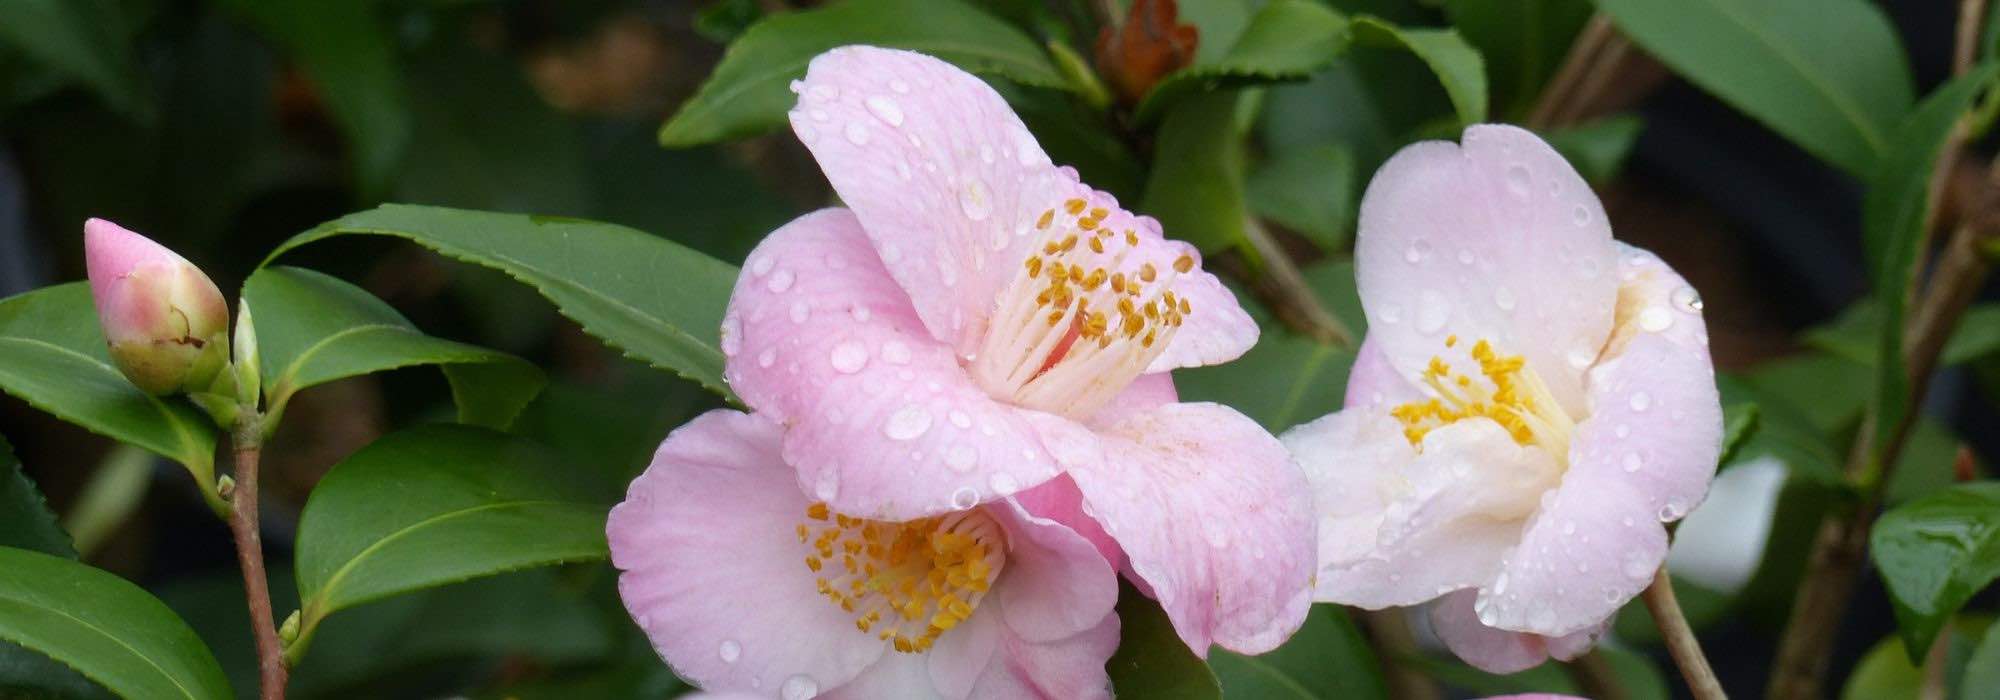
Camellia is appreciated for its magnificent flowers which bloom in late autumn, in the heart of winter, or at the start of spring. To ensure this acidophilous plant continues to thrive year after year in a pot, it is essential to provide it with an optimal environment, notably by ensuring regular repotting. A camellia that is correctly repotted and cared for benefits from fresh substrate suited to its needs, and from care that promotes a generous flowering and good growth. Discover our tips for repotting a camellia and following best practices.

When should you repot a camellia?
The camellia is a delicate plant that does not like to be disturbed during its growth or flowering cycle.
The ideal time to repot a camellia
The best time to repot a camellia is just after flowering, usually in spring for camellias with late-winter flowering. For Camellia sasanqua which flower from autumn, wait for this period as well, as winter is not a good time to repot a plant.
Once the flowers have fallen, the plant enters a vegetative rest phase, which makes it less susceptible to stress. Repotting at this stage also allows the roots to settle into their new container before growth resumes in summer.
Frequency of repotting
Repotting frequency depends on the age of the plant. A young camellia, in vigorous growth, should be repotted every two to three years to provide fresh, nutrient-rich substrate. The root system of young plants develops quickly, and changing the pot helps prevent them from becoming pot-bound. For a mature camellia, repotting can be more spaced out, every four to five years. However, it is advisable to monitor the plant regularly to ensure it still has good drainage and that the substrate remains of good quality.
For mature plants, between two repottings, ideally every year a top-dress is performed: remove the top few centimetres of substrate and replace them with fresh potting compost.
Signs that indicate it’s time to repot
- If roots begin to emerge from the drainage holes, this means the camellia is pot-bound and its roots have occupied all the available space.
- A substrate that no longer drains properly, that becomes compacted or that shows moss or mould on the surface is a sign that repotting is necessary. The camellia needs a light, airy soil to grow well.
- If you notice your camellia’s growth slowing for no apparent reason or that flowering becomes less abundant, this may indicate a lack of nutrients in the soil. Repotting refreshes the substrate and provides the necessary nutrients.
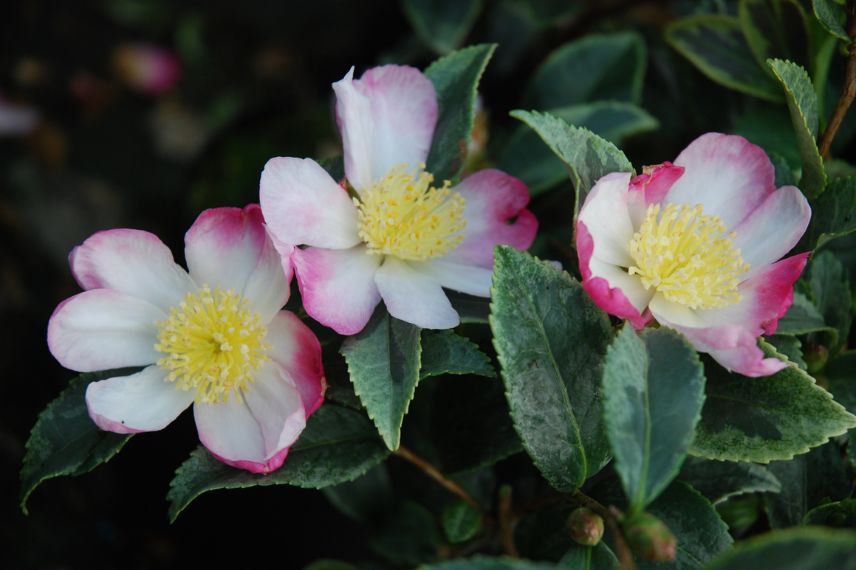
Camellia sasanqua flowers in autumn
Read also
Camellias: planting, pruning and careWhich pot to choose for a camellia repotting?
When repotting a camellia, it is advisable to choose a pot slightly larger than the one it was in before. In general, it is recommended to take a pot whose diameter is about 5 cm larger than that of the old pot. For an outdoor, shrub-form plant, you can increase this gap a little as the plant fills out.
Camellias dislike overwatering. It is essential that the pot has drainage holes at the bottom to allow excess water to drain away.
Regarding the material, terracotta is a porous material, which allows water to evaporate more easily and air to circulate around the roots more freely. This type of pot promotes better humidity regulation. However, due to this porosity, the substrate dries out more quickly, requiring closer monitoring of watering, especially during hot periods.
Plastic pots have the advantage of retaining moisture longer. They are also lighter and easier to handle. However, these pots do not allow for good soil aeration, and it is therefore essential to regularly check that the substrate does not stay too wet. If you opt for a plastic pot, ensure drainage is impeccable.
Another point to consider is the stability of the pot. If your camellia is large and bushy, it may be necessary to choose a heavier pot (such as a terracotta pot) to prevent it from tipping over due to the weight of the plant or wind.
The camellia’s roots are relatively shallow. Therefore, it is preferable to choose a pot that is fairly wide rather than very deep. This helps the roots spread properly while avoiding that the deeper soil remains too wet.
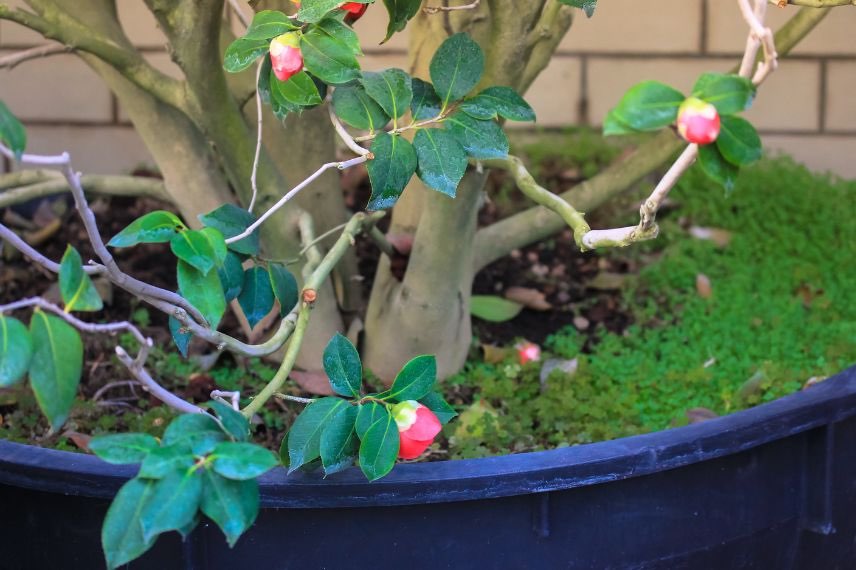
An adult Camellia needs repotting less often. When the pot is very large, you can even manage with a top-dressing.
Prepare the substrate
Camellia is an acidophilous plant with specific soil requirements. Choosing an appropriate substrate helps ensure good drainage, adequate moisture retention, and sufficient nutrient availability.
The Camellia requires acidic soil, with a pH between 5 and 6. The acidic soil is generally the reference substrate for this type of plant, but it is a poor substrate that does not retain water. It should therefore not be used on its own. Mix a blend consisting of 30% heather soil, 30% compost, and 30% garden soil or potting compost. If you do not have compost, replace it with potting compost.
You can also opt for a substrate specific for acidophilous plants. This type of potting compost is designed to meet the plant’s acidity needs while promoting good water retention.
The Camellia is particularly sensitive to the presence of lime in the soil. A calcareous substrate can block the uptake of essential nutrients, particularly iron, leading to chlorosis (yellowing of the leaves). Therefore avoid repotting with calcareous garden soil.
To improve drainage of the substrate, it is recommended to add lightweight materials such as perlite or vermiculite, making up around 20% of the mix. These materials help aerate the soil, ensuring good air circulation around the roots.
Add a layer of clay pebbles at the bottom of the pot before pouring the substrate. This layer, about 2 to 5 cm thick, creates a buffer space that prevents water from stagnating around the roots.
Read also
7 camellias to grow in potsHow to proceed?
- Remove the root ball from its nursery pot and, if necessary, tease apart the roots.
- Soak it in a basin of water while you prepare the new pot.
- Pour a drainage layer a few centimetres deep at the bottom of the pot, consisting of clay balls, gravel or pozzolana.
- In a separate bowl, mix the different components of the potting mix.
- Pour your potting mix to fill about one third of the pot.
- Place the Camellia’s root ball.
- Top up with your potting mix, gently and evenly firming it.
- Fill up to a few centimetres below the rim of the pot and tamp again.
- Water thoroughly.
- When the water has been absorbed, add a little more potting mix if necessary, to fill any voids.
Care
Maintaining a slightly moist substrate
After repotting, watering should be monitored closely. The camellia likes soil that is slightly moist, but it does not tolerate waterlogging. It is therefore essential to water carefully to avoid waterlogging the roots. Soil that is too wet can cause root diseases, while soil that is too dry can stress the plant and slow its growth.
It is recommended to wait for the surface of the substrate to dry slightly between two waterings. Using water that is not calcareous, such as rainwater, is ideal for preserving the substrate’s acidity, essential to the camellia’s health.
Partial shade and protection from direct sun
After repotting, place your camellia in a sheltered spot, ideally in partial shade. The camellia prefers bright but indirect light, away from direct sunlight, which can burn its leaves.
In regions with hot summers, be sure to place the camellia away from excessive heat, protecting it from scorching afternoons. If you repot at the end of winter or early spring, also protect it from late frosts, as young roots may be more vulnerable to low temperatures.
You can also place it in shade, provided it is bright. Finally, the Camelia sasanqua will tolerate a greater dose of sun.
Preventing soil imbalances
Chlorosis, visible as the yellowing of the leaves, is often a sign of soil imbalance, notably a lack of acidity or insufficient iron uptake.
If you notice this problem, you can correct soil acidity by adding a fertiliser specifically for acidophilous plants or by incorporating an amendment such as sulphur, which slightly acidifies the substrate. Watering with rainwater or filtered water is also a way to limit the risk of chlorosis.
Feeding the plant
After repotting, there is no need to fertilise immediately. Wait about 4 to 6 weeks before adding a fertiliser specifically for camellias or acidophilous plants, by opting for a slow-release fertiliser that will gradually feed the plant without risking too high a concentration of nutrients at once.
- Subscribe!
- Contents

Comments