


How to create a beautiful shrub bed?
Design, plant selection, planting
Contents
Creating a shrub display is an alternative to perennial beds. Beautiful in all seasons, often easy to care for, many shrubs and bushes typically require only limited maintenance. Where to plant them? How to choose, combine, and plant them? In this article, I aim to guide you and provide you with all the useful tips you need to successfully design a decorative bush display that looks great all year round!

Designing your flower bed
1) Determine the location
Creating a shrub bed is something that is wiser to consider before taking action. Indeed, while it is sometimes possible or necessary, for one reason or another, to change your mind or have to move a bush, this operation is more delicate (and physical!) than when it comes to perennials. The root system of certain bushes is powerful, penetrating deeply into the soil or spreading widely, making the operation tricky. This stress can, in some cases, be fatal to the plant, not to mention that when placed side by side, the root systems of different subjects may have ended up mingling underground, risking damage to neighbouring plants. Furthermore, some plants are not recommended near buildings or ducts, which can be damaged by their roots. It is therefore important to choose the right location from the start.
The choice of the placement of a group of shrubs can be motivated by several reasons: to hide an unsightly element (an unattractive structure, a post…), to shield oneself from an intrusive view, to mark the corner of a plot, to create a focal point in a part of the garden, to attenuate prevailing winds. In all cases, the approach is different from that adopted for creating a hedge, where plants are planted in a line or staggered.
Moreover, small trees and shrubs can be deciduous, which means they lose their leaves in autumn. These can be left at the base, serving as mulch that protects and nourishes the soil, but the wind may decide otherwise and blow them elsewhere, forcing the gardener to collect them, a task that is even more necessary and regular if a pool is nearby.
2) Choose the style and function
The very wide range of shrubs available today allows for the creation of decor with very different appearances depending on the chosen plants. You will not select the same species if you wish to create a Japanese, Mediterranean, romantic, modern, or exotic garden, for example.
Beyond style, you may want to assign a particular function to your bed: filter the wind, shelter wildlife, attract insects, produce edible fruits… All these factors influence the choice of shrubs to plant, but a shrub bed must also be beautiful and decorative. You can thus include shrubs with striking foliage, with coloured bark, with decorative fruits, or even with stunning autumn colours, the ideal being, of course, to mix all these qualities so that your bed is attractive throughout the year.
The choice of species will be guided, among other things, by the function of your bed: windbreak, flowering periods, melliferous… enjoy yourself, the choice is infinite!
Which shrubs to choose for creating a flower bed?
1) Choosing suitable plants
It is rare for a garden to accommodate any shrub. Each has specific requirements regarding soil texture (clay, sand, loam…), pH (neutral soil, more or less acidic or calcareous), drainage (well-draining or moisture-retaining soil), and exposure (full sun, partial shade, or light shade, dense shade). The climate also plays a crucial role, as not all shrubs withstand cold in the same way (this is referred to as plant hardiness) or wind.
2) A shrub bed that looks good all year round
Once all these parameters are known, you must now think about making your composition beautiful for as long as possible, ideally all year round, and this is within the reach of any gardener! Many gardens are stunning between March and June but lose some of their charm afterwards, if not becoming downright dreary in winter.
a) Flowering
Yes, spring-flowering shrubs and summer-flowering shrubs are plentiful, but others also bloom in autumn or in winter, brightening these two seasons with corollas that delight the gardener. Try to find the right balance so that there are always some flowers (some shrubs are also both beautiful and highly fragrant), regardless of the season.
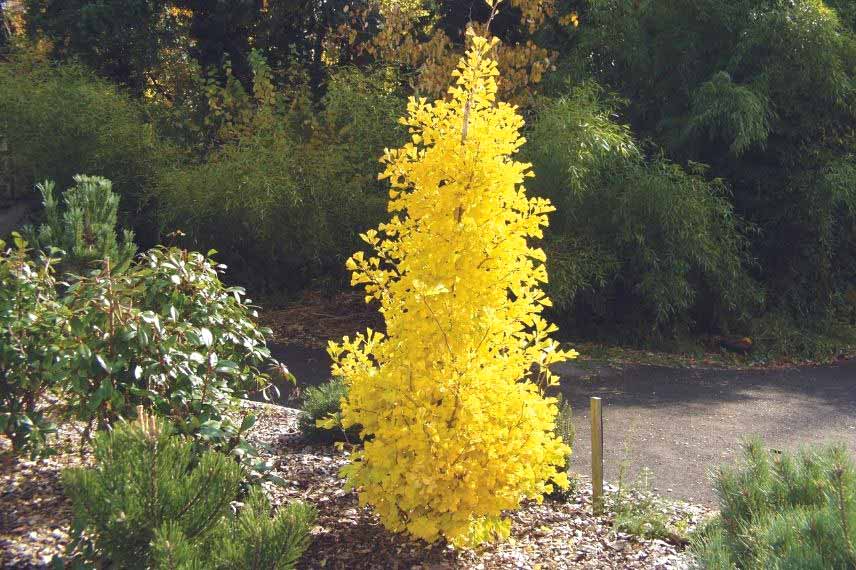
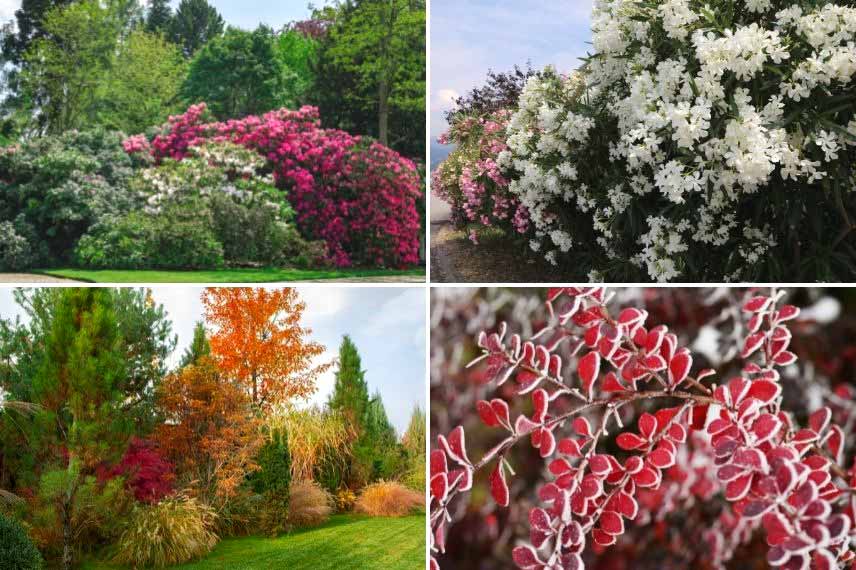 From spring to winter: a wise choice of species will bring appeal to your shrub beds in all seasons
b) Foliage
Flowers are not the only things that beautify a garden. Shrubs with striking foliage also play a key role, as their ornamental effect lasts much longer, whether through leaf size, shapes (entire or more or less dissected) or colours (shades of green, yellow, orange, purple, black, red, variegated…).
c) Decorative berries and woods
Some shrubs, once their foliage has fallen, reveal vividly coloured wood and bark, which endure throughout winter and withstand the dreariest days. Decorative berries and fruits, which are generally at their peak in autumn and persist for some throughout the “bad” season, also contribute to this symphony of colours.
d) Autumn Colours
Also essential are shrubs that don warm colours in late season, which link late flowering, berries, and coloured wood.
e) Deciduous and Evergreen
Finally, also focus on evergreen shrubs. These provide a strong, permanent structure to your bed. They can also serve as a backdrop for their neighbours, allowing flowers, fruits, and branches to stand out better. Far from being monotonous, evergreen shrubs can change colour with the seasons and temperatures, a phenomenon often observed in many conifers, including dwarfs, suitable for small gardens.
3) Playing with dimensions and habits
Generally, shrubs are considered to be woody plants with one or more trunks of small diameter or stems branching from the base, bushy in appearance, and not exceeding 6 to 7 m in height. This category also includes undershrubs and smaller plants, or certain species classified as small trees. While the name itself may not be of major importance, the dimensions and overall shape that the mature plant adopts are crucial.
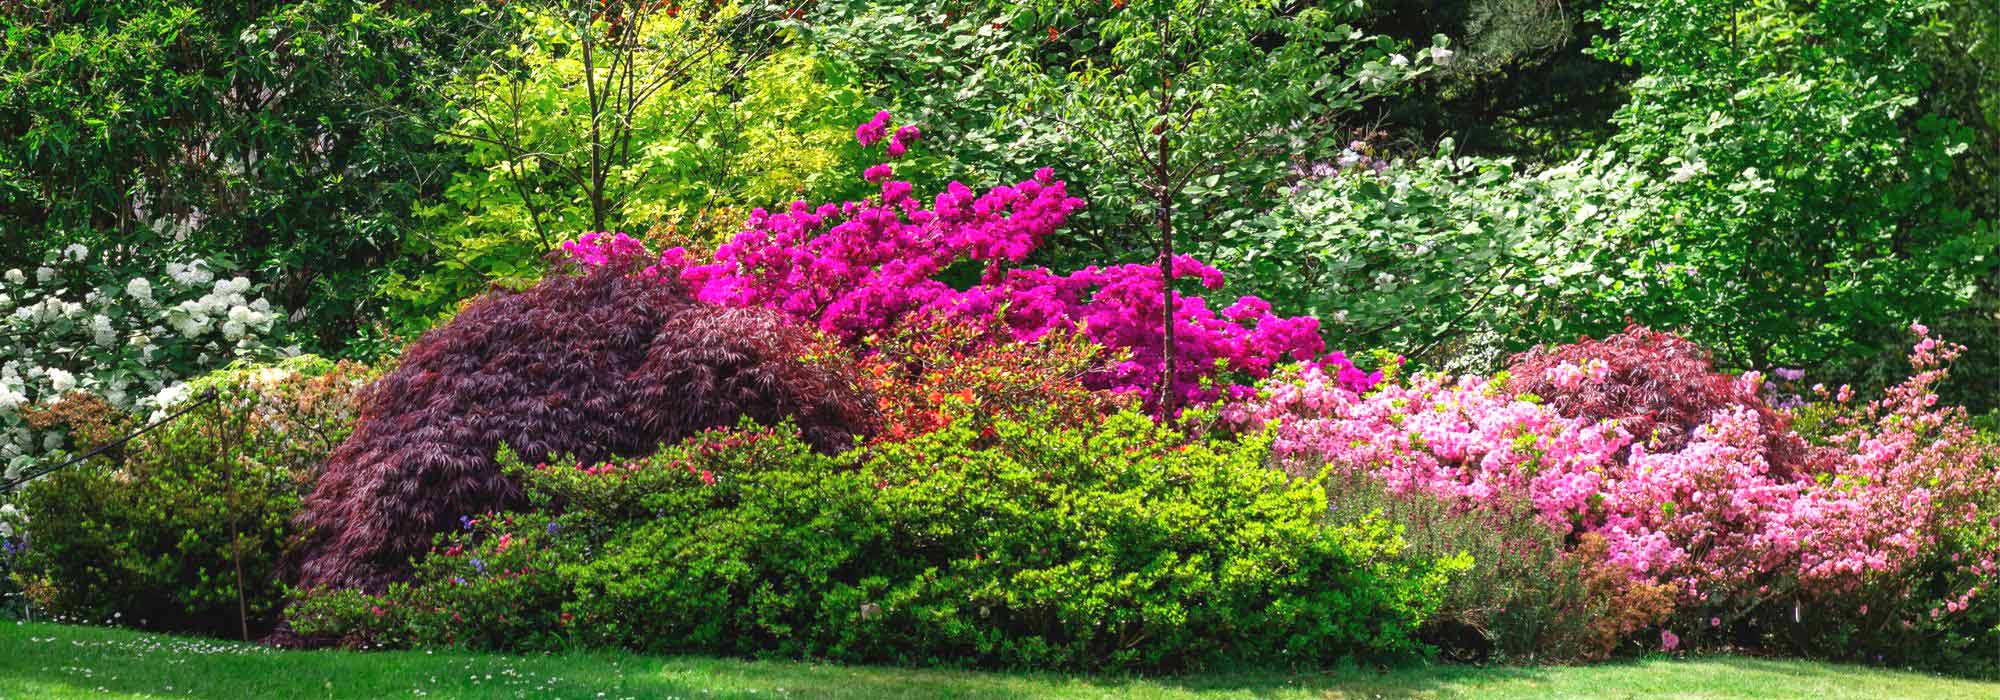
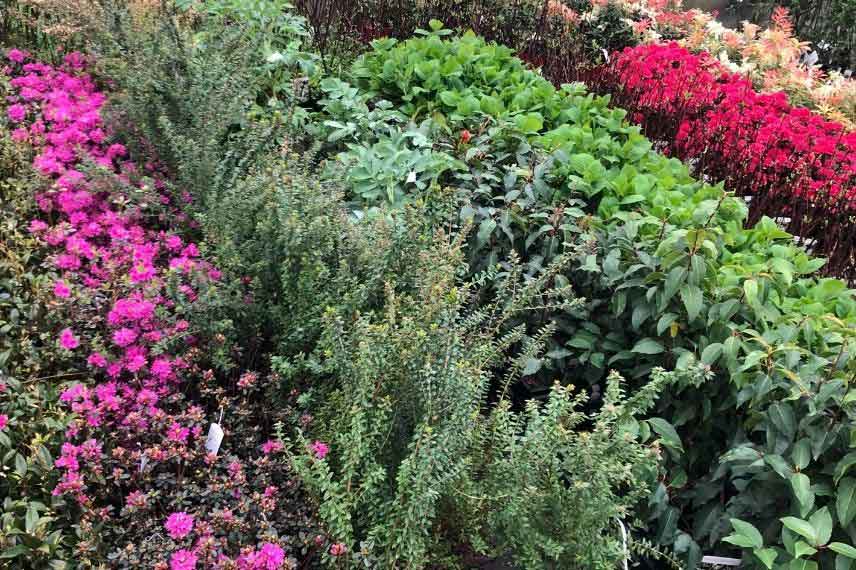
 Playing with sizes and silhouettes allows you to rhythm your shrub beds (© Virginie Douce)
a) Dimensions
When designing your landscape bed, always consider the dimensions of the plant once mature. Some, slow-growing, may take time to reach their full maturity. Place the taller ones at the back if your bed is against something (a wall, large trees…) or in the middle of your bed if it is an isolated island, visible from all sides.
Then create different layers of vegetation, selecting shorter shrubs for the middle, followed by low-growing or groundcover plants in the foreground. However, avoid something too systematic, as it may appear unnatural. The key is that each shrub can showcase its ornamental potential, without being completely hidden behind another plant.
b) Different habits
Dimensions take into account height, but also the width of a shrub, thus influencing its overall habit. Create punctuation with upright, columnar, or fastigiate shrubs, which can emerge from neighbours with rounder or bushier lines. In the foreground, for example, install prostrate or creeping shrubs, which act as groundcover and “anchor” your composition, unless your intention is deliberately different. Vary the shapes and inject dynamism with subjects of varied silhouettes: weeping habit (they bring grace and romance), pyramidal habit (they convey a sense of solidity), twisted (particularly beautiful when their branches are revealed in winter), tabular (appreciated for their Japanese look), irregular (loved for their wild and unpretentious side), parasol (they provide beneficial shade, useful for the gardener or surrounding plants) or regular ball shapes (they create beautiful undulations)… For everything you need to know, read Olivier’s article on the different habits of trees and shrubs.
c) Planting distances
When planting your shrubs, their dimensions at that moment are generally never those they will reach as adults. Depending on the conditioning, some may even seem ridiculously small. However, be cautious and anticipate their growth. To do this, research the mature dimensions (we specify these on the site for all our plants) and space them accordingly.
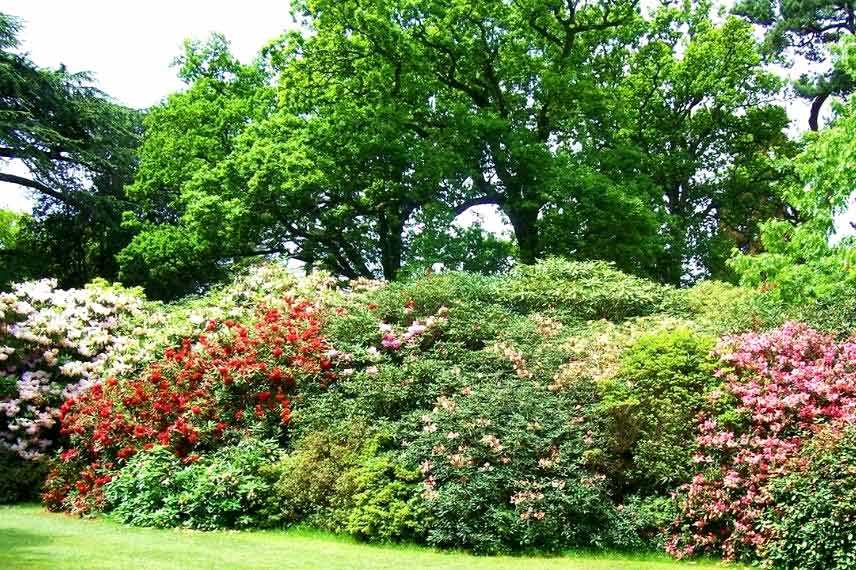
 Beds should be planted with consideration for the future growth of the shrubs
The simplest method is to add the widths of the different shrubs and then divide the result by 2. For example, if shrub A is expected to reach 1 metre in spread and shrub B will reach 2 metres, that gives a total of 3 metres, and thus a planting distance of 1.5 m between the two shrubs. Positioned this way, they have room to develop their natural silhouette freely and meet without hindrance. For subsequent shrubs, plant them also in relation to the dimensions of the previous two, and so on. You can, of course, choose to plant them closer together, but this will likely require you to use pruning shears in the future to prevent them from interfering with each other. Note also that maintenance is easier if you have left enough space between each subject.
Also consider height, as a tall shrub, with a clear base and a higher crown, can accommodate a shorter neighbour, such as a prostrate or spreading plant, which will dress its base without hindering its foliage. In this case, you can afford to plant the two subjects closer together if you do not wish to leave a gap.
Discover other Shrubs
View all →
Available in 1 sizes

Available in 1 sizes

Available in 1 sizes

Available in 1 sizes

Available in 1 sizes

Available in 1 sizes

Available in 1 sizes

Available in 1 sizes

Available in 1 sizes

Available in 1 sizes
Ordering your shrubs
Once your planting plan is finalised and your shrubs selected, all that’s left is to order them. Depending on the genera and species, we offer various packaging options, from 9 cm pots to containers over 50 litres. Some shrubs are also available as bare roots (between late autumn and winter).
- The advantage of smaller plants is that they are easier to handle and plant, more economical, and they establish quickly. Some even catch up rapidly with larger plants that were planted earlier.
- Larger packaging options allow for a more mature appearance more quickly, but they are heavier, require larger planting holes, and their cost is obviously different. More stressed by planting than smaller plants, they may need a bit more attention initially to help them settle in.
- Bare root shrubs are also economical and establish very well!
 We offer shrubs in various packaging options, it’s up to you to make your choice
Define the borders and add organic mulch to provide the finishing touch to your flowerbeds
- Mulch the entire flowerbed with a good thickness (5 to 10 cm) as an excellent way to maintain good moisture and limit the growth of adventive plants. You can also plant perennial groundcovers, which will create a setting for your shrubs. Some thrive very well under trees, as Michael explains in this article.
- Subscribe!
- Contents

Comments