


Hot composting: simple and quick
All our tips for adopting this technique
Contents
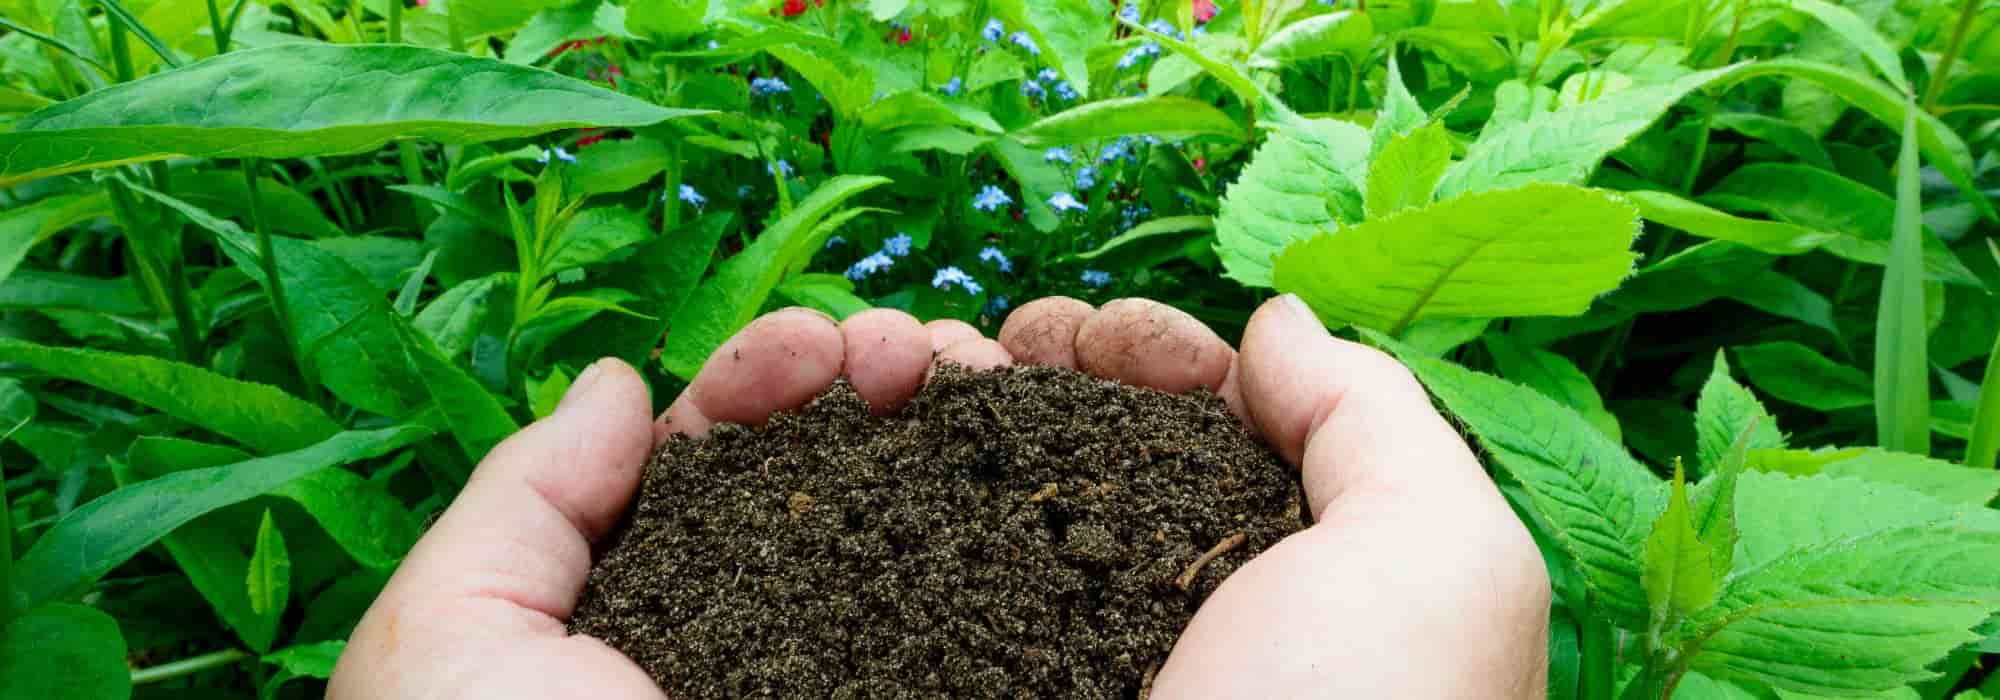
Today, for most gardeners, composting is a given. Composting actually refers to the transformation of various organic waste from the garden, vegetable patch, and kitchen into a rich amendment, thanks to the intervention of bacteria, fungi, and earthworms. Many gardeners simply pile their organic waste in a bin or composter, mix it occasionally, and… wait. Indeed, it takes between 6 months and a year to obtain sufficiently decomposed compost for use in the vegetable patch or flower beds. This cold composting is therefore easy to implement, but it requires patience.
For impatient (and brave!) gardeners, there is a much quicker method: hot composting. A technique that allows for coarse but effective compost in about twenty days. Well, in theory! Depending on the climate, it is certainly wiser to count on one or two months before having rich compost, suitable for greedy vegetables. All our tips and tricks for hot composting.

What exactly is hot composting?
Many gardeners compost cold, meaning that they deposit a multitude of organic or animal-origin waste (manure) on a heap, in a silo, or a composter. Micro-organisms and epigeous worms take care of decomposing all this material into rich humus, concentrated in nutrients. This transformation process takes between 6 months and a year of patience. 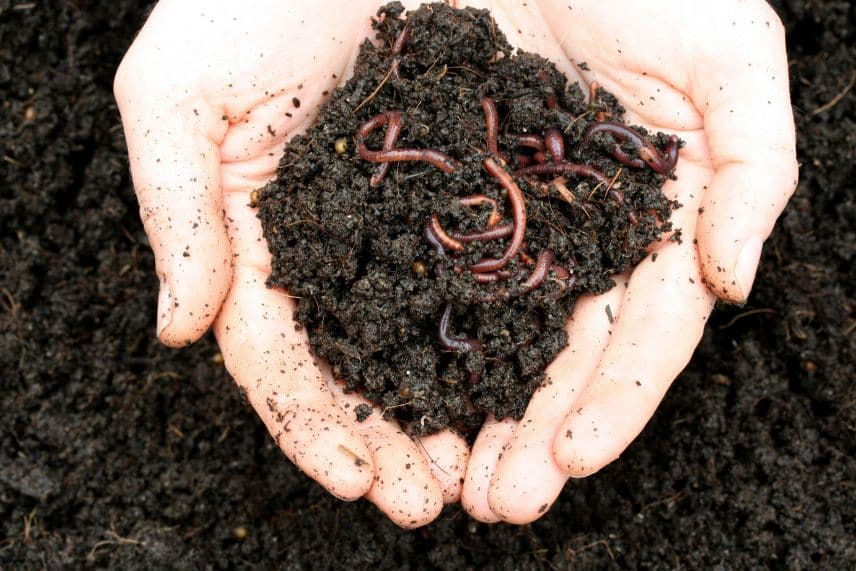
Hot composting involves rapidly raising the temperature within the compost heap to encourage the activation of thermophilic micro-organisms. Thus, hot compost can reach a temperature of 60 to 70 °C within a few days. It must never drop below 40 °C for it to “succeed”.
With very strict conditions, it is possible to obtain a coarse but perfectly acceptable compost in a minimum of 18 days (following the Berkeley method), but more reliably in one to two months. This is generally the method used by composting platforms, obviously on a large scale.
If this composting technique appeals to the impatient gardener you are, be aware that it comes with some constraints and depends on certain conditions.
Read also
Can you compost "weeds"?Essential conditions for hot composting
Before you start hot composting, be aware that certain conditions are required to maximise your chances of success:
- Having enough time and energy to dedicate weekly to your compost. Indeed, for the temperature to rise, it will need to be aerated regularly, meaning turning it with a fork every 2 to 3 days. This amounts to about a quarter to half an hour two to three times a week, regardless of the weather conditions…
- Having dry materials known as browns (straw, dead leaves, wood chips, shredded shrub pruning waste, coffee grounds, cardboard, etc.) and wet or green materials (dried grass clippings, kitchen waste, vegetable garden waste…) in sufficient quantity to implement your compost. This means you should have previously collected at least the equivalent of 1 m³ of all these waste materials.
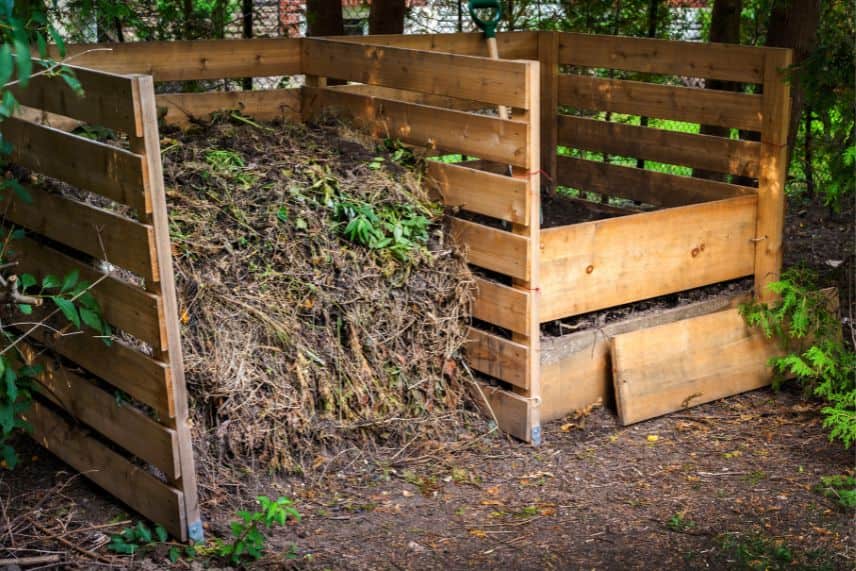
- Having a sufficiently large area to ideally set up two compost bins, made for example from pallets. However, you can also do hot composting in a single heap.
Advantages and disadvantages of hot composting
For those who are “disappointed” with cold composting, hot composting offers undeniable advantages:
- It is very quick to obtain, meaning the compost can be used quite soon, for example, to create a lasagne bed. Similarly, if you have a large vegetable garden, the demand for compost is significant, and cold composting may not suffice.
- In hot composting, temperatures must reach between 60 and 70 °C, a sufficiently high temperature to destroy all pathogens from various fungal, bacterial, or viral diseases affecting plants. Additionally, these temperatures help eliminate seeds from unwanted herbs and other adventive plants, allowing you to compost absolutely all waste.
- Hot composting does not emit odours.
- It is not dependent on the seasons. Indeed, in cold composting, waste decomposes little in winter as it is hindered by the cold.
- It attracts fewer pests like rats simply because they do not have time to settle in. Moreover, it is a bit too warm for them!
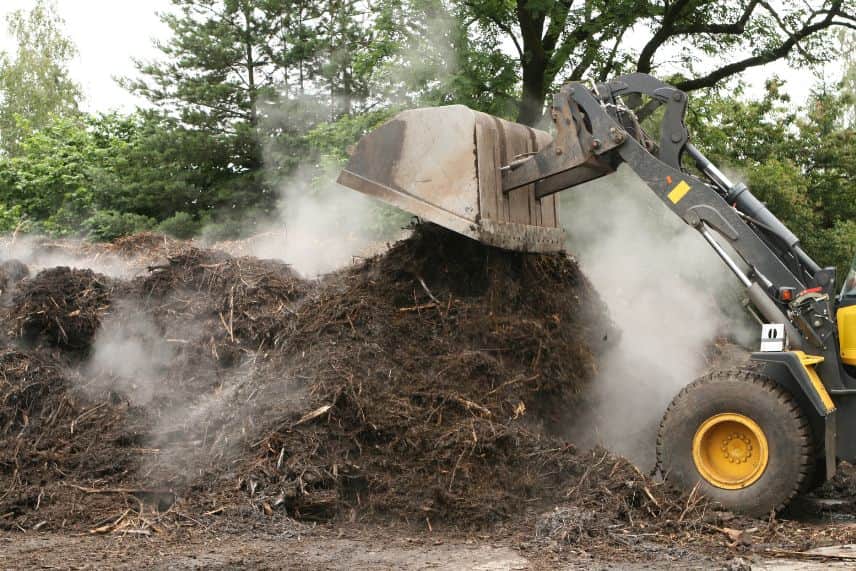 On a large scale, composting platforms practice hot composting.
However, hot composting also presents some disadvantages that you should consider before getting started:
- Having enough space to store and keep all the organic materials needed to start your compost (dead leaves, straw, chopped branches and pruning waste, dry grass clippings…)
- Rolling up your sleeves and using a fork to regularly turn your compost, as well as check its proper moisture level. Indeed, successful hot composting relies on four elements: nitrogen (provided by green materials), carbon (provided by brown materials), air (provided by turning), and water (provided by watering). This means that hot composting requires a minimum investment. To make your work easier, you can insert pipes into your pile, but this is less effective than using a fork. Additionally, it is recommended to have a water source nearby to limit trips back and forth.
Ideally, it is also advisable to acquire a compost thermometer.
Read also
Vermicompost, midrib practicalThe step-by-step technique for making your first hot compost.
If you have considered all the success factors, the advantages and disadvantages of hot composting, it’s time to get started:
- Define where you will install your two compost bins or heaps. You need at least two spaces of 1 m x 1 m plus some manoeuvring space for comfort. Choose a semi-shaded spot near a water source or at least accessible with a hosepipe.
- Build your compost bins very simply with pallets or leftover wooden planks. Three sides are sufficient. If you’re not handy, just make two distinct heaps.
- Start layering your green and brown materials, alternating them at a thickness of 15 cm each on a volume of 1 m³. You can also add nettles or comfrey in the form of chopped leaves or manure, or a commercial compost activator. If you have straw from the chicken coop, you can add a bit of that too.
- Alternate one or two layers of compost that is already mature or in the process of decomposition, as it contains thermophilic bacteria that will help kickstart the decomposition process.
- Water your heap generously when it reaches 1 metre in height. Don’t hesitate to add water to ensure the heap is saturated with moisture. Water is one of the key elements for successful hot composting.
- Cover your compost with a tarpaulin secured by wooden planks or stones.
The first step is complete. Now, you need to wait three to four days for the bacteria and other microorganisms to get to work and raise the temperature. Then, it’s time to get back to it:
- Check the temperature at the core of your heap. If it’s too cold, add a bit of water to restart microbial activity. If it’s too hot, add dry materials for a carbon boost. If you don’t have a thermometer, put your hand in (you’ll quickly feel the heat) or use a stick to make holes from which smoke should escape.
- Turn your heap with a fork to move the core of the compost, which is very hot on the outside, and add oxygen. Reconstitute a new heap in the second bin or simply next to the previous one.
- Three days later, repeat the process following the same timeline. Remember to check the moisture and add water if necessary.
 The resulting compost is often coarser
This turning should continue every 2 to 3 days until you obtain a brown material that is sufficiently decomposed. This compost is coarser than well-decomposed compost and therefore not easily usable for sowing.
- Subscribe!
- Contents

Comments