


How to grow wallflowers in a pot?
Easily plant and care for this colourful perennial plant
Contents
Wallflowers (Erysimum) are plants capable of adapting to sometimes challenging growing conditions. Perennial rock-garden plants par excellence, they are prized for their colourful and fragrant flowering. But you don’t need a garden to enjoy their benefits: they lend themselves just as readily to container gardening, for creating attractive flowering pots.
Let’s see how to plant them successfully and look after them, to enjoy their flowering for many months.
And to learn more about growing wallflowers, head to our dossier ‘Wallflowers: sowing, planting, growing and maintaining’.

Which varieties of wallflowers are best for growing in pots?
All wallflowers are suitable for pot culture, as they are compact plants with a small habit, generally measuring between 20 and 40 cm in height. You will be spoilt for choice, as their colour palette is bright and varied.
For example, opt for:
- the Erysimum ‘Poem Lavender’, with its long lavender-to-violet flowering;
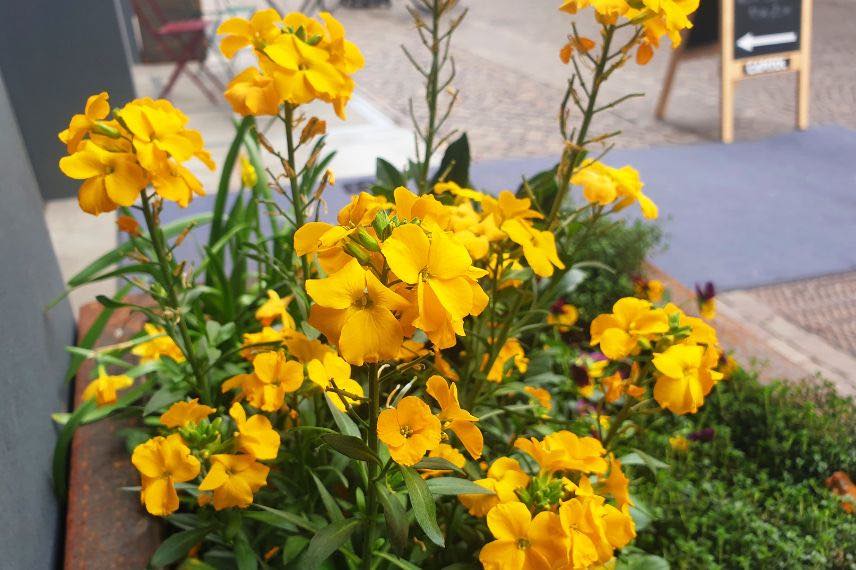
- ‘Winter Light’, which brings a touch of brightness after winter thanks to its yellow flowers;
- ‘Poem Lilac’, with its purple blooms;
- ‘Rysi Moon’, which graces us with a very refined ivory-white flowering;
- ‘Winter Passion’, which reveals flowers of an intense copper-red;
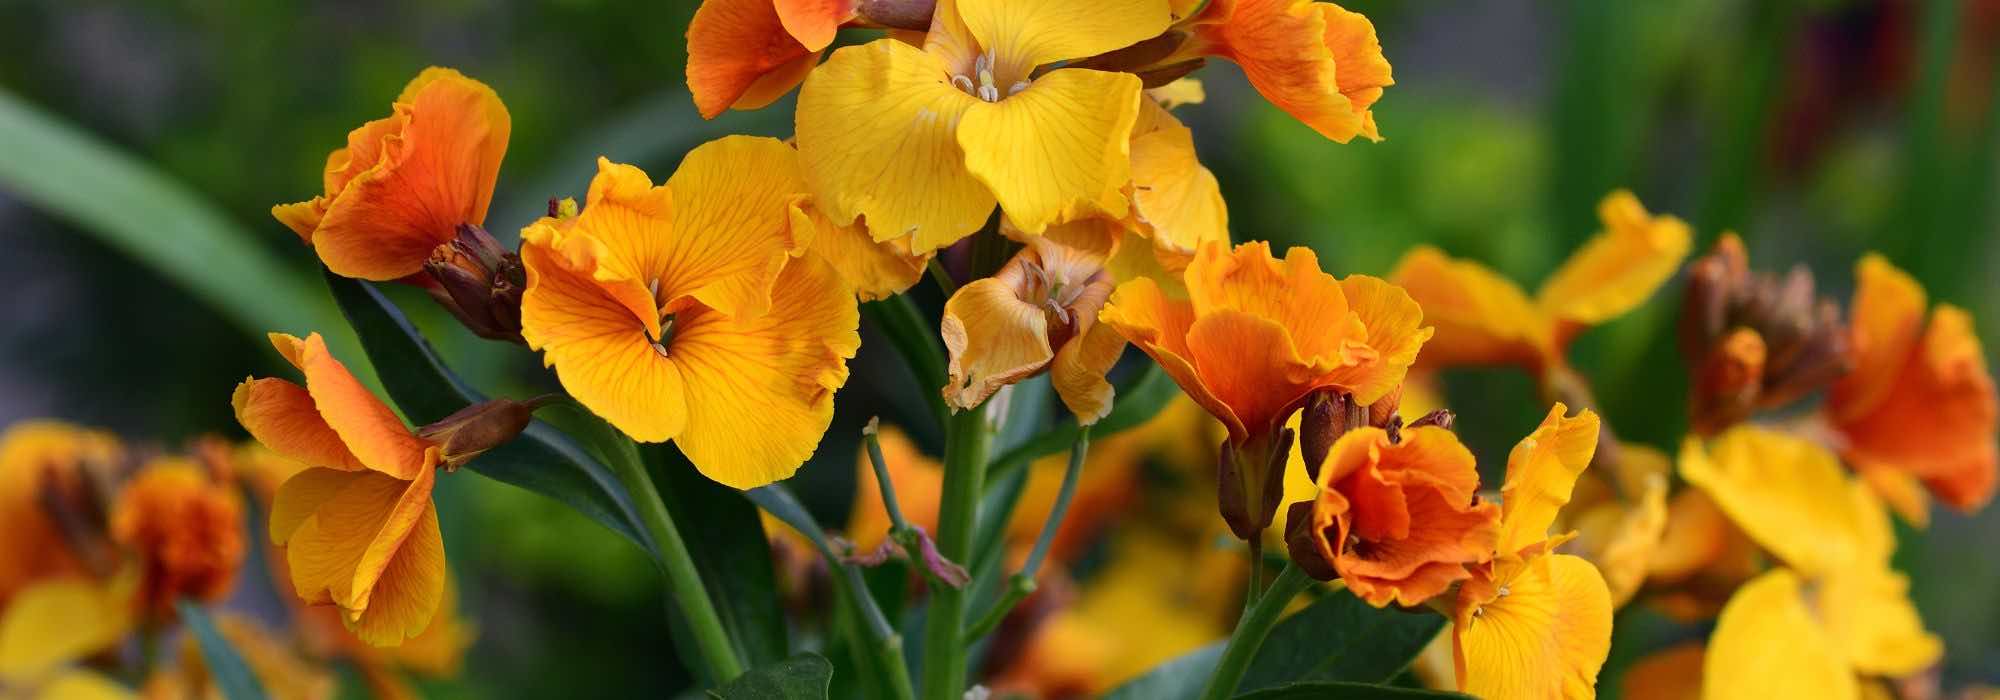
- ‘Apricot Twist’, very warm with its bright orange flowers;
- ‘Constant Cheer’, which produces multicoloured flowers mixing orange, pink, purple and violet.
Note that if you opt for the larger varieties, i.e. those reaching up to 90 cm in height, such as the shrubby wallflower Erysimum ‘Bowles Mauve’, it may be necessary to stake them. This can be less attractive for pot culture.
You can find the wallflower in different pack formats: in plug trays, in pots, or even as mini-mottes — i.e., young plants.
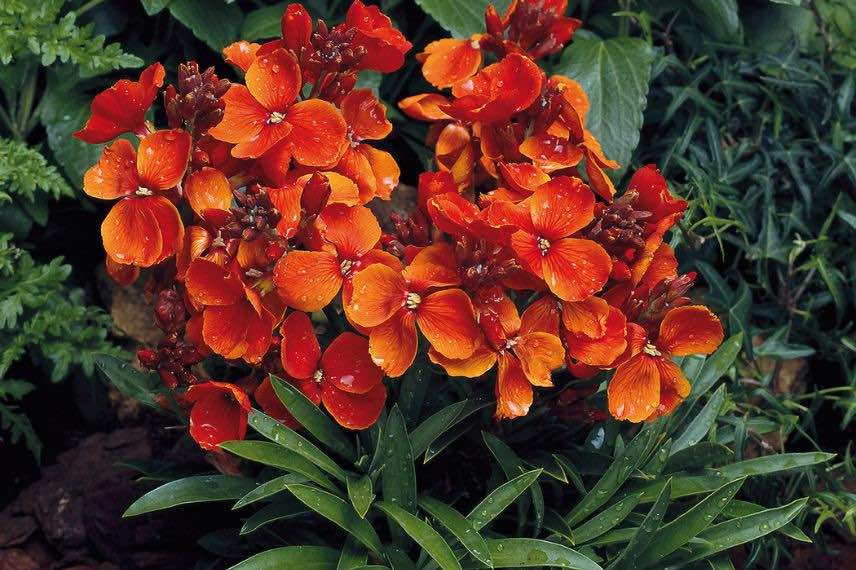
The wallflower ‘Bedder Scarlet’, compact in size
When should you plant wallflowers in a pot?
Potting up Dianthus in pots can take place in spring or autumn. Sowing is carried out in spring under cover (at around 18°C).
Planting Wallflowers in Pots
Container
For growing wallflowers, opt for terracotta pots and containers, which allow the substrate to breathe and help limit the risk of waterlogging. They must have drainage holes, to let water from irrigation or rainfall drain away. Avoid water-retaining pots, which are not suitable for growing wallflowers.
Choose a container at least 40 cm in all directions, and larger if you plan to grow several wallflowers.
Substrate
Wallflowers generally thrive in ordinary soils, provided they are well-drained, meaning water does not stagnate there. Excess moisture is, indeed, detrimental to the plant, promoting cryptogamic diseases (fungi). Used to harsh environments, they tolerate rocky, dry and fairly poor soils, even calcareous ones.
You can choose a ready-made potting compost, for example Mediterranean plants or window boxes and pots.
If you prefer to make your own mix, combine:
- 2/3 of horticultural potting compost of good quality or fairly light garden soil (clayey);
- 1/3 river sand or drainage aggregates (clay balls, perlite, gravel, crushed terracotta…) ;
- 1 to 2 handfuls of well-decomposed compost or manure for Quarantaine wallflowers, which prefer slightly richer substrates than their Ravenelle wallflowers.
Planting
- Before planting, rehydrate the rootball of your wallflowers, by leaving it to soak in a container of room-temperature water for 30 minutes to an hour.
- Install a drainage layer 3–5 cm thick at the bottom of your container.
- Top up by adding the substrate mix to the container.
- Remove the old container from your wallflowers, handling the plant very gently, to avoid damaging the fragile root system. Keep as much soil around the roots as possible.
- Plant your wallflower, then fill with substrate until the rootball is buried. If you are growing more than one, allow about 30 cm between each plant, so everyone can develop properly (allow about 60 cm for Quarantaine wallflowers).
- Lightly firm with your fingers to drive out air pockets.
- Water generously.
- Install an organic mulch on the surface (bark, husks, dead leaves, RCW, etc.) or even a mineral mulch (gravel, pozzolana, pebbles…). This will help limit evaporation and the growth of unwanted plants.
Sowing wallflowers
You can also choose to sow wallflowers. It’s a slower option, but more economical. Sowing is done directly in place, i.e., in the final container. As we have seen, the roots of wallflowers are indeed fragile and do not appreciate transplanting.
To do this:
- Install a drainage layer at the bottom of your container;
- Fill it with well-drained substrate and level so the surface is flat (you can use seed-sowing and pricking-out potting compost, lighter than conventional potting compost);
- Sow broadcast (grab a handful of seeds and scatter them in a fine shower), ensuring the seeds are well distributed on the surface of the soil;
- Cover the seeds with a thin layer of substrate;
- Water gently in a fine mist or with a sprayer, so the seeds do not migrate too deeply into the soil.
Once the plants have germinated, thin out, keeping only the strongest, at about 30 cm apart.

Wallflowers can be grown mixed with other plants in a window box
Caring for wallflowers in pots
Wallflowers are easy-to-grow plants that require little maintenance.
Sun exposure
To flower well, wallflowers need a sunny position. They can, however, tolerate semi-shaded conditions, but will then be less prolific in flowering.
Wallflower ‘Quarantaine’ (Matthiola incana) is a good choice for coastal gardens, balconies and terraces, as it tolerates exposures to salt spray.
To enjoy their flowering and fragrance to the fullest, place your wallflowers in pots near areas of foot traffic.
Watering
Wallflowers are excellent rock garden plants and can tolerate drought and are not particularly water-hungry. However, when grown in containers, the potting mix will inevitably dry out more quickly than in the open ground. During the first weeks after planting, water regularly to help the plant establish itself and develop its root system. Afterwards, simply water during prolonged dry spells. Always check the soil with the fingertips before watering: if the top few centimetres are dry, you can water your wallflowers.
For its part, the Quarantaine wallflower prefers cooler, moister soils, which never dry out completely. Water as soon as the surface soil is dry.
If you can, favour rainwater over mains water.
Feeding
Wallflowers are undemanding plants that thrive in poor soils. In pots, the potting mix quickly exhausts its nutrient reserves. If you wish to support flowering (especially for the Quarantaine wallflower), fertiliser for window boxes and pots or a fertiliser to promote flowering. Always follow manufacturer’s instructions on the product label.
Pruning
To encourage long, abundant flowering, prune spent flower clusters before they go to seed. Keep only a few if you wish to sow seeds yourself or let them self-seed. For this, use a pair of scissors or a pruning shear. Always use sharp cutting tools, which you should have cleaned with alcohol beforehand to limit the risk of disease spread.
A thorough clean-up pruning is carried out once flowering has finished (in the course of the summer). At that time, trim back all flowering stems to ground level.
Diseases and pests
Wallflowers can be susceptible to certain fungal diseases, caused by fungi. This includes downy mildew and rust for the ravenelle wallflower, or powdery mildew and grey mould (botrytis) for the Quarantaine wallflower. As a precaution, ensure they have well-drained growing medium, which prevents moisture from stagnating, and avoid wetting the foliage when watering.
Gastropods can also be attracted to wallflowers. As a precaution, there are many tricks: beer traps, spreading wood ash or eggshells, use of Ferramol granules (suitable for organic farming), etc.
Also watch for attacks by flea beetles and aphids.
Propagation
Wallflowers are easy-to-grow plants, but have a short lifespan (up to three years). This is why they are often grown as biennials. There is therefore no need to repot, especially as they transplant poorly.
However, to enjoy them for longer, keep a cluster of flowers unpruned and let it go to seed. It can self-seed on site and create new plants to replace the older ones. You can also easily propagate them by cuttings.
Wintering
Wallflowers are relatively hardy, generally down to -15°C. However, potted plants are always less frost-hardy than those grown in the ground.
In regions with harsh winters, choose a sheltered spot away from prevailing winds and add an extra layer of mulch at the base of the wallflowers. Place your pots under cover in a sheltered place away from precipitation in regions with particularly wet winters.
- Subscribe!
- Contents

Comments