


What is a bulb planter used for?
Discover how a bulb planter can revolutionise the way you plant your flowers
Contents
What is a bulb planter for? Well, to plant bulbs. There. Thanks for coming!
More seriously, at the heart of garden preparation, between the careful selection of plants and the contemplation of the forthcoming colour palette, lies the crucial stage of planting. This is where a tool as simple as it is ingenious comes in: the bulb planter. This tool promises to turn the task into a pleasure—quick and effortless. Let’s explore how bulb planters can not only save you time, but also spare your back and enrich your soil, while giving your bulbs the perfect bed for a brilliant flowering.

Bulb planters: the different models
The bulb planter, the gardener’s faithful ally, comes in several models, each designed to suit specific needs and various soil types. Garden enthusiasts can choose between hand bulb planters, long-handled planters, and automatic planters.
Traditional hand bulb planters are the most common and affordable. Compact and easy to handle, they are ideal for small spaces or for planting a limited number of bulbs. However, they require bending or kneeling, which can be uncomfortable for some users.
For those who prefer to work standing up or who have large areas to plant, long-handled bulb planters are a blessing. They allow you to bore into the soil without having to stoop, thus reducing fatigue and the risk of lower back pain.
Last, the automatic or jointed bulb planters, fitted with a soil-release mechanism, allow bulbs to be planted even more quickly and with less effort. Some models feature a mechanism that ejects the soil, simplifying the planting process.
Automatic bulb planter
Depending on your garden’s soil and the number of bulbs to plant, each of these models can offer particular advantages. Clayey, compact soils require sturdy planters with sharp edges, whereas loose, sandy soils are more forgiving and allow the use of more standard models. Choosing the right bulb planter is essential to make planting an enjoyable and rewarding experience.
How to use a bulb planter?
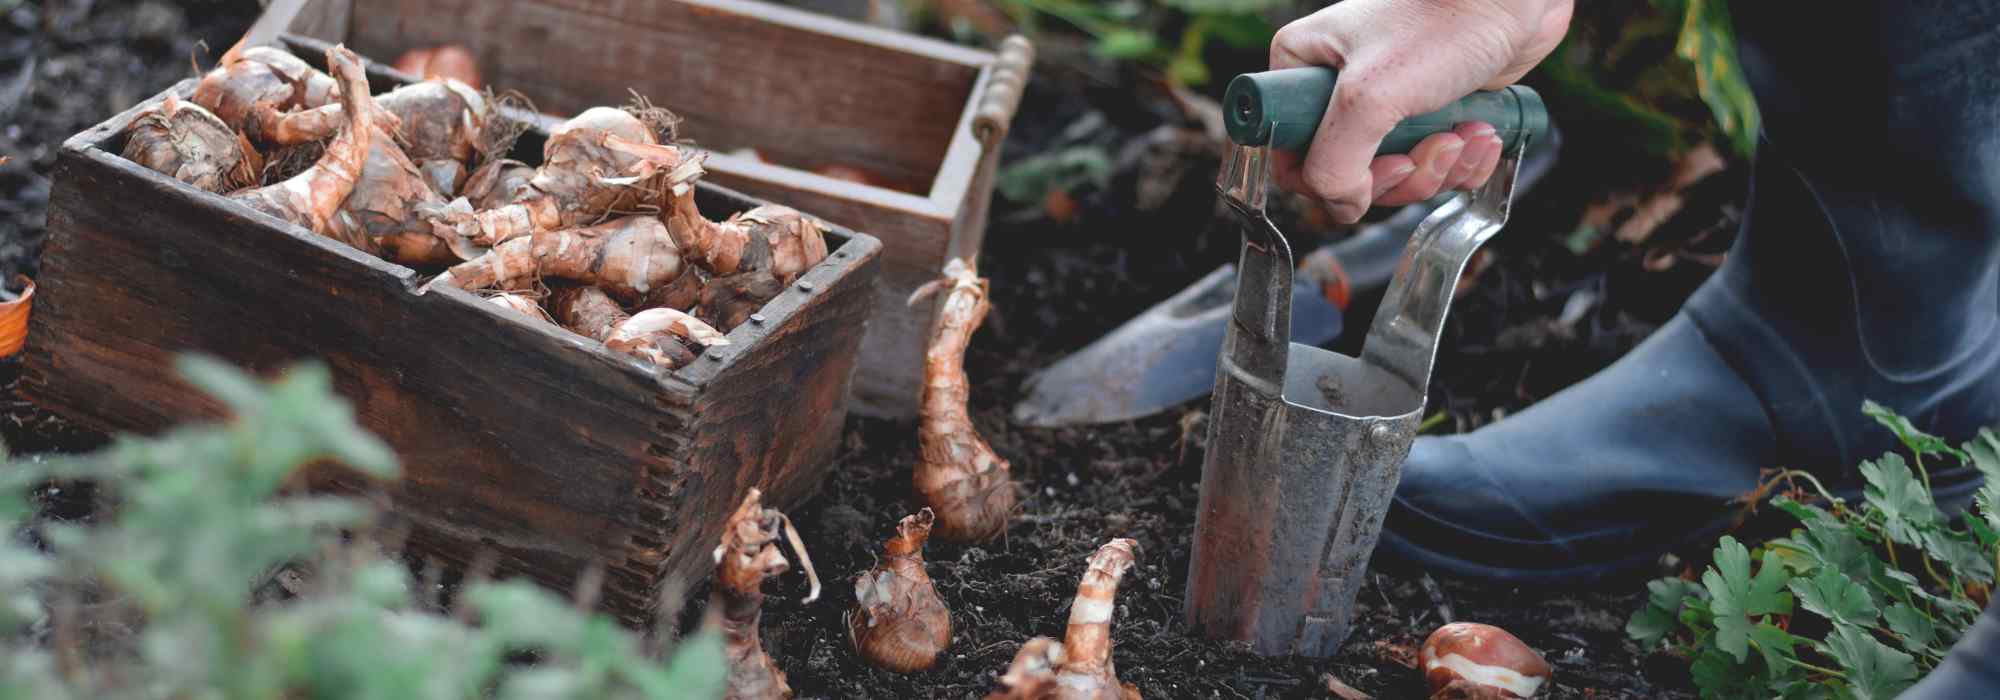
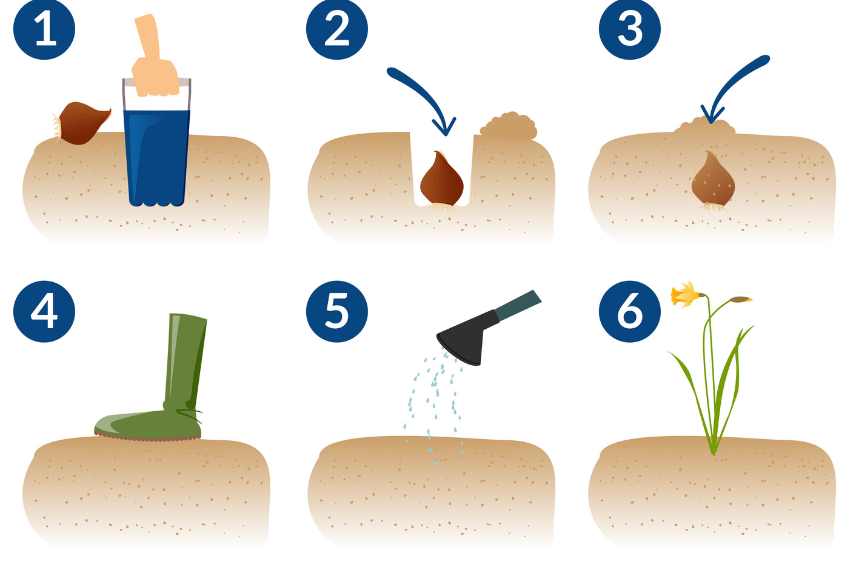
With a hand bulb planter, start by placing the tip where you want it, press firmly into the soil and rotate if necessary to penetrate the ground. Remove the planter, leaving a hole at the desired depth, place the bulb point‑up, then cover with soil.
Using a long‑handled bulb planter is similar, but it lets you remain standing. Place the tip of the tool on the soil and press with your foot on the rim provided to push the planter into the ground. Then remove it to leave a perfect hole for your bulb. Then… aim carefully to drop your bulb into the hole while standing up! (or do it with your children or grandchildren). However, some more sophisticated long‑handled bulb planters have a hole in the handle to slide your bulb into; it will fall down the handle’s cylinder and land in the hole.
For automatic bulb planters, the process is even simpler. After pushing the tool into the soil and removing the soil core, a simple press of the trigger releases the collected soil once the bulb has been placed in the hole (well, in theory…).
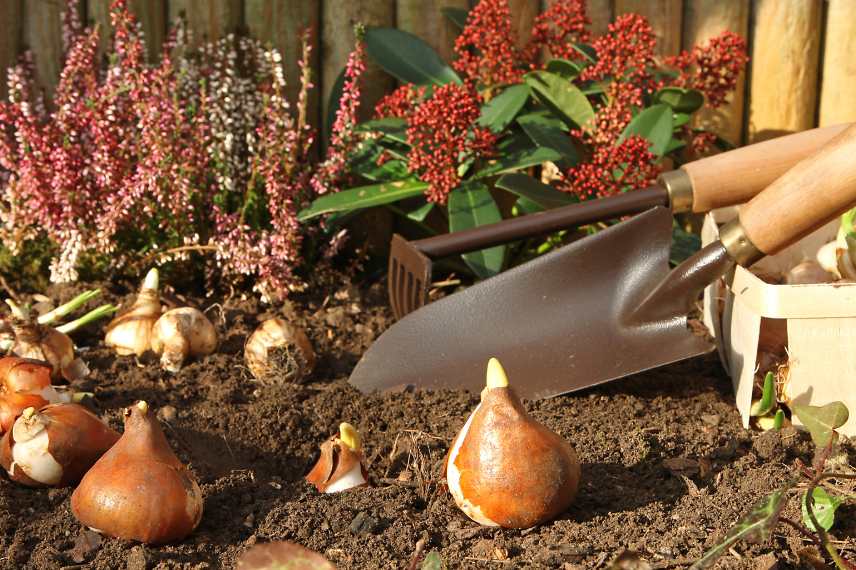
In each case, the ideal planting depth will depend on the type of bulb. As a rule, it is recommended to plant bulbs at a depth equivalent to two or three times their height. Make sure the base of the hole is loose to facilitate the anchoring of the roots and the movement of the water.
By using a bulb planter you benefit from regular, evenly spaced planting, essential for the optimal growth of your plants. It’s a method that combines precision, comfort and efficiency, honouring both the tool’s functionality and the beauty of the results in your garden.
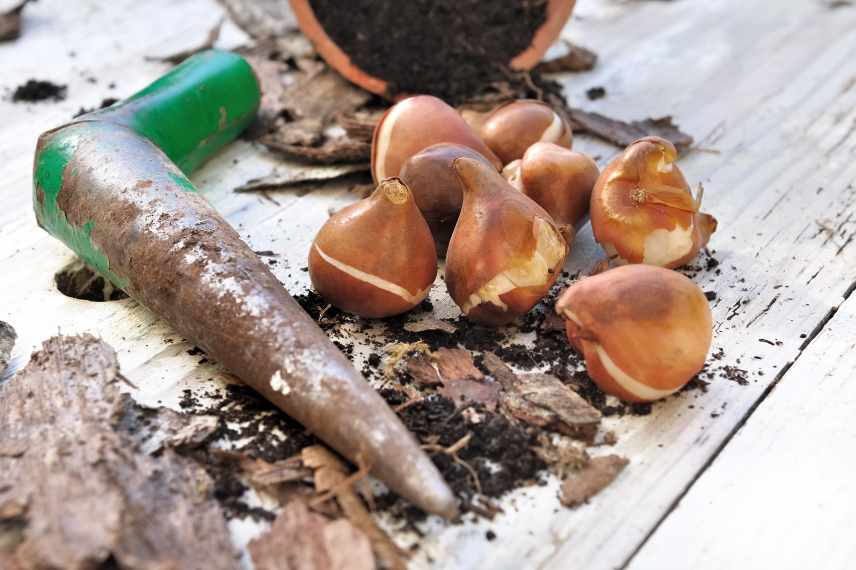
Oliver’s advice: some bulb planters are graduated in centimetres to plant bulbs at the required depth. At flea markets or reuse centres, you can even find old bulb planters graduated according to the bulb name to be planted (crocus, galanthus, tulips, lilies…). If you manage to find one, don’t leave it!
Some tips for planting bulbs with a bulb planter
- Soil preparation: Before you begin planting, it is advisable to dig over the soil and remove weeds. Loose soil will make using the bulb planter easier and will encourage better establishment of the bulbs.
- Amendments: Depending on the quality of your soil, adding compost or organic amendments can be beneficial to provide the bulbs with the nutrients necessary for their development.
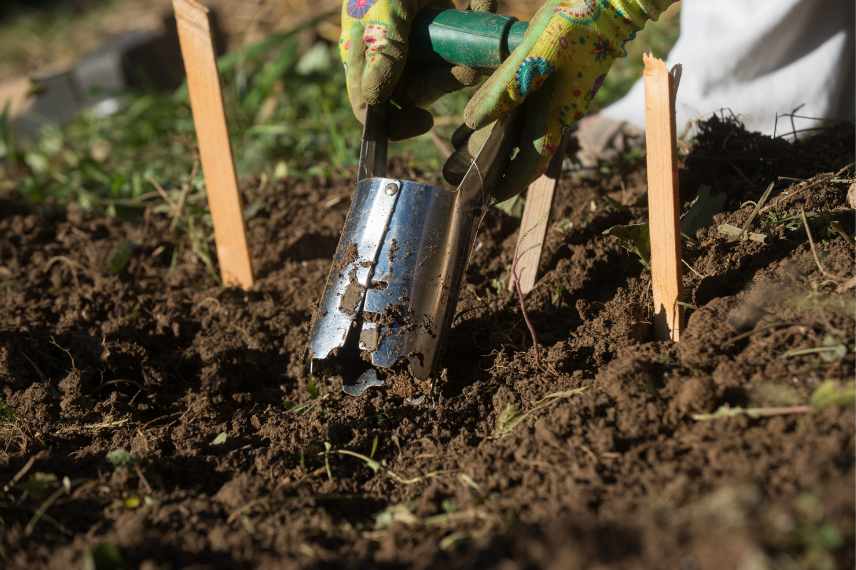
- Marking out: For an attractive layout, it can be useful to mark the positions of bulbs in advance with markers. This ensures an even, harmonious distribution across your garden space. And… it can sometimes prevent inadvertent spade strikes on your bulbs later on.
- Watering: Once the bulbs are planted, a good watering will help settle the soil and eliminate air pockets that could harm root growth.
- Tool maintenance: After planting, clean your bulb planter to remove any soil and prevent rust. Regular maintenance will prolong the tool’s lifespan.
- Protection against pests: Consider protecting bulbs from rodents or other animals that might dig them up or eat them. Using wire mesh, bulb baskets or natural repellents around planted areas can be useful.
- Subscribe!
- Contents

Comments