


The Boston fern (Nephrolepis exaltata) is a highly valued houseplant known for its abundant, trailing foliage that adds a touch of lush greenery. To enjoy several specimens from a single pot, it can be easily propagated. This tutorial explains when and how to successfully propagate the Boston fern, the materials needed, care for the young plants, and mistakes to avoid.
The Boston fern at a glance
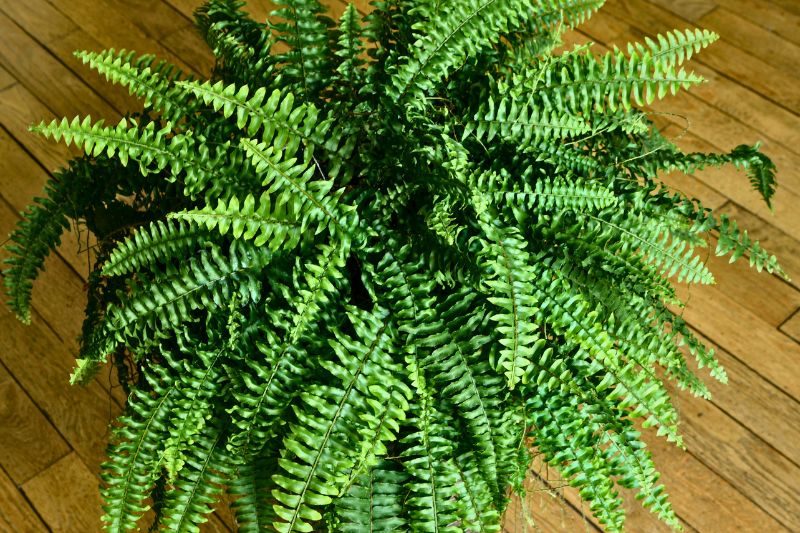
Native to tropical regions, Nephrolepis exaltata is recognised by its long, arching fronds of bright green. Easy to grow, it thrives in warmth, ambient humidity, and filtered light. It is primarily propagated by division of clumps, a simple method that allows for the rapid production of new, vigorous plants.
Good to know: The Nephrolepis, or Boston ferns, encompass several species and varieties, from the classic Nephrolepis exaltata 'Bostoniensis' with long trailing fronds, to the unique Nephrolepis cordifolia 'Arctic Jungle' with upright fronds (a hardy fern down to -9°C), not to mention the 'Green Lady' with its dense, slightly undulating foliage. Native to the tropical regions of Central America and Asia, they prefer a humid atmosphere, gentle light, and a light substrate that promotes vigorous growth.
When to propagate the Boston fern?
The best time to propagate Nephrolepis is in spring or early summer. The plant then resumes its growth and copes better with division. This operation is usually done during repotting.
Materials needed
- Clean pots with drainage holes
- A light potting mix rich in humus, well-drained
- A pruning shear or a sharp, disinfected knife
- A watering can with a fine rose
- Gardening gloves (optional)
Steps to propagate the Boston fern
- Gently remove the fern from its pot without breaking the roots.
- Lightly shake the root ball to expose the base of the fronds.
- Identify the rhizomes forming distinct clumps.
- Separate the root ball into several sections, each with roots and fronds.
- Plant each section in a pot filled with moist substrate.
- Water to firm the soil around the roots.
Care for young plants
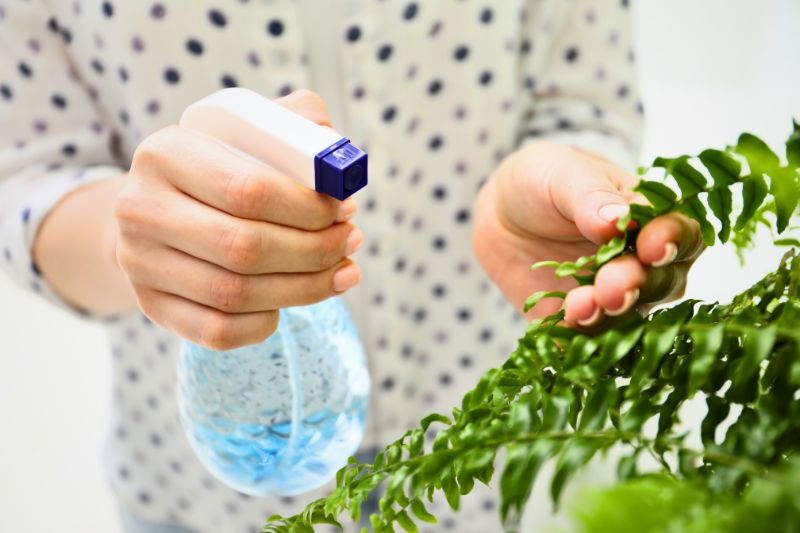
After division, place your new ferns in a bright location without direct sunlight. Keep the substrate consistently slightly moist, without excess water. To encourage rooting, increase ambient humidity by placing a tray of damp clay pebbles under the pots or by misting the foliage.
Mistakes to avoid
Avoid dividing a fern that is too young or weak, as it may not recover. Do not let the substrate become waterlogged, as this would cause root rot. Finally, do not place young plants in direct sunlight, as their delicate fronds would quickly scorch.
Alternative method for enthusiasts: sowing Nephrolepis spores
The Boston fern, like all ferns, can also be propagated by sowing spores, although this technique requires more patience than division.
In summer, small brown spots called sori form on the underside of the fertile fronds: these contain the spores. Spores of Nephrolepis are collected by taking a mature frond bearing these brown sori on the underside. Allow it to dry in a paper envelope for a few days, then collect the fine brown powder that detaches.
Once collected, spread this powder on the surface of a sterile, very fine substrate (a mix of sieved peat and fine sand in equal parts or, if unavailable, a well-sieved seed compost), kept constantly moist under a cover or plastic film. Place the pot in filtered light and at a temperature of 20 to 22 °C. Ideally, use a heated propagator.
Germination is slow: several weeks, sometimes months, before obtaining a fine green film that will then develop into young seedlings. This method allows you to witness the complete life cycle of the fern, but is reserved for patient and curious gardeners, or those looking to embark on fern production.


Comments