


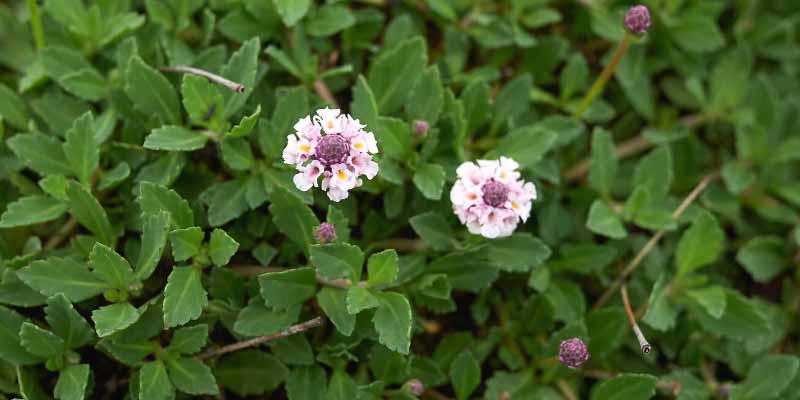
Phyla nodiflora (also called Lippia nodiflora or creeping vervain) is a lovely small perennial that forms wide tapetum and produces a pinkish-white flowering in spring, melliferous, which can continue throughout summer if soil remains relatively cool. It is an excellent alternative to short grass meadow, particularly suited to dry, trodden soil. Propagating Lippia is child's play, as its stems root easily as soon as they touch soil, and that's handy because you may need many young plants if you want to use it to cover a whole area! Discover all our tips to multiply it by division, propagation by cuttings and layering.
Dividing Lippia
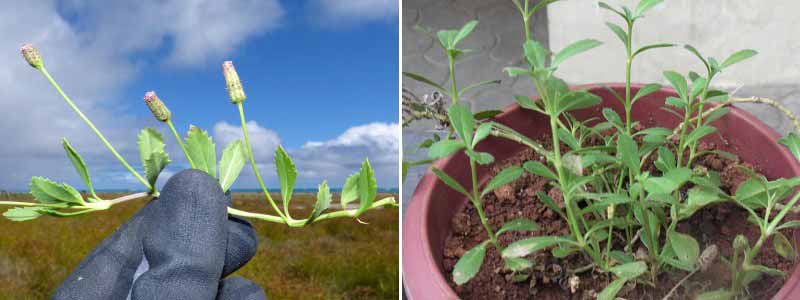
Like many groundcover plants, Lippia is easy to divide, as its creeping stems spontaneously form roots when in contact with soil. Simply take part of the clump to replant elsewhere or into a pot. Best carried out in late winter.
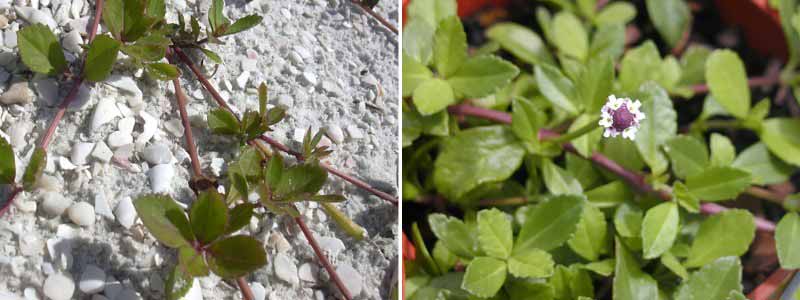
- Identify some creeping stems that have rooted on contact with the soil.
- Carefully lift them, taking care not to damage the roots.
- Cut the section that connects them to the parent plant, cutting as close as possible to the offshoots.
- If they carry dead or damaged leaves, or flowers, remove them.
- Prepare pots by filling them with a well-draining substrate.
- Replant the offshoots into the substrate.
- Replace some substrate all around and firm down gently.
- Water generously.
Required equipment
- A transplanter
- A knife
- Pots
- Light, well‑draining compost
- A watering can
Propagating Lippia by cuttings
Propagation by cuttings of Lippia is best carried out in spring.
- Cut stem sections about 10 cm long, preferably without flowers, bearing at least two or three nodes (points where leaves attach to the stem).
- Remove leaves on the lower third of the stem. This will limit water loss (by evaporation through the stomata on the leaves), and so help prevent the cuttings from drying out. If the stem bears flowers, remove them too.
- Prepare pots with a draining substrate, ideally a mix of compost and coarse sand.
- Water the substrate.
- Make a small hole in the substrate using a pencil or stick.
- Insert the stem into the substrate, then firm down around it.
- Place the pots in a bright spot, protected from direct sun.
- Continue to water regularly.
Required equipment
- A sharp, disinfected knife
- Pots
- Compost
- A pencil or stick
- A watering can
Layering Lippia
- Take a pot and fill it with a draining substrate.
- Identify a long Lippia stem, preferably not in flower. If it bears flowers or buds, remove them (this helps the layering direct its energy to rooting rather than flowering).
- Place part of that stem over the pot, at a node (point where leaves attach to the stem): this is where Lippia will produce new roots. Remove the leaves on that section.
- Cover that section of stem with substrate. Lippia stems root easily even without being buried, but covering helps hold it in place and increases contact area with substrate.
- Firm down lightly.
- Water.
- Continue to water regularly until establishment. The stem should readily produce new roots where buried.
- Once established, you can cut the section that links it to the parent plant, as close as possible to the pot.
Required equipment
To go further
- Our young plants of Phyla nodiflora, and of Phyla nodiflora var. canescens, with paler flowers
- Our full range of alternatives to short grass meadow
- Our article: “Alternatives to grass: 10 ground covers to replace short grass meadow”


Comments