


Growing chervil in pots
A delicious herb perfect for a balcony
Contents
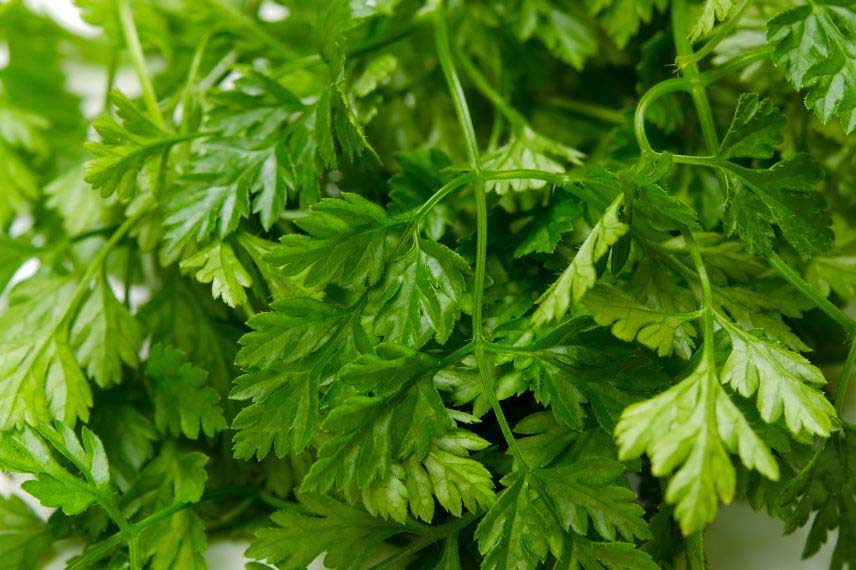
Its delicate aniseed flavour makes it a herb appreciated by all cooks: the chervil subtly enhances soups, as well as pasta and chicken dishes, to name just a few! And since you are always best served by yourself, you have the option to easily grow your own chervil in a pot, on your balcony, or even indoors. In daily life, this species requires very little maintenance: simply gather all the information to plant it correctly, and you can enjoy it afterwards!

Which varieties to choose?
There are several varieties of chervil: the common chervil is the most widespread, but you can also opt for other alternatives like the curled chervil. This one has a slightly milder flavour, but it allows for a more abundant and longer-lasting harvest throughout the year. The musk or anise chervil emits a strong anise scent. It’s up to you to choose your variety or varieties based on your goals and tastes!
Read also
Chervil: sowing, cultivation, harvestWhen to grow chervil?
You can sow chervil seeds in early spring (around March-April) when the soil temperature reaches about 10°C, for a harvest 4 to 6 weeks later. For a winter harvest, sowing can be done under cover or indoors in autumn (from October-November).
You can also choose our chervil young plants! Plant them in spring or summer (from March to August) and harvest from April to October depending on the planting time.
Discover other Chervil
View all →
Available in 2 sizes

Available in 1 sizes

Available in 1 sizes

Available in 1 sizes

Available in 1 sizes

Available in 1 sizes

Available in 1 sizes

Available in 1 sizes

Available in 1 sizes

Available in 1 sizes
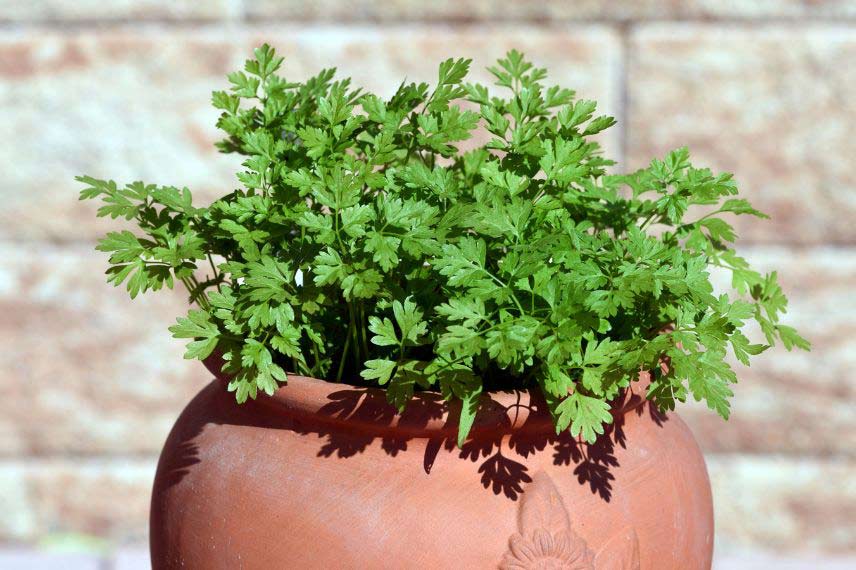
What type of pot can you use to grow chervil?
Make sure to get a large pot or a planter with generous dimensions (20 to 40 cm in diameter): at ripeness, chervil reaches about 30 to 70 cm and has a fairly compact habit, so it needs space to grow. Additionally, choosing a sufficiently large container also provides your specimen with all the moisture it needs for balance.
Read also
How to sow chervil?Which substrate to choose?
The pot in which you will plant the chervil should be filled with one third potting soil, one third sand, and one third garden soil. You can also use a potting soil specially suited for aromatic plants.
It is important to ensure that the substrate is well-drained to prevent root rot. It is also advisable to leave sufficient space at the bottom of the pot to allow water to drain freely. For this, you can use a layer of gravel or clay balls.
How to plant chervil?
If you are planting young plants of chervil directly:
- Moisten the root ball of the plant by immersing it in water while preparing your pot.
- Use a pot with drainage holes in the bottom.
- Fill the bottom of the pot with gravel or clay balls.
- Add your potting soil or your homemade substrate up to 2/3 of the pot.
- Position the chervil root ball in the pot.
- Ensure that the root ball is slightly sunk, just below the level of the pot.
- Fill in with your potting soil or mixture.
- Lightly compact to ensure the pot is filled with substrate in a homogeneous manner.
- Water generously and check that no air pockets have formed; if so, fill with substrate.
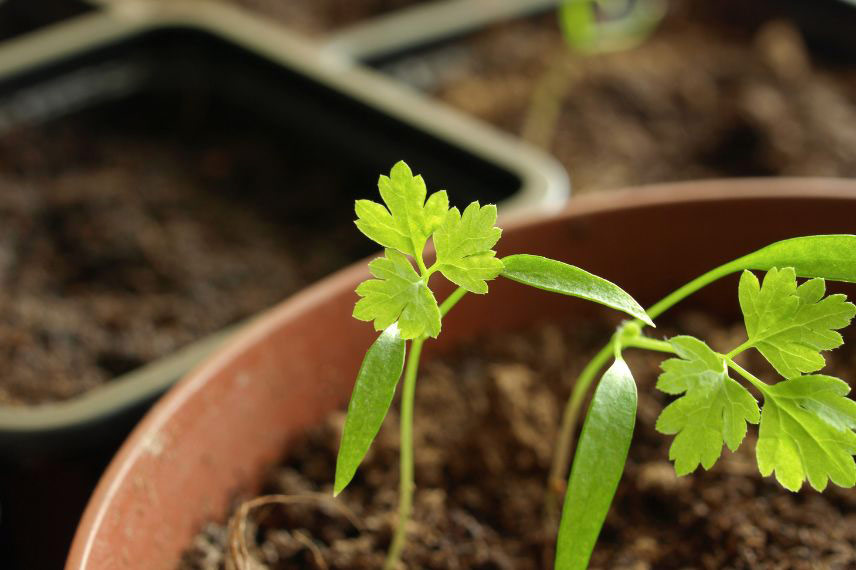
Sowing chervil in pots: the steps
If you prefer to carry out your sowing:
- Start by lining the bottom of the pot with a layer of clay balls to improve drainage. You can replace them with gravel or another draining solution if you wish.
- Sow sparsely
- Cover with a little sifted compost
- Gently firm down
- Water thoroughly with a fine spray
- As soon as the young plants appear, continue to water them regularly and expose them to light. Avoid letting them dry out between waterings.
- Thin out as soon as the young plants have a few leaves: each container can hold two to three plants, but no more!
- When the chervil plants have grown sufficiently, transplant them into a larger pot if necessary to allow them to develop. Ensure you do not damage the roots when moving the plants.
What exposure does chervil prefer?
It appreciates rather fertile, cool, light, well-drained soil, in a semi-shaded position. Too hot a situation in summer leads to quicker flowering and seed setting. It does not like heat. Ideally, it will prefer a warm exposure in spring and then a cool one in summer.
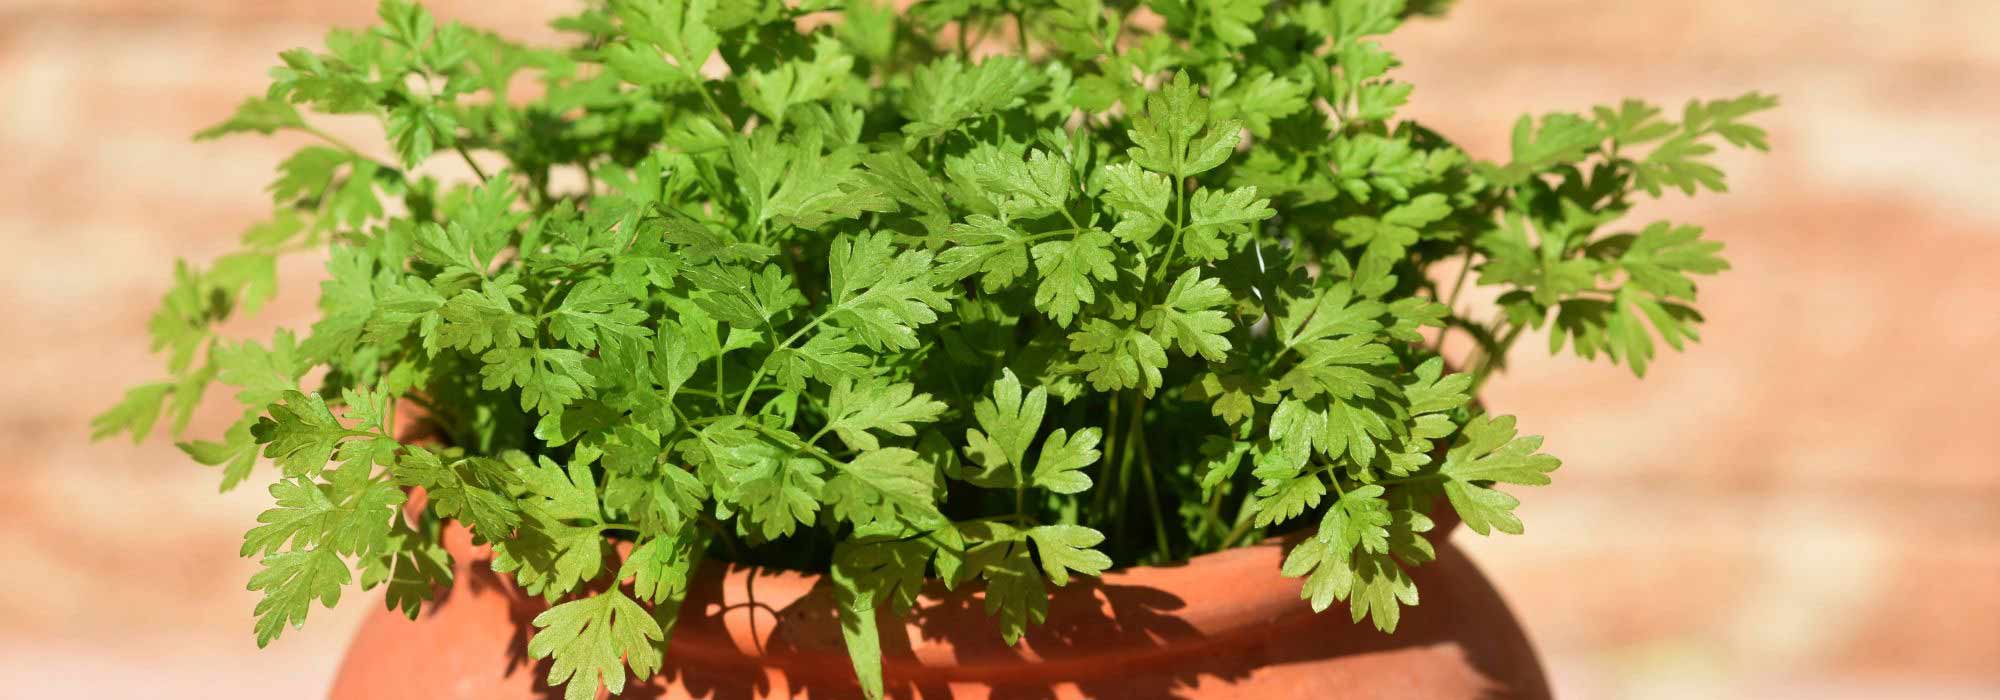
Growing your chervil in a pot is easy!
Before thinking about harvesting chervil, you must naturally do everything to take care of it. Fortunately, this plant proves to be very low-maintenance. Even without dedicating much time and energy, you will easily achieve very satisfactory results.
Chervil is not very demanding; it is often recommended to let it grow as naturally as possible. A time and money saver for you!
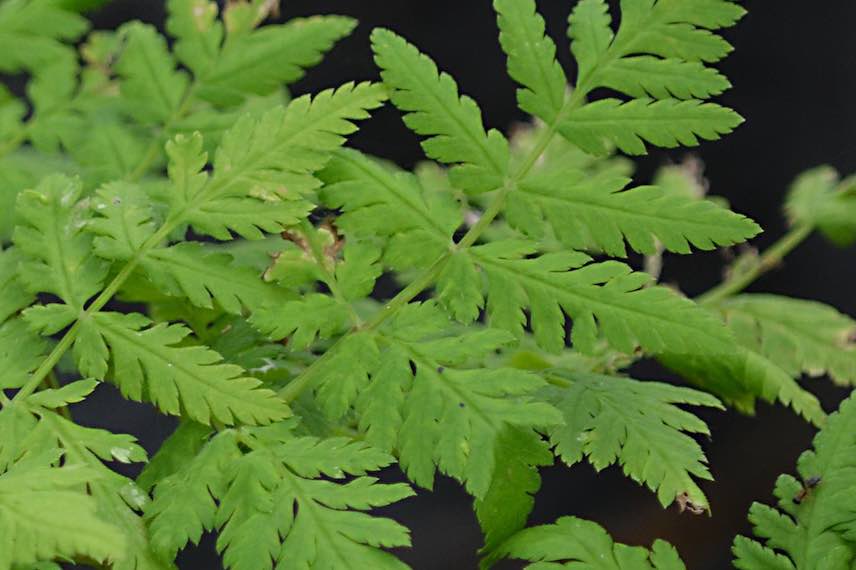
Photo: UNVOIS JACKY
When to water chervil in pots?
This is one of the few tasks for the aspiring gardener wishing to grow chervil in pots: water regularly, as this species needs fairly moist soil. Soil that is too dry could accelerate running to seed, which is undesirable: if you aim to space out your waterings, you can apply a thin layer of organic mulch at the base.
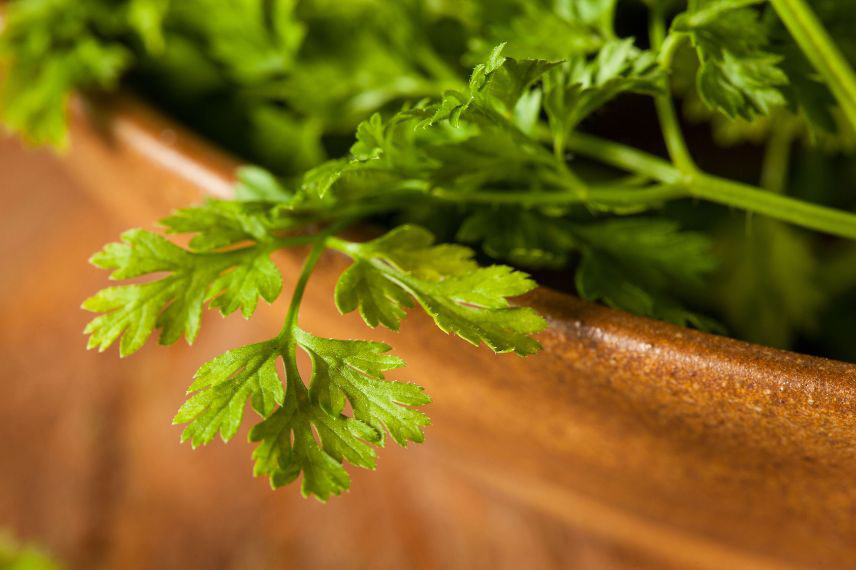
Pruning and harvesting chervil
When the leaves of the chervil develop, you simply need to cut the flower stems to prevent spontaneous sowing and running to seed. To use the most flavourful leaves, cut them before they exceed about 20 cm. You can have your first harvests approximately 6 weeks after planting, and you can continue to gather them day by day, according to your needs.
Still aiming to avoid spontaneous sowing, you can cut the flower spikes, which will also stimulate leaf development. By the end of summer, don’t forget to bring the pots indoors, as common chervil does not tolerate temperatures below -5°C (whereas musk chervil is hardy down to -15°C!).
Some tips for using chervil
Since you can grow and harvest your own chervil leaves, take the time to learn about the best ways to store and use it at home, as well as in the garden.
Harvesting at the Right Time
You can harvest your chervil leaves between April and October by cutting the stems at ground level. However, note that the most intensely flavoured leaves are those harvested before flowering. If you wish to harvest the tubercles, wait until July; and leave them to dry on the soil after removing their leaves.
Storing Chervil
As much as possible, consume your chervil fresh, soon after harvesting, to enjoy its flavours to the fullest. You can place it in the refrigerator for a few days, provided you take care to wrap it in slightly damp absorbent paper or place it in a glass of water.

There is also a method for drying chervil by placing it in a dry, airy location, hanging it upside down. Finally, you can freeze it to use throughout the year and preserve its flavour.
Cooking with Chervil
There are plenty of opportunities to use chervil: you can enjoy its aniseed flavour to enhance your sauces and dressings, providing a change from parsley, and you can also add it to fresh cheeses – and even to meats and fish. Renowned for their many virtues, the leaves are sometimes also included in homemade infusion recipes.
- Subscribe!
- Contents

Comments