


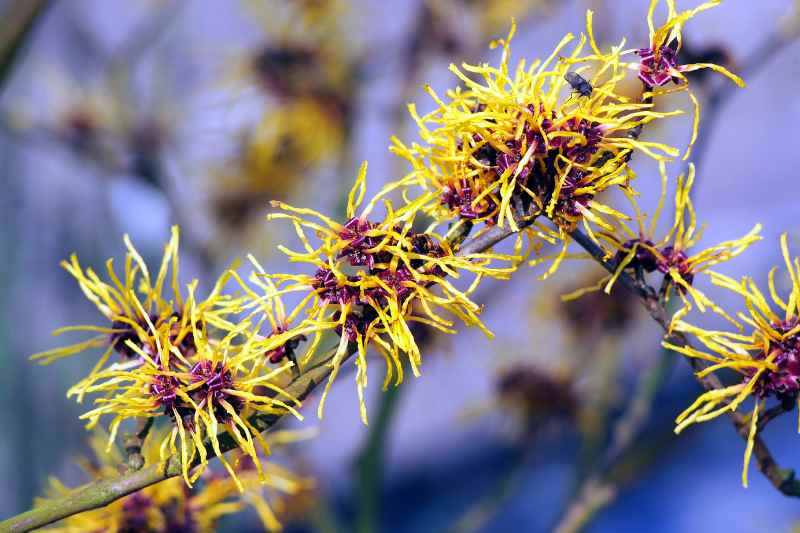
The Witch Hazel or Witch Hazel is an ornamental bush particularly prized for its fragrant winter flowering and flamboyant autumn colours. If you wish to propagate a specimen, propagation by cuttings is an accessible method, albeit delicate, requiring some patience as rooting takes time. Let’s explore when and how to take cuttings from witch hazel, how to successfully root witch hazel cuttings, and what materials to use. Here’s a step-by-step guide to mastering this propagation technique!
Why propagate witch hazel by cuttings?
Witch hazel is known to be difficult to propagate by cuttings. It’s not the most common method for multiplying this bush, as this bush roots poorly from cuttings. The success rate is low, but with optimal conditions (heat, humidity, plant hormones for cuttings), the experiment can be successful. This method allows you to:
- Multiply a specific variety: Propagation by cuttings allows you to faithfully reproduce a witch hazel with particular flowering, habit, or foliage colour, avoiding the variations possible with sowing.
- Save time compared to sowing: Witch hazel seeds can sometimes take several years to germinate, and the growth of young plants is slow. Successful propagation by cuttings yields a mature bush more quickly.
- An alternative to grafting: Witch hazel is often propagated by grafting onto a more vigorous rootstock, such as Hamamelis virginiana. However, propagation by cuttings can be an option for those who don’t master this technique or wish to try another method.
When to propagate witch hazel by cuttings?
Witch hazel is propagated by cuttings in summer, between July and August, when the semi-hardwood stems (neither too tender nor too hard) have formed. At this time, the stems are vigorous enough to develop roots while still tender enough to respond to propagation by cuttings. It’s also possible to attempt propagation by cuttings in autumn, but the success rate is generally lower.
How to propagate witch hazel by cuttings?
Required materials
- A sharp pruning shear for a clean cut
- Pots or large buckets
- Seed and potting compost or a mix of 2/3 turf and 1/3 garden sand
- A rooting activator (facultative)
- A transparent plastic bag, a cloche, a plastic bottle, or a mini greenhouse to maintain humidity
Steps for propagation by cuttings
Rooting witch hazel cuttings is delicate, but by following certain steps and creating favourable conditions, you can maximise the success rate. The heel cutting method is often preferred, as it offers better chances of success.
- Prepare the cuttings
- Select healthy, vigorous shoots from the current year.
- Using a sharp pruning shear, cut a tip of about 10 to 15 cm with a heel, i.e., by including a small piece of older wood at the base of the cutting.
- Remove the lower leaves and keep only 2 to 3 upper leaves, reducing their size by half to limit evaporation.

2. Use a root activator
Since witch hazel struggles to produce roots, it’s highly recommended to:
- Dip the base of the cuttings in a powdered or gel root activator.
- Shake off the excess before planting.
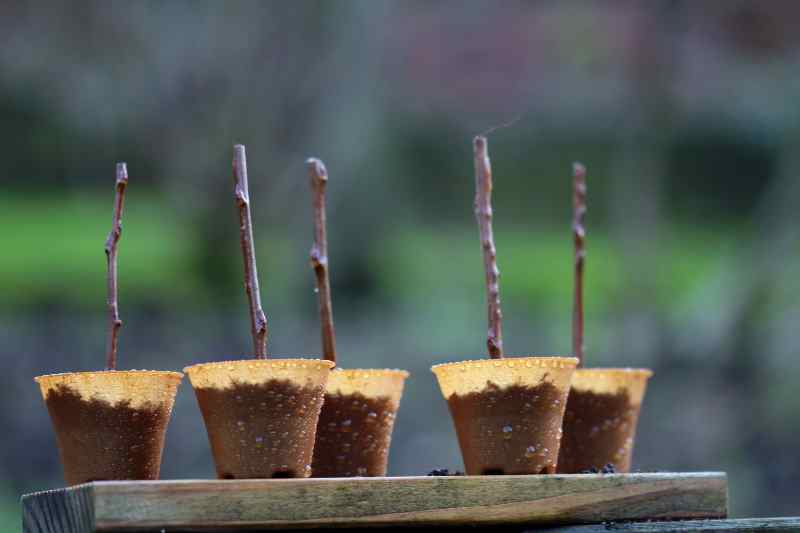
3. Plant in a suitable substrate
- Fill pots or a tray with the well-draining substrate and moisten thoroughly.
- Insert the heel slightly to ensure good contact with the substrate, lightly firming around it.
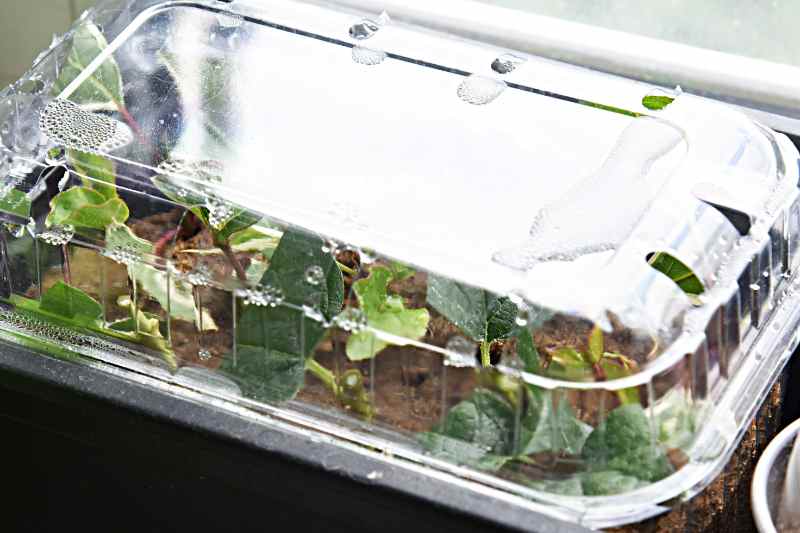
4. Create a warm and humid atmosphere
- Place the pots in a closed environment, such as under a mini greenhouse, a perforated plastic film, or cover them with a transparent bag secured with stakes, to retain humidity and warmth.
- Position in a warm spot (20-25°C) but out of direct sunlight.
- Mist regularly to prevent drying out.
5. Monitor rooting
Rooting can take several months (sometimes until the following spring).
- Check the substrate’s moisture regularly.
- Ventilate the mini greenhouse daily to prevent condensation and mould growth.
- Once the roots are well-developed, after 2/3 months, transplant into individual pots with a richer substrate before planting in the ground after a few years (wait two or three springs).
- Gradually acclimatise the young plants to the open air before planting in the ground.


Comments