


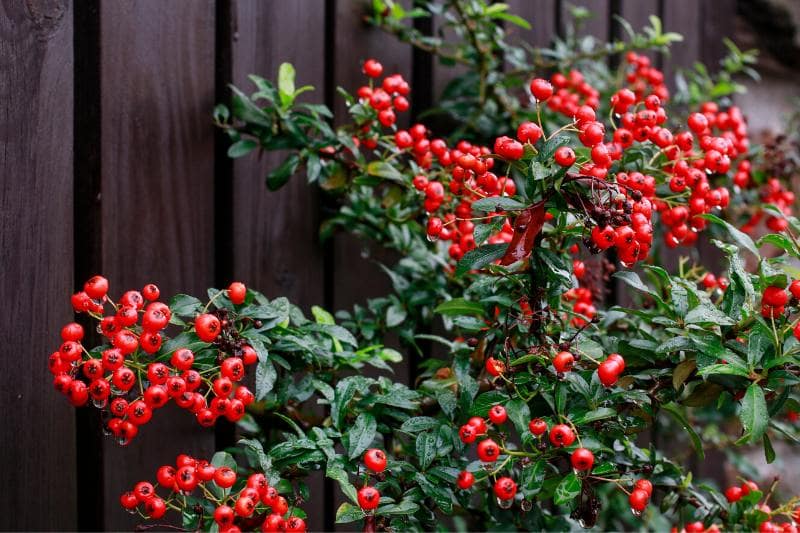
The Cotoneaster is a beautiful bush much appreciated for its evergreen or deciduous foliage and its pretty white or pink flowering, followed by small red or orange berries in autumn. Depending on variety, the bush can reach from 25 cm to 3 m in height. Training a cotoneaster makes it possible to create a beautiful vertical green screen against a wall or wire fence. This technique also allows control of its growth. Discover in this tutorial our tips and tricks on how to train a cotoneaster.
Which Cotoneaster variety to choose?
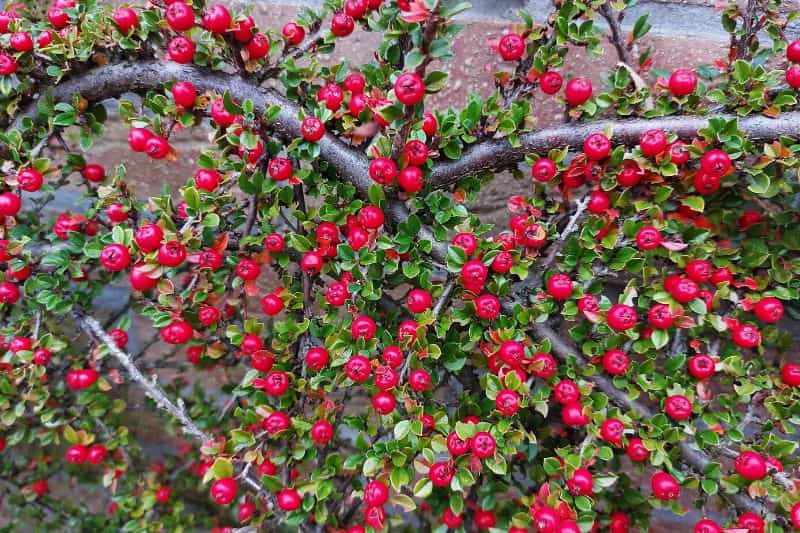
Cotoneaster horizontalis
The cotoneaster horizontalis, known as the creeping cotoneaster, is a pretty creeping variety with semi-evergreen foliage, dark glossy green that turns reddish‑orange in autumn. Its horizontal branches are well suited to vertical training against a wall or trellis. It is the variety most commonly used to cover a façade. Melliferous, it produces in May a multitude of small white and pink flowers, which are followed by small bright red berries.
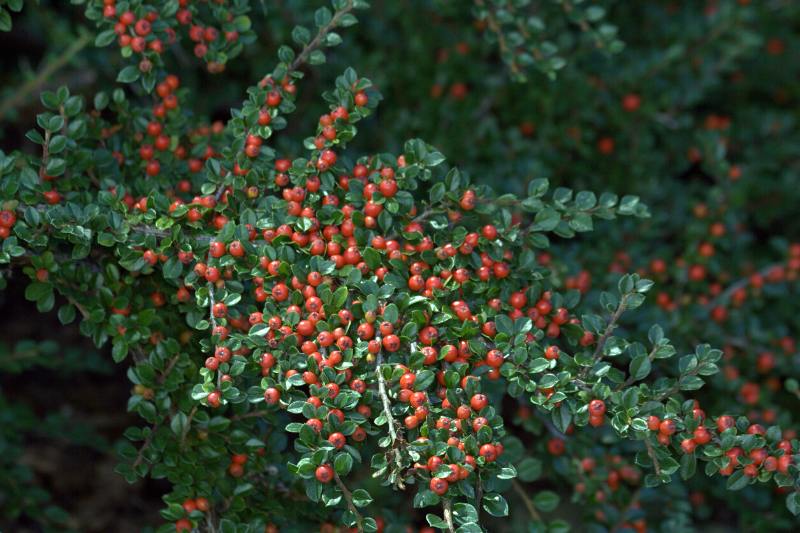
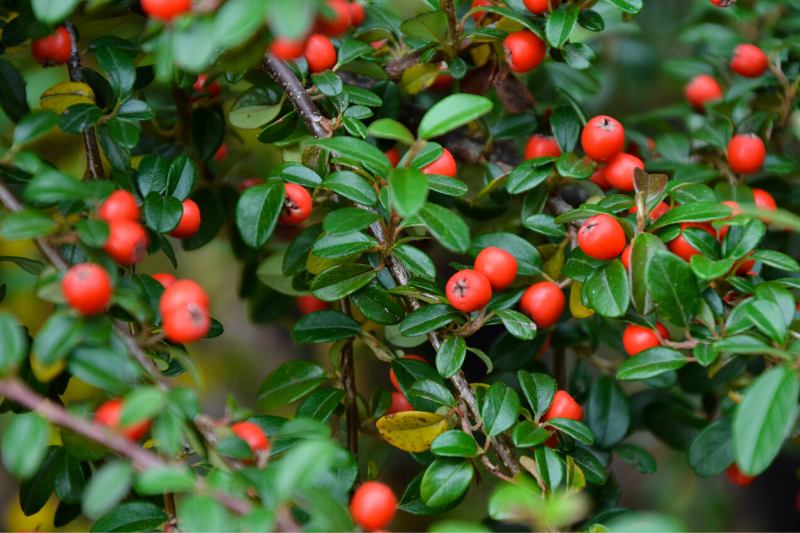
Cotoneaster dammeri
The cotoneaster dammeri has a spreading habit that makes it an excellent groundcover, but it is also easy to train against a house, wall or wire fence. Its dark evergreen foliage remains decorative even in winter. Its rapid growth allows it to spread vigorously. In June it is covered with small white flowers streaked with pink, followed by small decorative red berries.
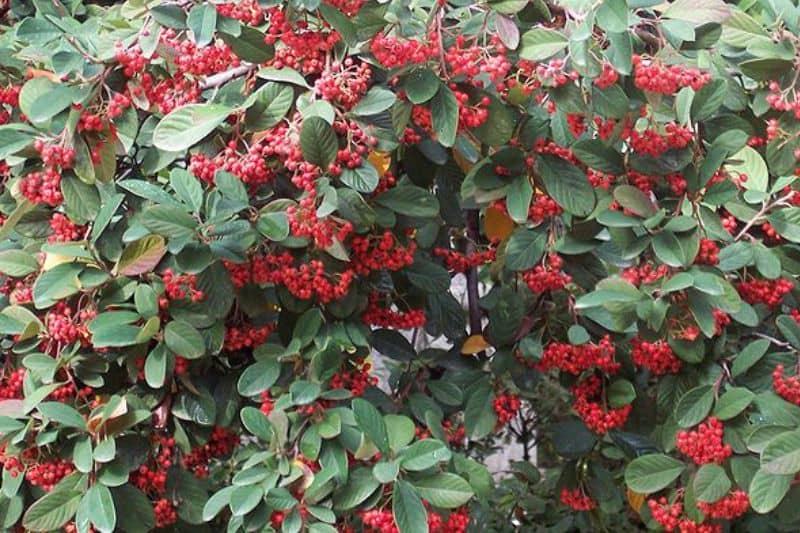
Cotoneaster lacteus
The milky cotoneaster (Cotoneaster lacteus) is a handsome bush with rapid growth and, unlike the two previous varieties, is not a creeping cultivar. Often used for hedging, it is also easily trained against a wall or wire fence, and can reach up to 3 metres in every direction. In spring it produces masses of white, melliferous and scented flowers. These are followed by small bright red fruits much appreciated by birds.
Choosing the right support
The most commonly used support for training a cotoneaster is a wire or wooden trellis fixed against a wall. A wire mesh can also be used as a vertical support for the plant.
Branches of the cotoneaster are then attached to the support using soft ties, with a plastic or foam sheath, to avoid damaging the shoots.

Steps to train a cotoneaster
1- Install your support against the wall or in the spot in the garden where you want to train your cotoneaster. Leave a gap of at least 5 to 10 cm between the wall and the structure to allow good air circulation and enough room to attach your fixings.
2- Plant your bush at the base of the support, at a distance of 20 to 30 cm. Planting is preferably carried out either in autumn, from September to November, or in spring between March and May, once risk of frost has passed. Also remember to water at planting.
Note: cotoneaster grows in all soil types provided substrate is well drained, as it dislikes waterlogged or clay soils in winter. Do not hesitate to lighten your soil with garden sand or gravel. Although it tolerates light shade, choose a sunny position to obtain abundant flowering and fruiting.
→ For more information, browse our full page on cotoneaster: planting, pruning and maintenance.
3- Start training the cotoneaster at the beginning of growth, attaching the stems at regular intervals to the trellis or cabling. Use soft rubber ties to gently secure the shoots without damaging them.
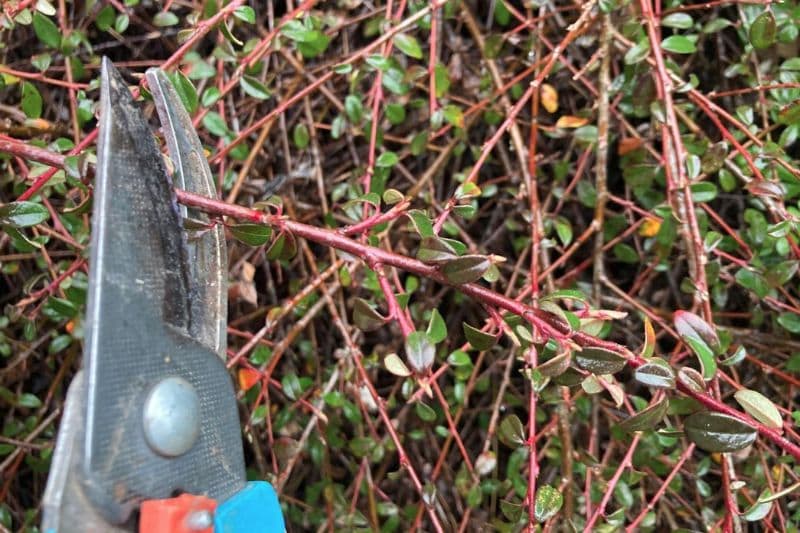
4- During growth, regularly remove, using pruning shears, unsightly branches to maintain the trained shape. Once well developed, branches are cut back to a maximum of 4 buds from the base of the shoots each year.
This pruning is carried out at the end of winter for deciduous‑leaved varieties, around February–March. For evergreen‑leaved varieties, prune in spring, just after flowering. Also prune main branches to encourage the bush to branch out when young. Lateral branches should be trained upwards or horizontally to prevent them from hanging down. Main branches should be kept vertical to give the plant an elegant and regular appearance.
Further reading
- Discover our plant sheet on the cotoneaster: planting, pruning and maintenance
- View all our Cotoneasters available.


Comments