


Buscaro Red Cabbage plugs
Buscaro Red Cabbage plugs
Brassica oleracea var. capitata f. rubra Buscaro
Red Cabbage
Conforming to the description, plants in good condition.
Sandie C., 12/06/2018
Special offer!
Receive a €20 voucher for any order over €90 (excluding delivery costs, credit notes, and plastic-free options)!
1- Add your favorite plants to your cart.
2- Once you have reached €90, confirm your order (you can even choose the delivery date!).
3- As soon as your order is shipped, you will receive an email containing your voucher code, valid for 3 months (90 days).
Your voucher is unique and can only be used once, for any order with a minimum value of €20, excluding delivery costs.
Can be combined with other current offers, non-divisible and non-refundable.
Why not try an alternative variety in stock?
View all →
Available in 1 sizes

Available in 1 sizes

Available in 1 sizes

Available in 1 sizes

Available in 1 sizes

Available in 1 sizes

Available in 1 sizes

Available in 1 sizes

Available in 1 sizes

Available in 1 sizes
This plant carries a 6 months recovery warranty
More information
We guarantee the quality of our plants for a full growing cycle, and will replace at our expense any plant that fails to recover under normal climatic and planting conditions.

Description
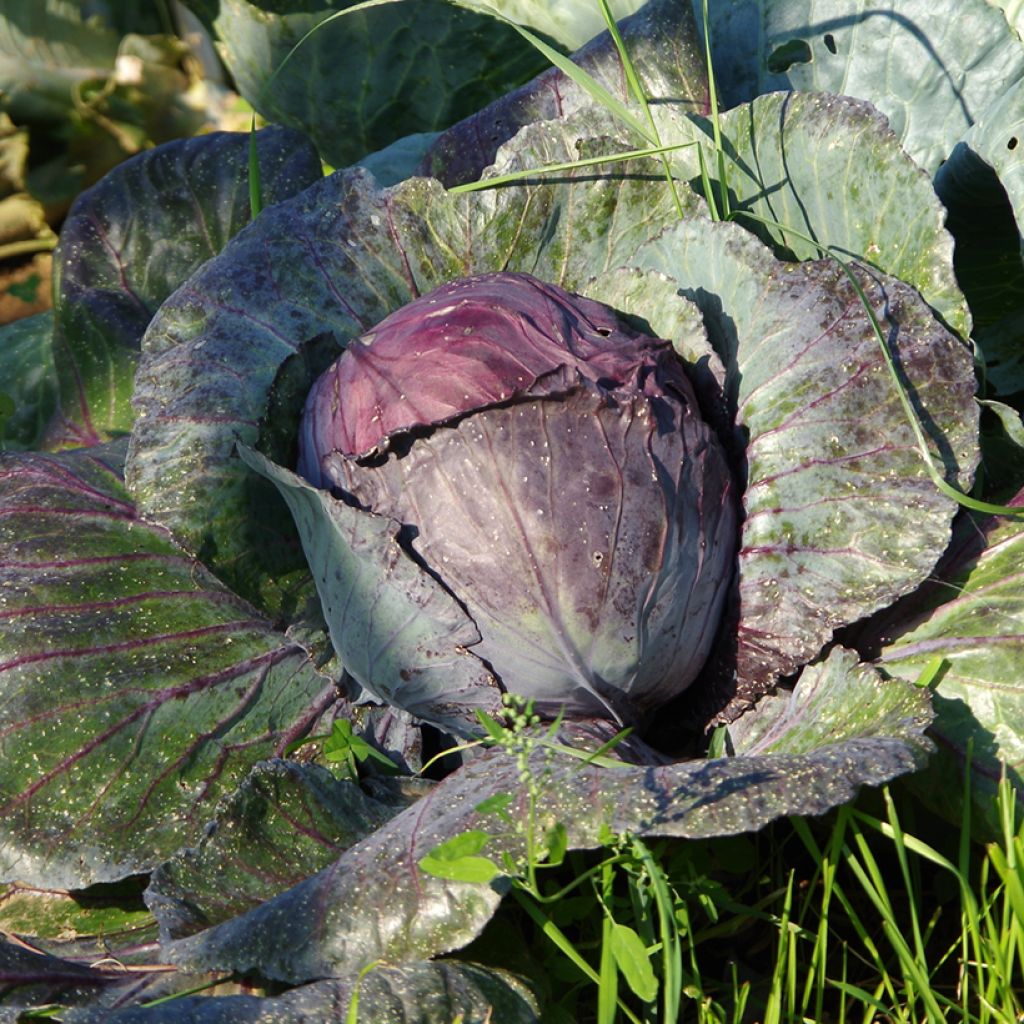
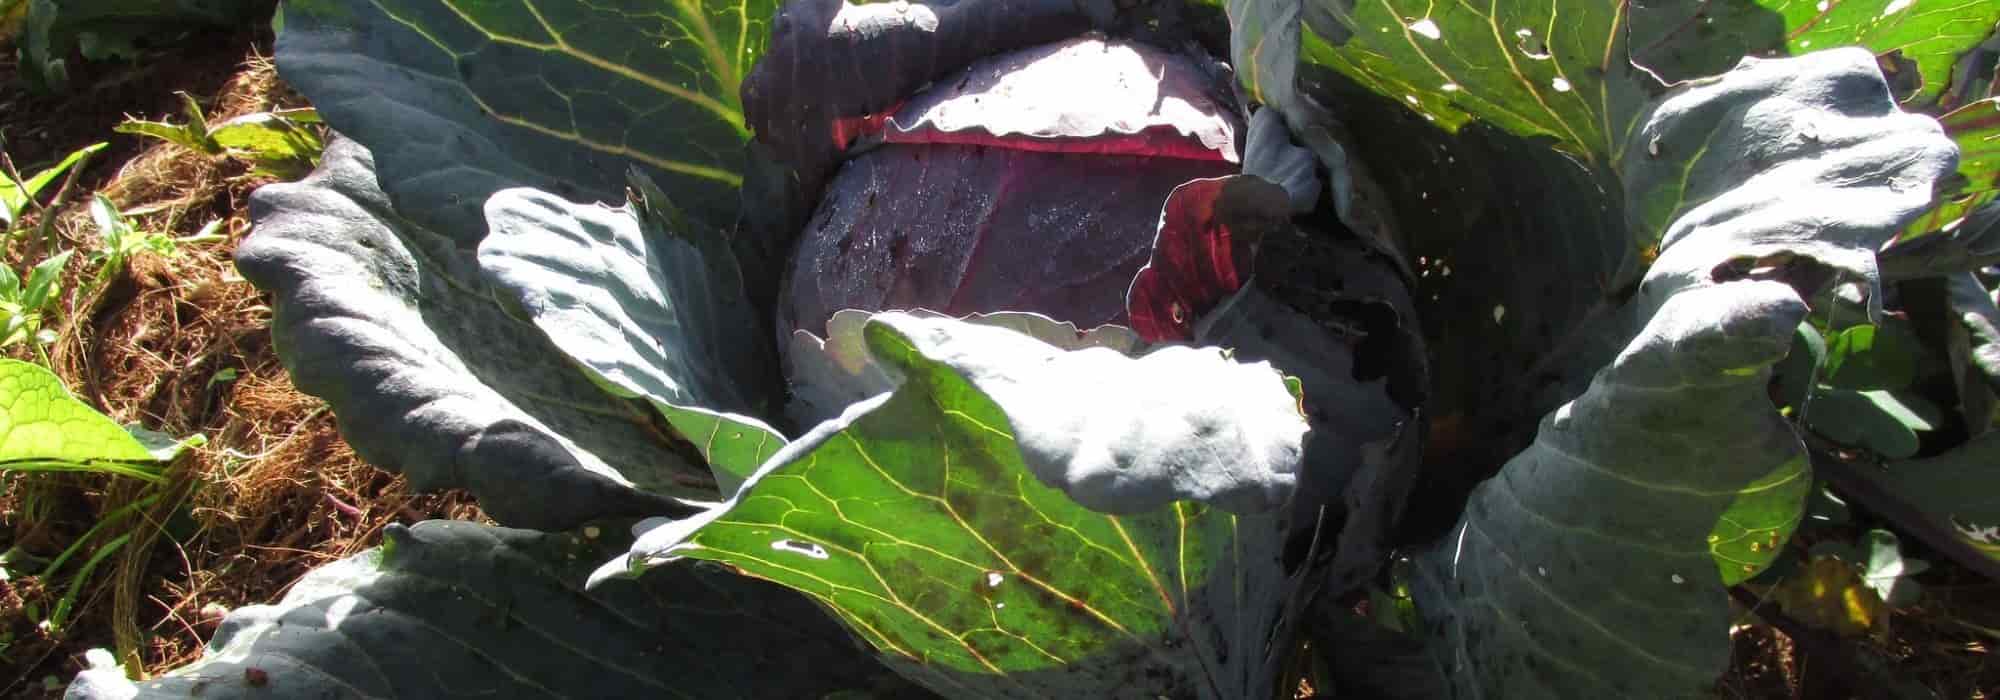
The Buscaro red cabbage is an ideal variety to grow for autumn harvests. This red cabbage or smooth-leafed cabbage produces beautiful elongated heads, weighing between 1.5 and 2 kg. The plug plants of the Buscaro red cabbage can be planted from March to June for a harvest from September to November.
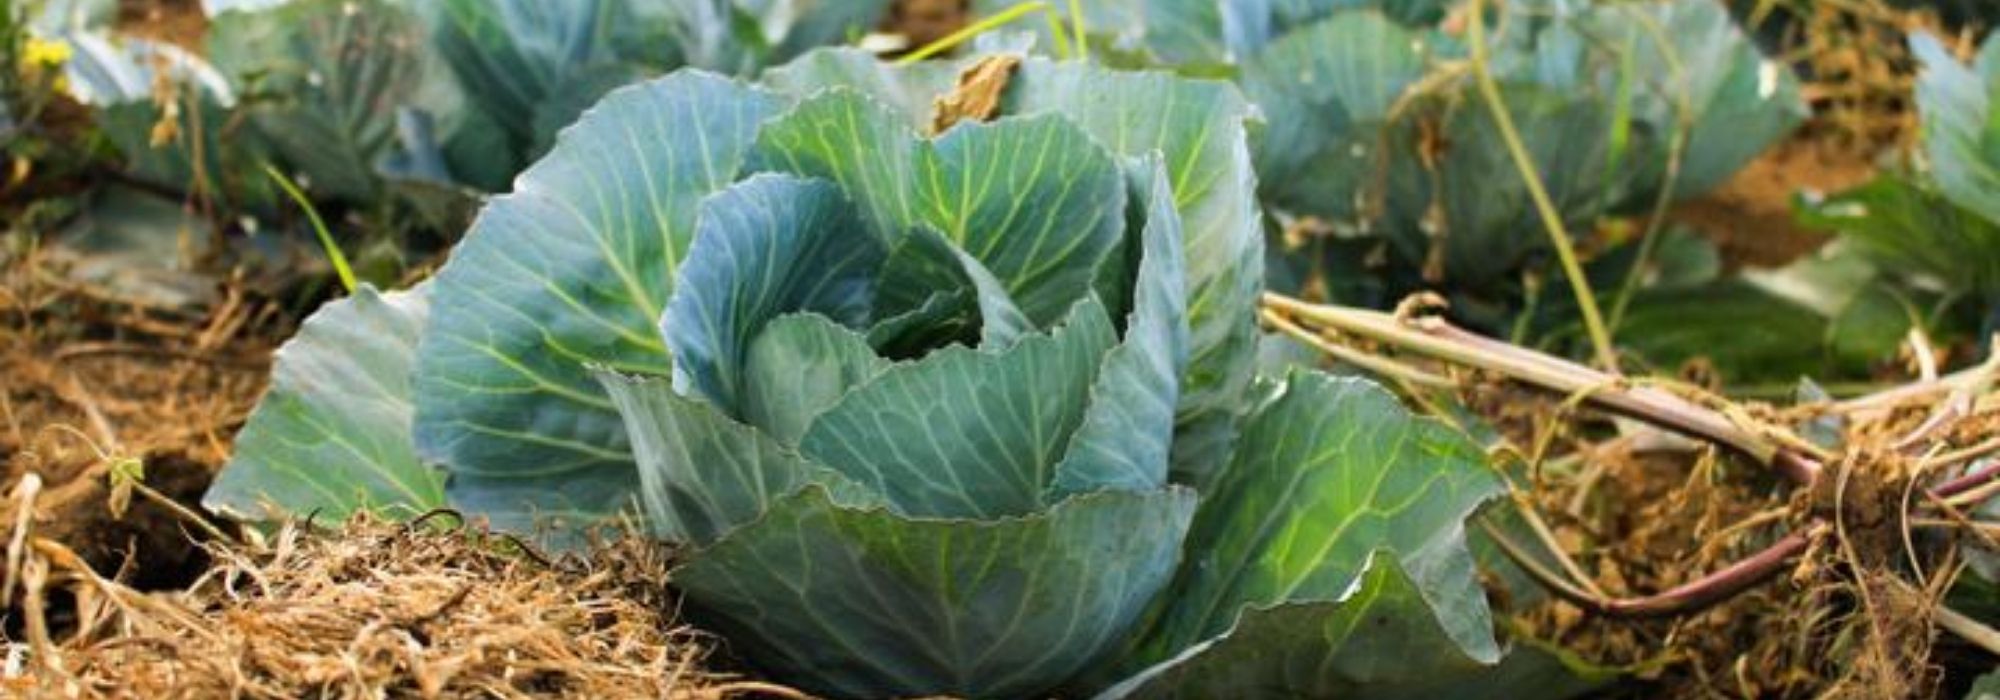
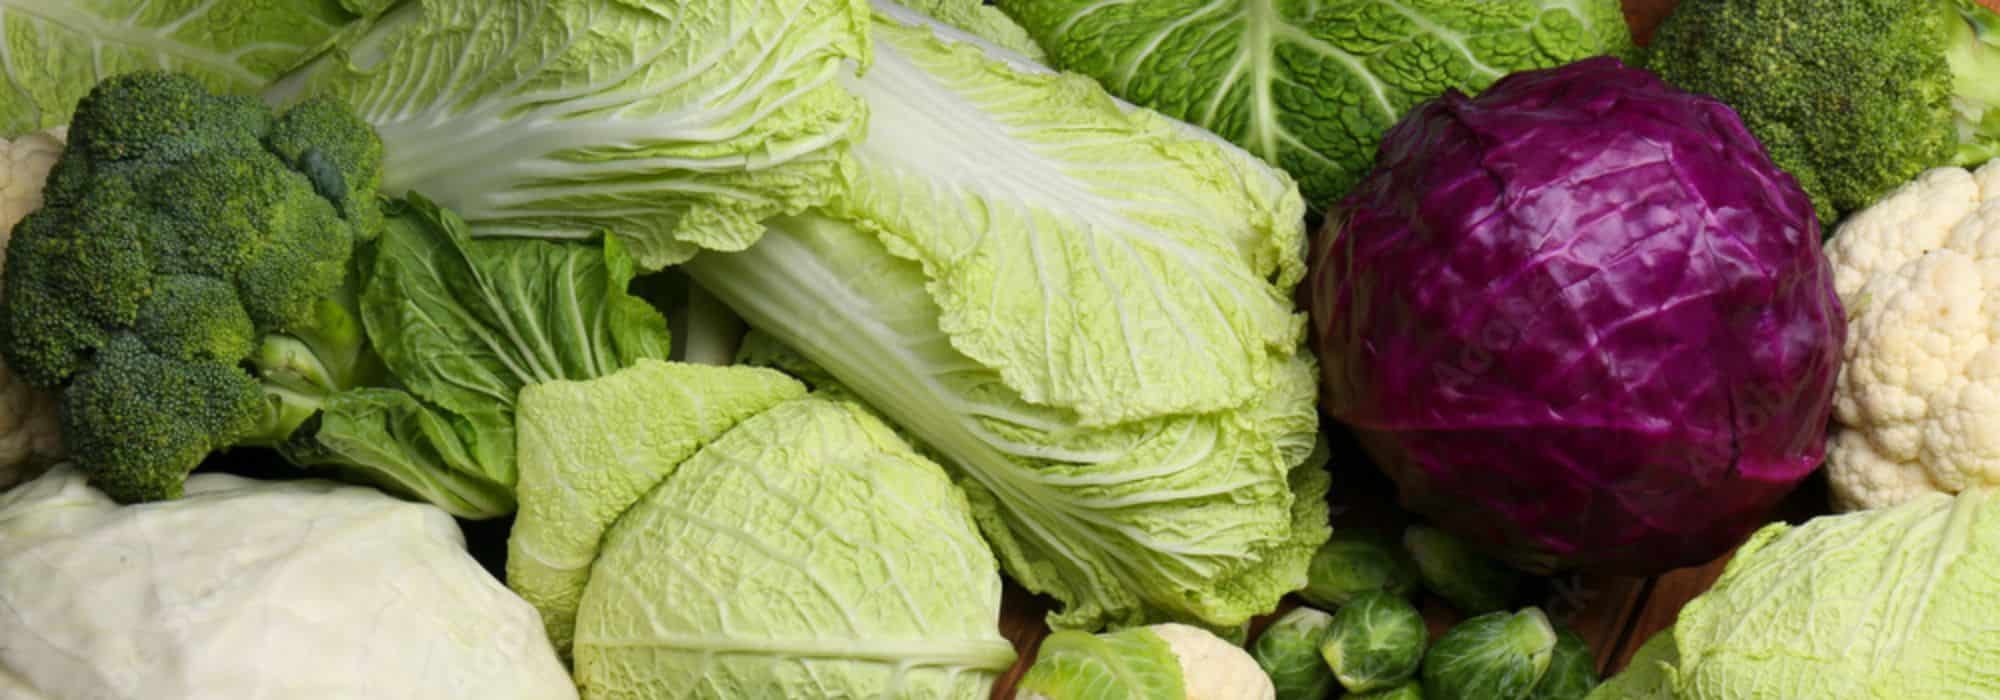
The red cabbage or smooth-leafed cabbage is a very popular leafy vegetable. It is a must-have in the vegetable garden and if we love it so much, it may be as much for its flavor as for the generous heads it forms. It belongs to the large Brassicaceae family (formerly Cruciferae), like other cabbages: cauliflower, broccoli, Brussels sprouts, savoy cabbage, green cabbage or curly cabbage, kohlrabi, Chinese cabbage, etc.
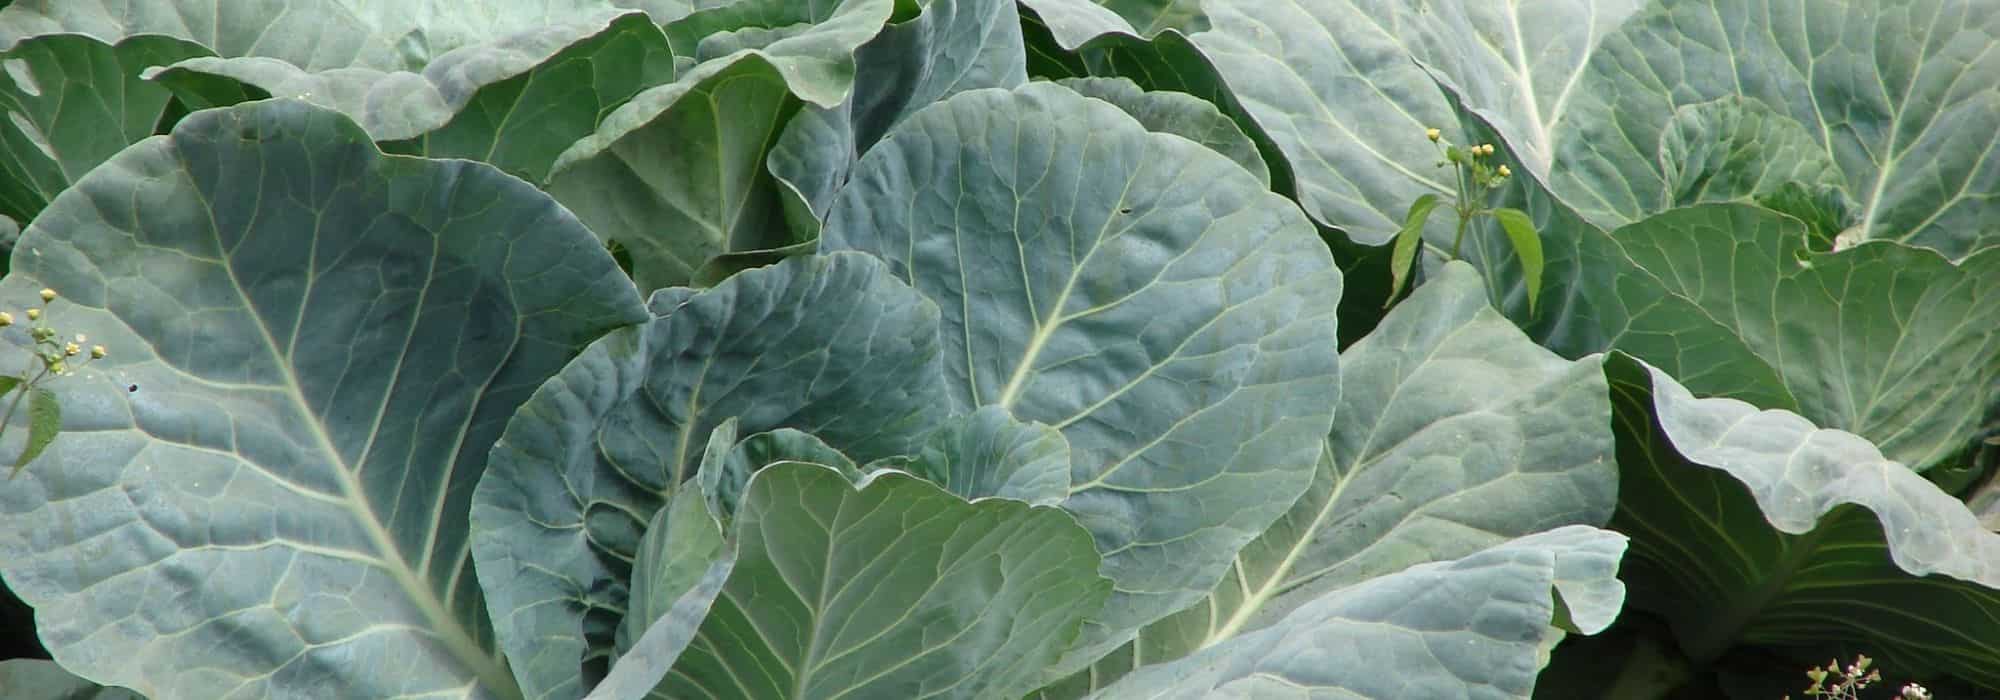
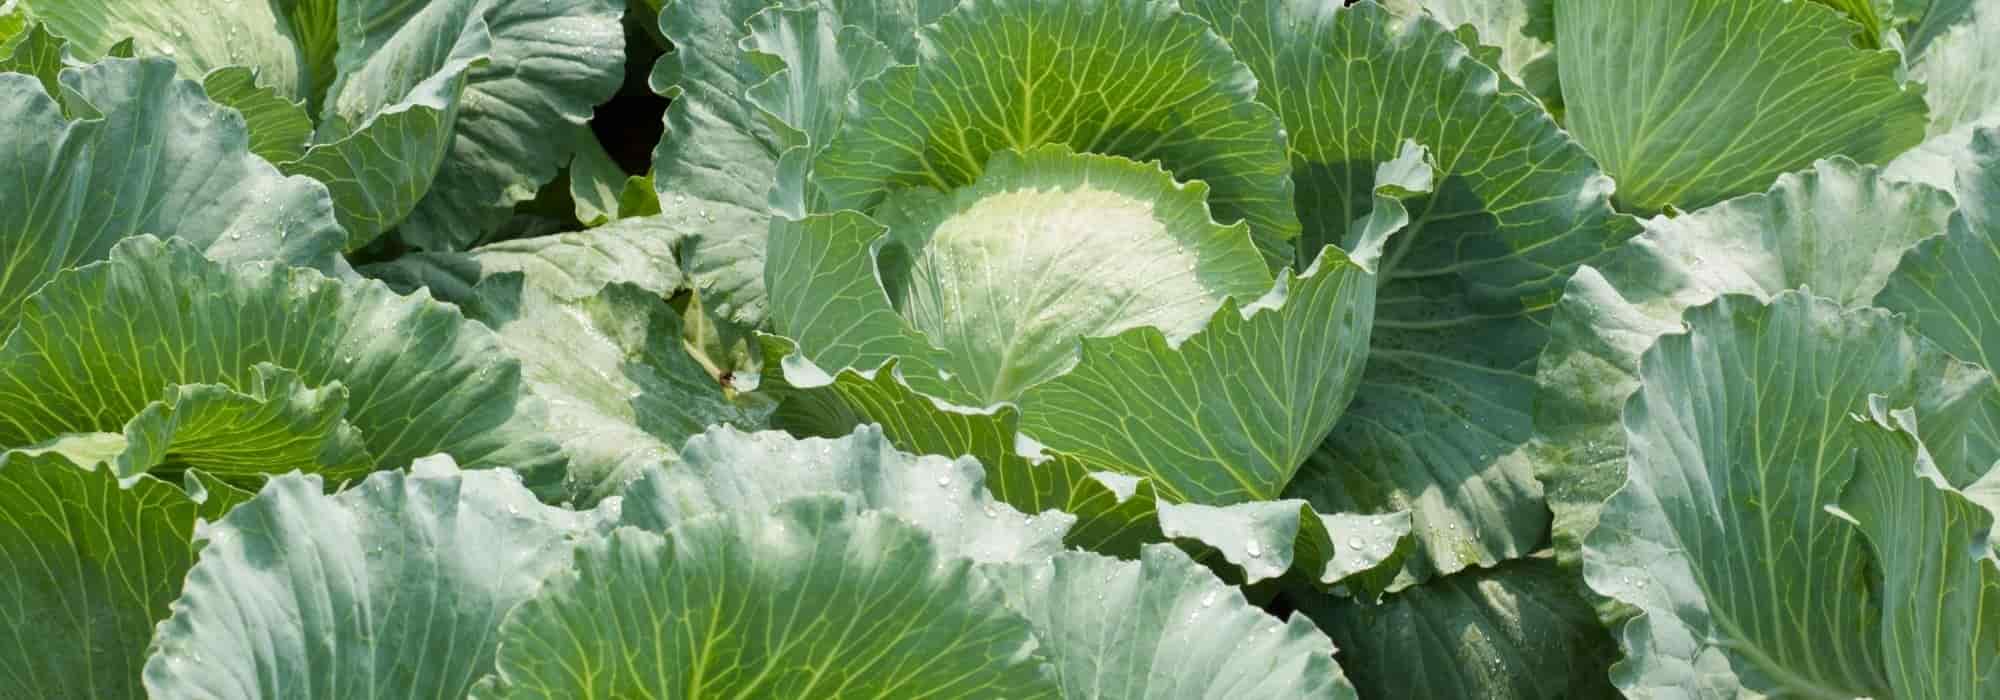
The red cabbage has the Latin name Brassica oleracea capitata, with capitata meaning 'head'. Originally from Europe, it is a biennial plant cultivated as an annual that produces a more or less tight head, which can be round, slightly flattened, or distinctly conical in pointed varieties. The leaves of the Cabus cabbage are smooth and their color varies depending on the variety: from very light green, almost white, to dark green, sometimes slightly bluish, or from red tinged with violet to almost black.
The smooth-leafed cabbage, although emblematic of winter, can be harvested almost all year round. Smooth-leafed cabbage varieties are generally grouped into three main categories: spring cabbages, which are harvested from late April to June, summer and autumn cabbages, which are harvested from July to November, and winter cabbages, which, along with leeks and parsnips, allow for waiting until the first spring harvests.
The Cabus cabbage can be eaten raw or cooked. It can be shredded in salads, braised to accompany meat and fish dishes, stuffed, or used in soups and sauerkraut. There are plenty of recipes, both traditional and modern.
From a dietary point of view, it is remarkable: it has low energy value but it is very rich in vitamins C, B6, and B9. It also contains a lot of fibre and minerals like calcium.
In the vegetable garden, it is an easy vegetable to grow as long as you meet its requirements: deep soil, excellent fertilization, and regular moisture. It thrives in the sun and generally does well in cool and rainy climates.
Harvest: it is carried out when the cabbage forms a beautiful head but before the leaves start to turn yellow. It is harvested with a knife, by simply cutting just below the head. This variety can be harvested from August to November.
Storage: the smooth-leafed cabbage can be kept for several days in the refrigerator. It can also be frozen very well after being blanched in salted boiling water. Winter varieties can also be left in the ground. Finally, the preparation of sauerkraut (lacto-fermentation) allows for the flavourful preservation of autumn varieties with white heads.
Gardener's tip: Don't forget the flowers! Even though the vegetable garden is primarily a garden for producing quality vegetables, it is always interesting to plant flowers in it. Even though the beauty of certain vegetables like cabbage is sufficient in itself, flowers will enhance the aesthetic aspect of the vegetable garden and also help repel pests and attract valuable pollinators. So, don't hesitate to plant Gaillardias, Marigolds, Zinnias, Cosmos, Nasturtiums, or beautiful herbs like Dill, right in the middle of the rows or along the edges of the beds. However, be cautious of certain plants, although useful, like borage, which tend to self-seed abundantly in dedicated growing spaces.
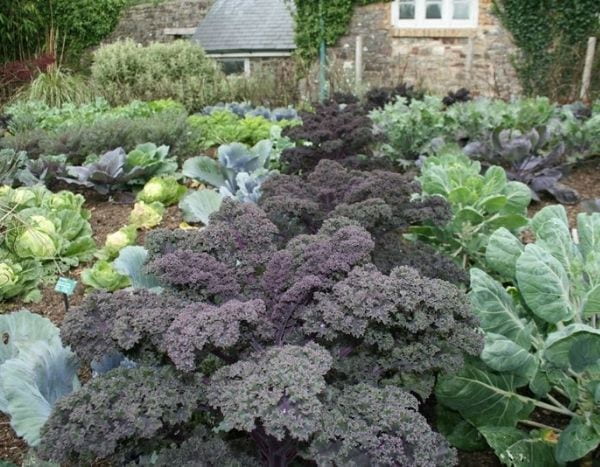
Harvest
Plant habit
Foliage
Planting and care
The Red Cabbage is cultivated in the sun. It is a greedy vegetable, which requires well-fertilized soil, rich in nitrogen and potassium. It is advisable to make a generous addition of mature compost (about 3/4 kg per m2) in autumn, by scratching to a depth of 5 cm (2in), after having, as for any vegetable cultivation, loosened the soil.
Planting: plug plants of this variety are planted from March to June for a harvest from August to November.
First, let the plug plants grow by transplanting them into trays or buckets with a diameter of 8 to 13 cm (3 to 5in), filled with potting soil. Place them in a warm and bright place. Water regularly.
For planting in open ground, choose a sunny location (or partial shade if your summers are very hot). Space the plants 40 cm (16in) apart in all directions. Soak the plug plant in water for a few moments before planting. Dig a hole, place the plant and cover with fine soil. Water thoroughly.
At the beginning of the cultivation, it is advisable to mound the soil around the Cabbages, to allow for better anchoring in the soil and better root development.
To limit watering, we recommend mulching the soil with thin successive layers of grass clippings, preferably mixed with dead leaves.
During cultivation, water moderately but regularly.
It is beneficial to associate it with many vegetables such as tomato, lettuce, and so on. However, avoid planting it next to other Brassicas as well as zucchini, fennel, lamb's lettuce, leek, and strawberry.
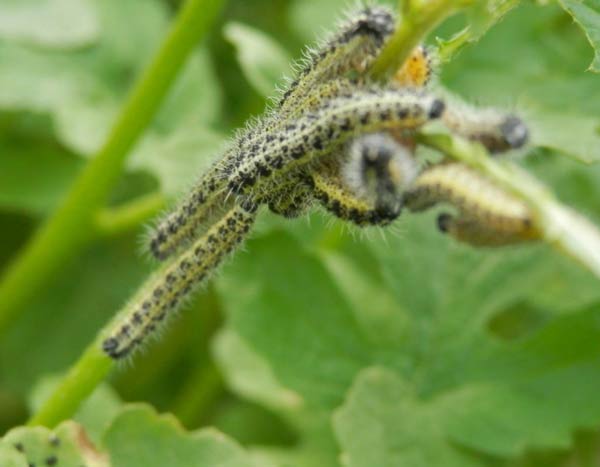
Beware of pests such as the Cabbage White Butterfly or Flea Beetles and consider installing insect netting. Cabbage is generally quite susceptible to diseases such as Clubroot, so it is important to rotate crops in the plots.
Note: Please note, our young plug plants are professional products reserved for experienced gardeners: upon receipt, transplant and store them under shelters (veranda, greenhouse, frame...) at a temperature above 14C° for a few weeks before being installed outdoors once the risk of frost is definitively eliminated.
Cultivation
Care
Intended location
Planting & care advice
-

-

-
-
-
-
-
-
-
, onOrder confirmed
Reply from on Promesse de fleurs
Recently viewed products
Haven't found what you were looking for?
Hardiness is the lowest winter temperature a plant can endure without suffering serious damage or even dying. However, hardiness is affected by location (a sheltered area, such as a patio), protection (winter cover) and soil type (hardiness is improved by well-drained soil).

Photo Sharing Terms & Conditions
In order to encourage gardeners to interact and share their experiences, Promesse de fleurs offers various media enabling content to be uploaded onto its Site - in particular via the ‘Photo sharing’ module.
The User agrees to refrain from:
- Posting any content that is illegal, prejudicial, insulting, racist, inciteful to hatred, revisionist, contrary to public decency, that infringes on privacy or on the privacy rights of third parties, in particular the publicity rights of persons and goods, intellectual property rights, or the right to privacy.
- Submitting content on behalf of a third party;
- Impersonate the identity of a third party and/or publish any personal information about a third party;
In general, the User undertakes to refrain from any unethical behaviour.
All Content (in particular text, comments, files, images, photos, videos, creative works, etc.), which may be subject to property or intellectual property rights, image or other private rights, shall remain the property of the User, subject to the limited rights granted by the terms of the licence granted by Promesse de fleurs as stated below. Users are at liberty to publish or not to publish such Content on the Site, notably via the ‘Photo Sharing’ facility, and accept that this Content shall be made public and freely accessible, notably on the Internet.
Users further acknowledge, undertake to have ,and guarantee that they hold all necessary rights and permissions to publish such material on the Site, in particular with regard to the legislation in force pertaining to any privacy, property, intellectual property, image, or contractual rights, or rights of any other nature. By publishing such Content on the Site, Users acknowledge accepting full liability as publishers of the Content within the meaning of the law, and grant Promesse de fleurs, free of charge, an inclusive, worldwide licence for the said Content for the entire duration of its publication, including all reproduction, representation, up/downloading, displaying, performing, transmission, and storage rights.
Users also grant permission for their name to be linked to the Content and accept that this link may not always be made available.
By engaging in posting material, Users consent to their Content becoming automatically accessible on the Internet, in particular on other sites and/or blogs and/or web pages of the Promesse de fleurs site, including in particular social pages and the Promesse de fleurs catalogue.
Users may secure the removal of entrusted content free of charge by issuing a simple request via our contact form.
The flowering period indicated on our website applies to countries and regions located in USDA zone 8 (France, the United Kingdom, Ireland, the Netherlands, etc.)
It will vary according to where you live:- In zones 9 to 10 (Italy, Spain, Greece, etc.), flowering will occur about 2 to 4 weeks earlier.
- In zones 6 to 7 (Germany, Poland, Slovenia, and lower mountainous regions), flowering will be delayed by 2 to 3 weeks.
- In zone 5 (Central Europe, Scandinavia), blooming will be delayed by 3 to 5 weeks.
In temperate climates, pruning of spring-flowering shrubs (forsythia, spireas, etc.) should be done just after flowering.
Pruning of summer-flowering shrubs (Indian Lilac, Perovskia, etc.) can be done in winter or spring.
In cold regions as well as with frost-sensitive plants, avoid pruning too early when severe frosts may still occur.
The planting period indicated on our website applies to countries and regions located in USDA zone 8 (France, United Kingdom, Ireland, Netherlands).
It will vary according to where you live:
- In Mediterranean zones (Marseille, Madrid, Milan, etc.), autumn and winter are the best planting periods.
- In continental zones (Strasbourg, Munich, Vienna, etc.), delay planting by 2 to 3 weeks in spring and bring it forward by 2 to 4 weeks in autumn.
- In mountainous regions (the Alps, Pyrenees, Carpathians, etc.), it is best to plant in late spring (May-June) or late summer (August-September).
The harvesting period indicated on our website applies to countries and regions in USDA zone 8 (France, England, Ireland, the Netherlands).
In colder areas (Scandinavia, Poland, Austria...) fruit and vegetable harvests are likely to be delayed by 3-4 weeks.
In warmer areas (Italy, Spain, Greece, etc.), harvesting will probably take place earlier, depending on weather conditions.
The sowing periods indicated on our website apply to countries and regions within USDA Zone 8 (France, UK, Ireland, Netherlands).
In colder areas (Scandinavia, Poland, Austria...), delay any outdoor sowing by 3-4 weeks, or sow under glass.
In warmer climes (Italy, Spain, Greece, etc.), bring outdoor sowing forward by a few weeks.