


How to rescue a dying houseplant?
Diagnosis and simple solutions
Contents
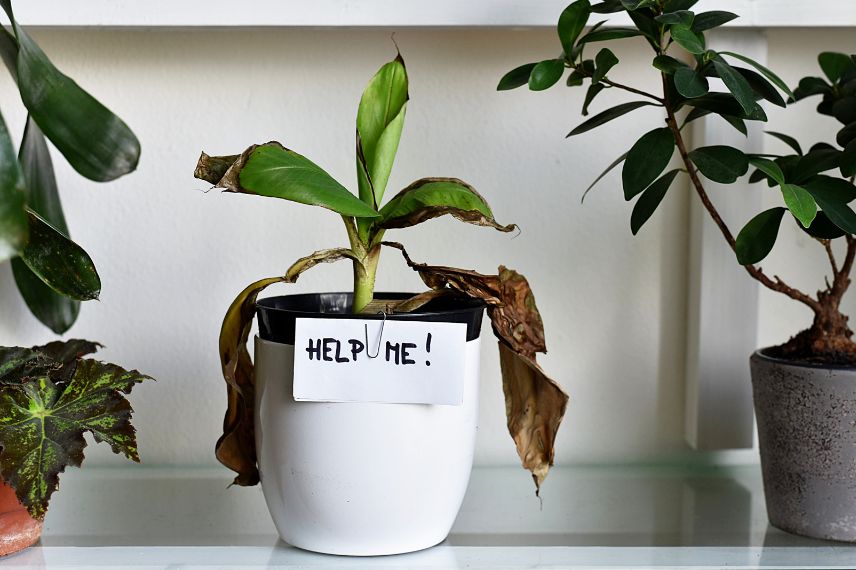
Houseplants bring life and colour to a living room, a bedroom or an office, but they can sometimes show signs of distress. Yellowing leaves, soft stems or stunted growth signal that something is wrong. To save a plant in distress, you need to understand the cause of its distress before acting. Discover how to diagnose the problem quickly and take simple, practical steps to restore vigour and vitality to your plant.

Understanding the signs of distress in a green plant
A weakened indoor green plant sends signals before wilting completely. Knowing how to recognise them allows you to intervene in time and save your plant.
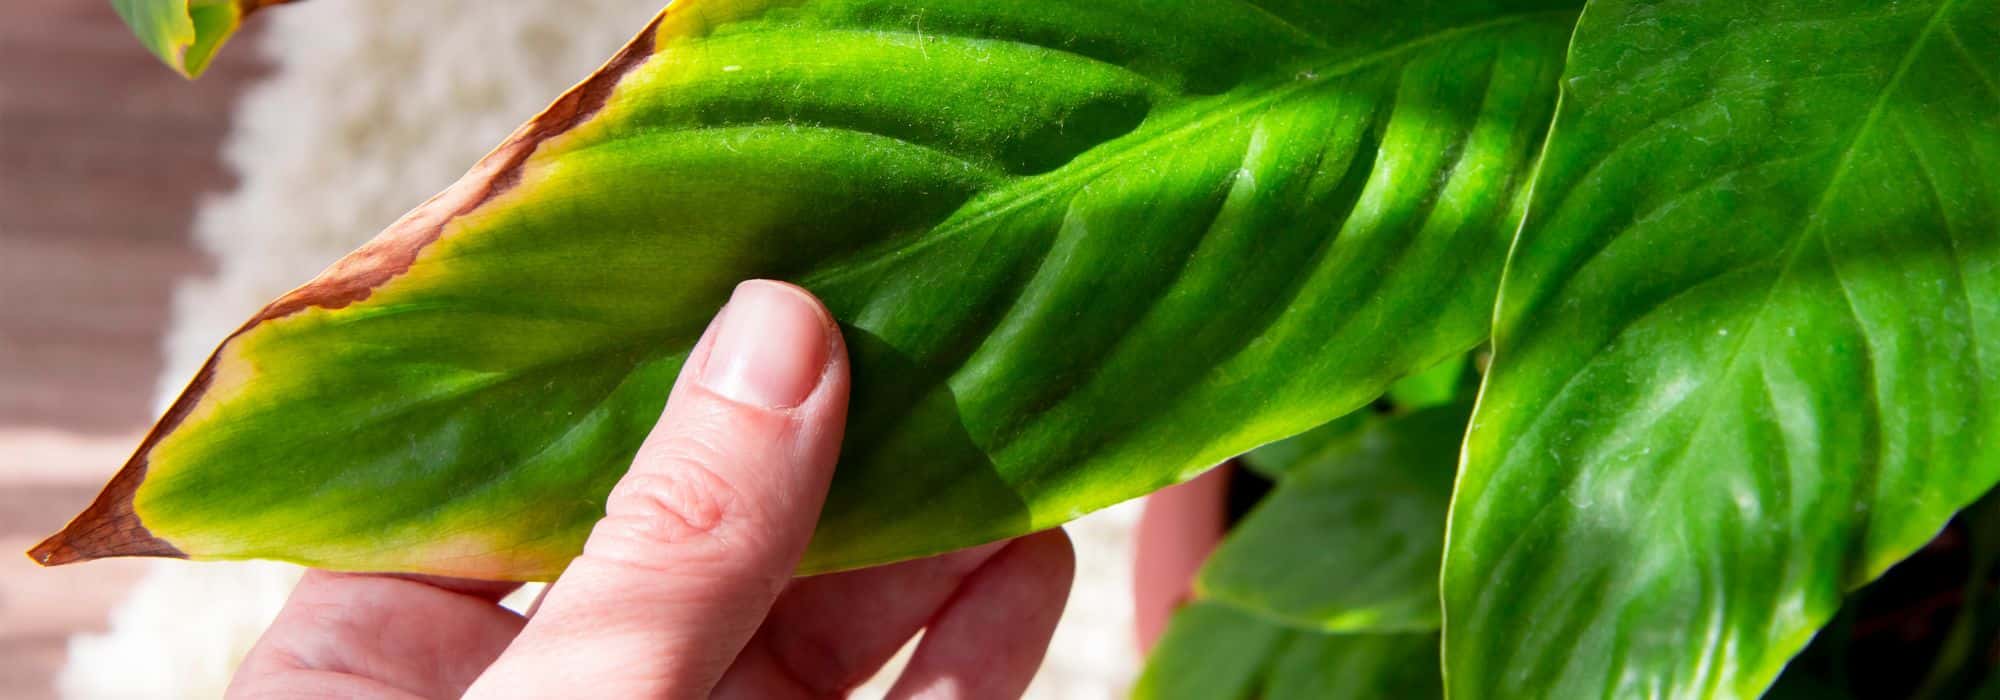
- The yellowing or browning leaves are one of the most common signs. When they yellow uniformly, it is often the result of overwatering that suffocates the roots. Brown or dry edges indicate, on the contrary, a lack of humidity or ambient air that is too dry.
Good to know: If only the oldest leaves yellow, this can also be a natural process linked to the regrowth of foliage. - Soft, drooping stems, accompanied by drooping foliage, reveal root rot or overwatering.
Good to know: for tropical plants sensitive to temperature fluctuations, these symptoms can sometimes appear after a cold snap or a draught. - Pale, dull or discoloured foliage, or a stopped growth, generally signals a lack of light or a nutrient deficiency.
- The appearance of The appearance of small spots, fine white webs or sticky leaves is often linked to pests such as red spider mites, aphids or scale insects.
- An unpleasant-smelling substrate or one that remains waterlogged for several days is a warning sign: it indicates that the roots lack oxygen and risk rotting.
Taking the time to observe these signs not only helps you make an accurate diagnosis, but also enables you to act quickly with the appropriate steps to restart growth and prevent irreparable damage.
Check growing conditions
Before intervening, simply observe your plant and its surroundings.
- Touch the potting mix to assess its moisture. Is it waterlogged? Does it give off a mouldy smell? Conversely, is it too dry and pulling away from the edges of the pot?
- Examine the pot to check for drainage holes at the bottom.
- Check the roots: do they protrude from the bottom of the pot (a sign that repotting is needed)? Are they brown and mushy (a sign of rot)?
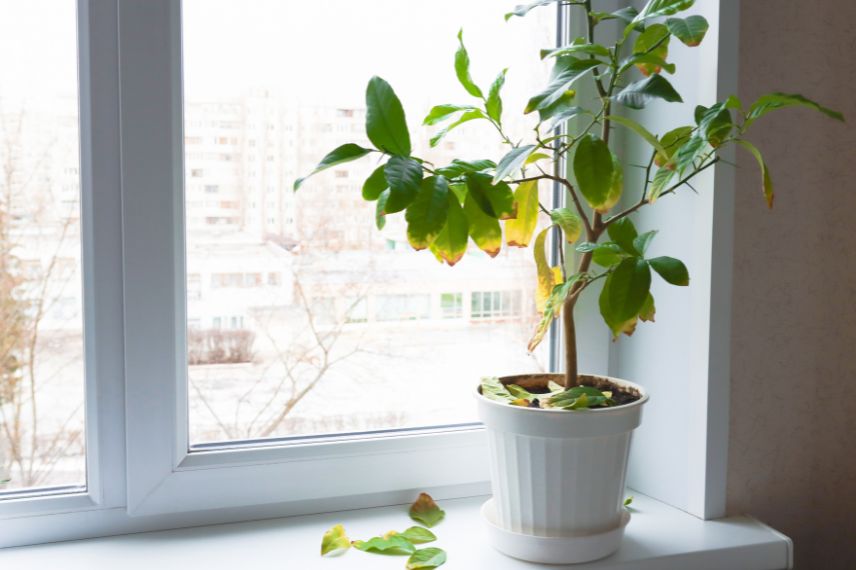
- Check the light exposure: a plant that is too far from a window may lack light. Too close to a south-facing window, it can suffer sunburn due to excess sun. Also check that it is not too close to a door or a window with draughts, nor too close to a heat source (radiator, fireplace).
- Also monitor the ambient temperature and the room’s humidity, which some plants appreciate (for example, ferns love a humid room).
- Inspect the leaves and stems for spots, webs or parasitic pests.
These quick checks will help you get a clearer picture before any treatment.
Simple steps to revive a tired plant
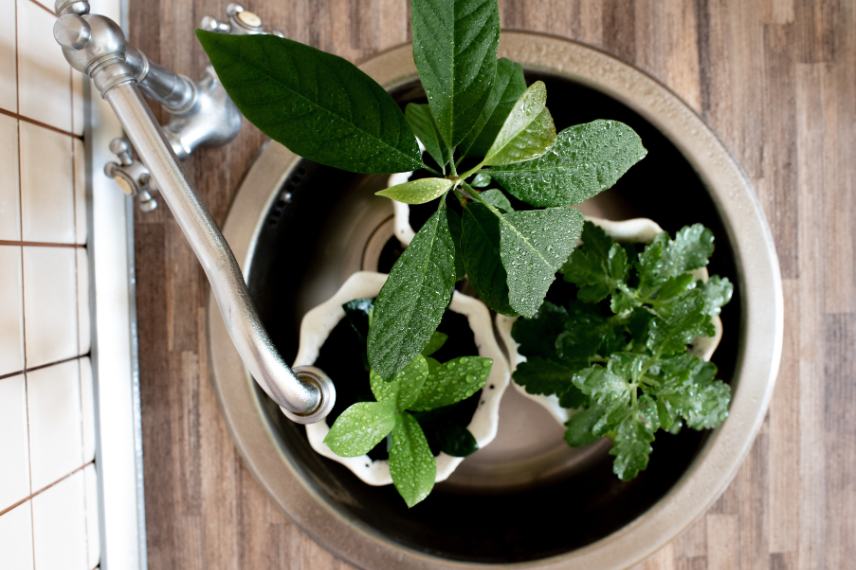
Rehydrating a thirsty plant:
- Place the pot in a basin of water (preferably rainwater).
- Let the root ball soak for 10 to 20 minutes, until the air bubbles stop rising.
- Then remove the pot, allow it to drain for a few minutes, and place the young plant back in a bright spot, but out of direct sunlight, to avoid further stress.
- After 24 hours, if the foliage has firmed up again, you can return it to its original place and resume normal, measured watering.
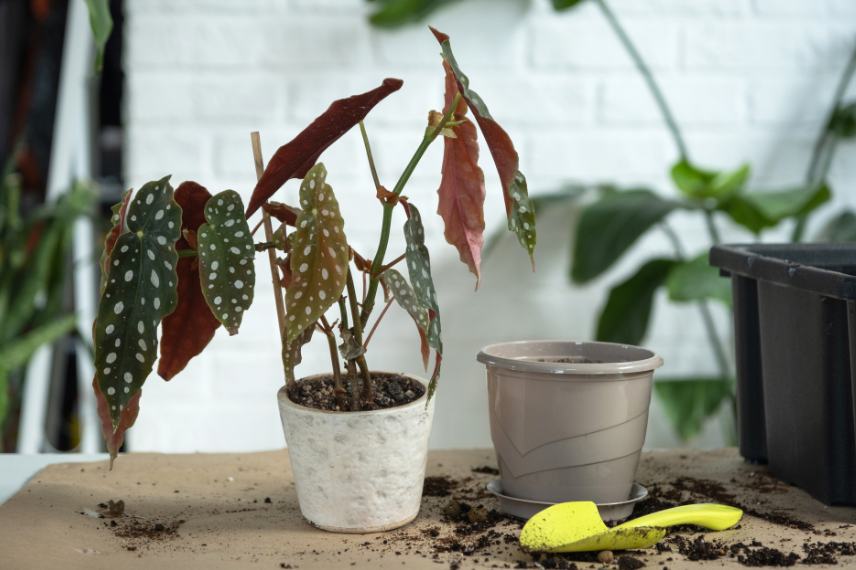
Recovering a young plant after overwatering:
If your young plant has suffered from overwatering, you’ll need to repot it first.
- Gently remove the young plant from its pot.
- Remove the waterlogged soil and cut away any soft or brown roots.
- Then leave the root ball to dry for 2 to 3 hours in the open air.
- Empty the pot, ensure it has proper drainage holes at the bottom. If not, replace it.
- Place at the bottom a layer of gravel or clay pebbles clay pebbles to ensure watering drainage.
- Then repot the young plant into a fresh special potting mix for green plants, enriched with perlite or coarse sand. You can also add a little coconut fibre or vermiculite to improve the lightness of the mix.
- After repotting, wait 3 to 5 days before watering again, to allow the roots to heal and establish in the new substrate. During this period, place the young plant in a bright spot, but not in direct sunlight.
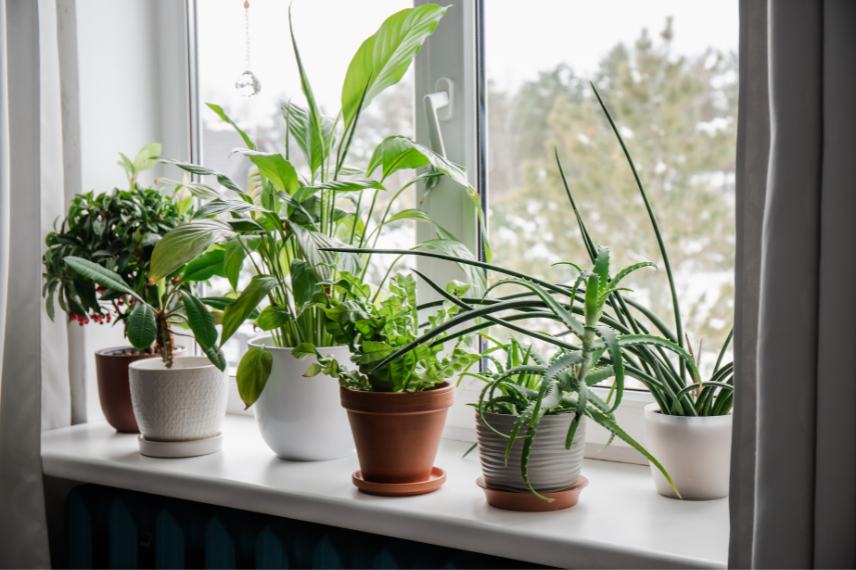
Providing better light exposure for your green plants:
- If your plant seems to be suffering from exposure, move it closer to an east- or west-facing window, or move it to another room to provide suitable light.
- If the plant is near a south-facing window and is suffering from too much light (its leaves appear scorched), move it a metre away or install a light veil at the window to soften the sun’s rays. You can also move it to another room.
- In winter, a horticultural lamp can compensate for the lack of light in dim rooms (often north-facing).
- Finally, keep your plants away from heat sources (radiators, fireplaces, etc.) and away from draughts (near an entrance door, air conditioner, etc.).
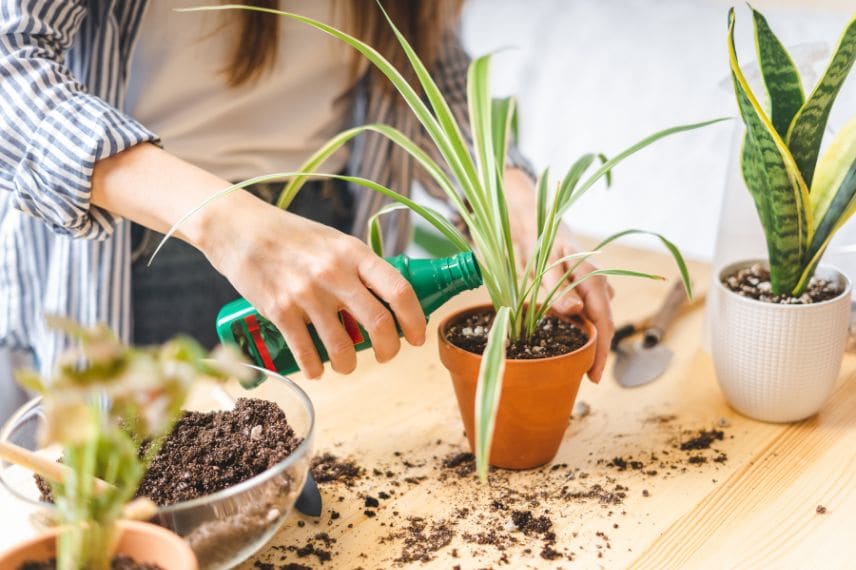
Restoring nutrients :
Generally, a green plant stops growing when the nutrients in its potting mix are exhausted. To help it, apply a liquid fertiliser for green plants, diluted in the water you use to water it, to stimulate growth in spring or summer. Repot your indoor plants every 2 to 3 years, in fresh and suitable potting mix, to renew completely their nutrient reserves. For more information, read our article “How to repot a houseplant?“.
Good to know : If the pot is too large to be repotted, perform top-dressing: gently remove the top centimetres of surface substrate and replace with fresh, nutrient-rich potting mix.
Pruning damaged parts :
Carefully remove all yellowed, brown or soft parts using a clean pruning shear. Cut just above a healthy node (the junction of the stem and leaves) or a young shoot to promote healing and stimulate the formation of vigorous new stems. This prevents the green plant from wasting energy.
Good to know : A light pruning each year, typically in early spring, also promotes new growth and improves light penetration.
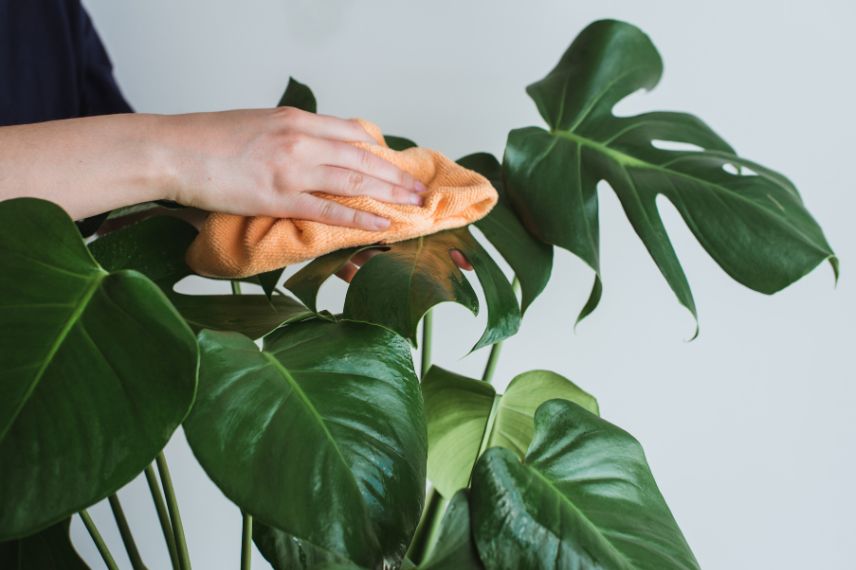
Cleaning the foliage :
Every month, dépoussiérez les feuilles de votre plante verte, on the top and bottom, with a softly damp cloth. This step helps the plant breathe, enhances the photosynthesis and gives it glossy, healthy foliage.
Monitoring and treating pests :
Regularly inspect the leaves and stems for small spots, fine webs or a sticky texture—signs of mealybugs, red spider mites or aphids. At the first sign of infestation, spray a gentle soapy-water solution and isolate the plant while it recovers. This vigilance helps prevent the problem from spreading to other plants. For more information, read our articles: “Mealybug: identification and treatment“, “How to get rid of aphids on indoor plants?” and “Red spider mite: identification and treatment“.
- Subscribe!
- Contents

Comments