


Bringing a thoroughly tropical exuberance to a living room, the indoor palms grown as potted houseplants become majestic. As with other plants brought into the home, they should be repotted every two to three years to ensure healthy development.
How and when? We explain everything you need to know to repot an indoor palm easily, without damaging it.
Types of indoor palms
By indoor palm we mean those very trendy plants that form a mini palm in a pot at home, while they reach large dimensions in their natural range, generally tropical zones. This includes classic Kentia, Areca lutescens or Dypsis, most commonly sold in garden centres, but also Chamaedorea elegans, Rhapis excelsa, Washingtonia robusta, Pritchardia, the very graphic Licuala grandis, etc.
When to repot an indoor palm?
We always recommend early spring for repotting; this applies to all types of plants. It is the time when the days lengthen and plants gradually come out of their winter rest to resume growth.
However it is possible to transplant an indoor palm later in the year, avoiding very hot or very cold days and the depth of winter.
Repotting is done especially for young specimens or as soon as the roots fill the pot and begin to emerge through the drainage holes. The frequency of repotting is generally 2 to 3 years for most species.
Where to repot an indoor palm?
You need a bit of space to repot this type of plant, especially once it has reached a substantial size. If it is placed in a conservatory or winter garden, that is ideal as you have room. An indoor palm often has its place in the living room. You can repot it there if you lay down a large drop sheet to avoid staining or damaging a wooden floor. You can also repot it on an outdoor terrace on a fine spring day.
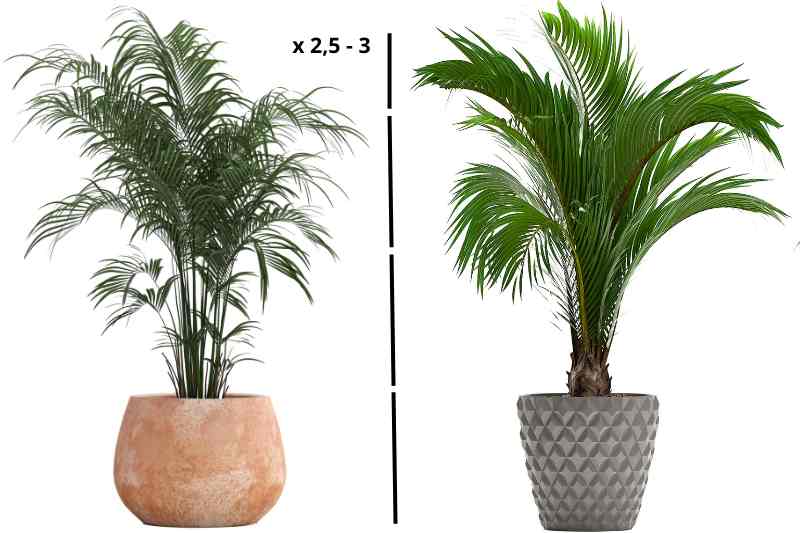
For the size of the new pot, it should be about one quarter of the plant's height to ensure good stability. Choose one roughly 5 cm wider than the previous pot, a little more for very large palms.
How to repot an indoor palm in 5 steps?
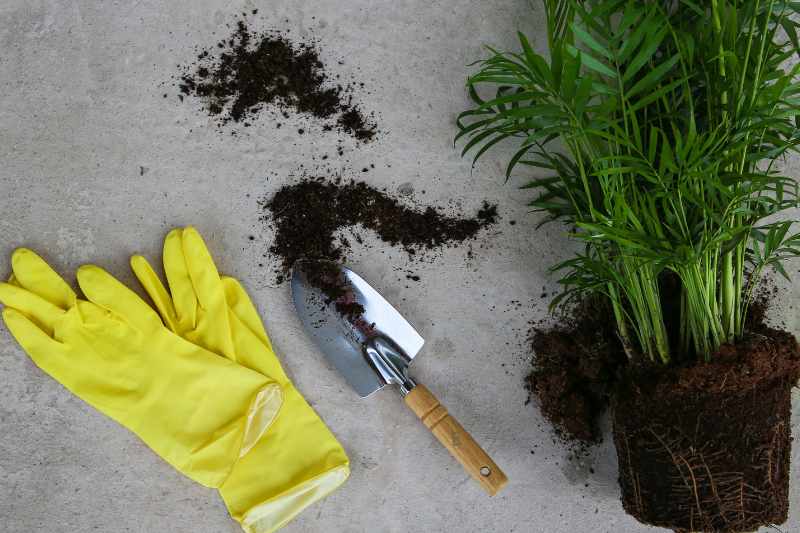
Materials to prepare
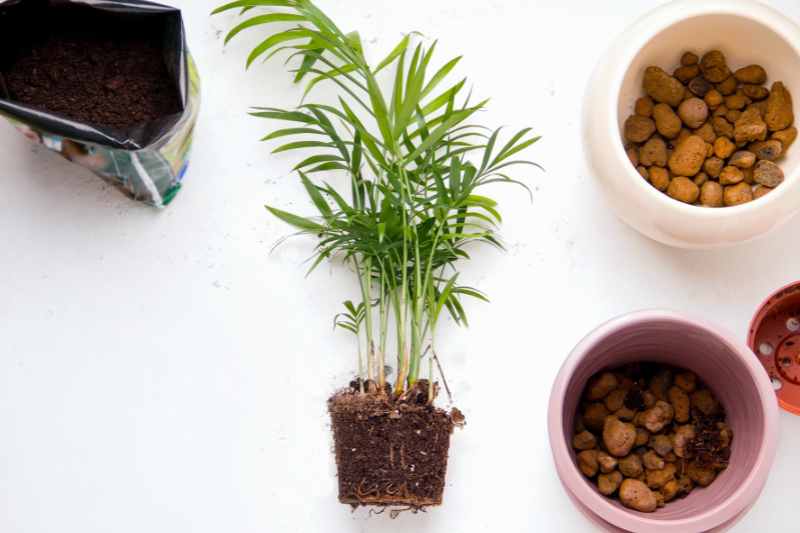
- New, larger pot with drainage holes in the base
- Suitable substrate for each species, often made from potting compost for palms or universal compost + coarse sand + perlite and heather soil for most palms
- Clay pebbles
- Watering can
- Drop sheet for large palms
The method follows that for repotting large houseplants, for which I give a precise technique in the case of large specimens in How to repot large houseplants without damaging them?, namely :
- Begin by thoroughly moistening the rootball by watering the palm the day before (or two days before).
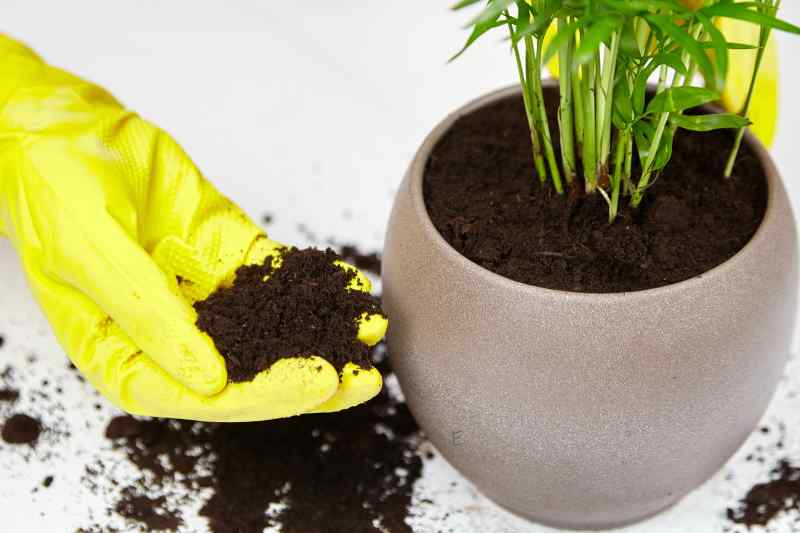
- Prepare the substrate mix which must be well draining;
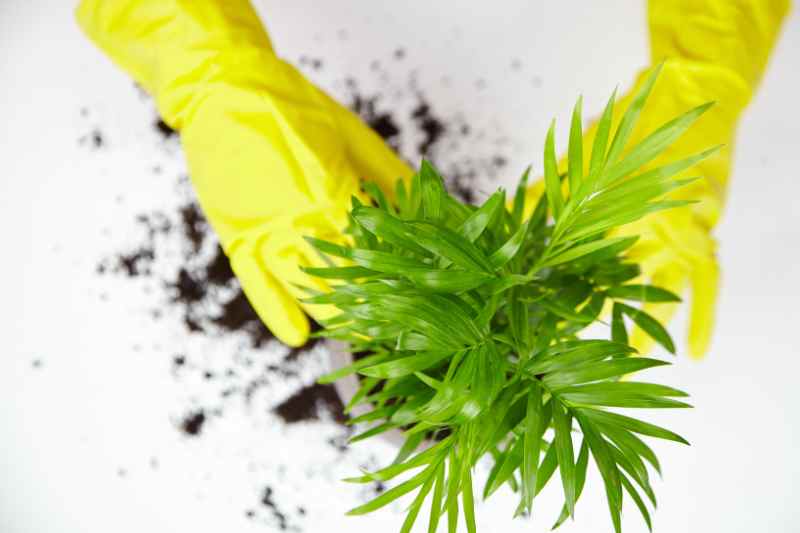
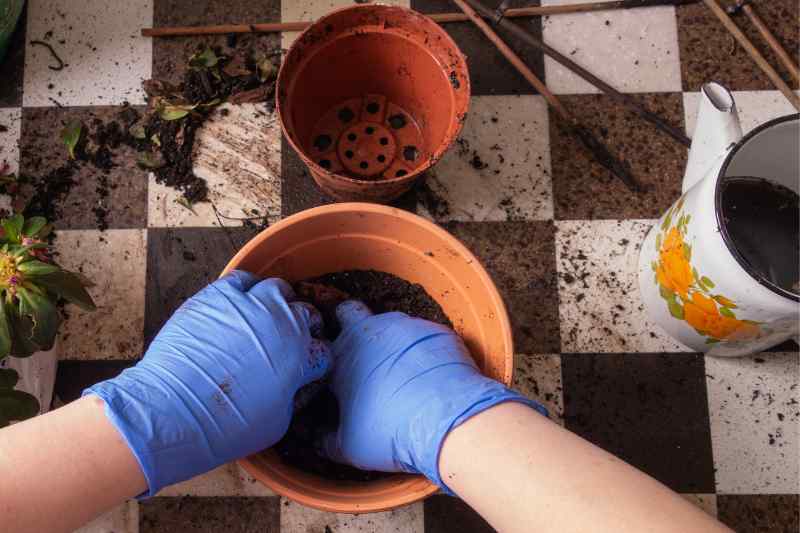
- Remove the palm from its pot. If it will not come free, use a blunt knife to run around the pot. If it still resists, you will have to sacrifice the plastic pot or break the terracotta pot…
- Check the root condition, and tease out the roots with a fork if a root-bound mass has formed; avoid touching the large roots and only cut with pruning shears the black or soft roots, signs of rot. Remove some of the old substrate that is no longer nutritive (it is easy to scrape away from around and above the rootball);
- Install a drainage layer (clay pebbles) a few centimetres deep in the bottom of the new pot (at least 3 cm for a young specimen);
- Fill one third of the pot with the substrate mix;
- Place your plant's rootball so that the collar – the point where the leaves start – is almost level with the rim of the pot;
- Top up with the substrate mix, firming gently around the palm without compacting: soil level should be about 2 cm below the rim of the pot;
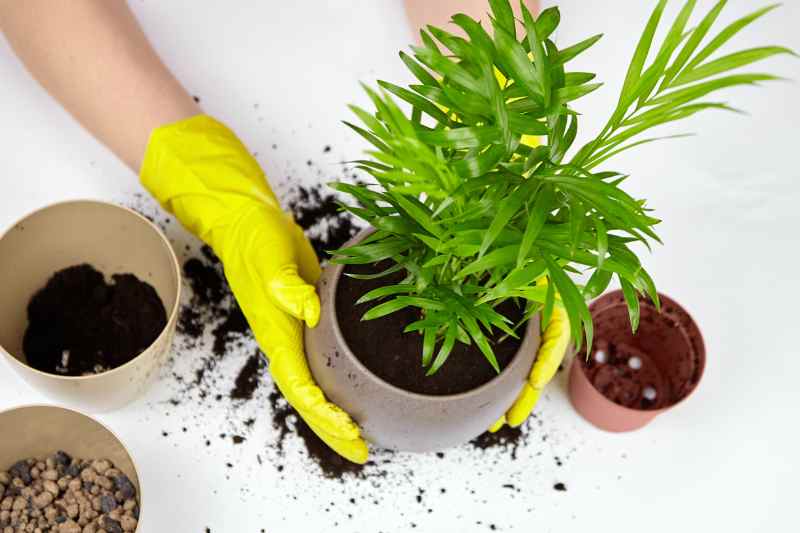
- Place the plant on a saucer;
- Water thoroughly, using rainwater at room temperature, slowly. The soil will settle with the first waterings;
- Remove the saucer after 30 minutes to allow the plant to drain, and place the pot inside the new decorative outer pot;
- Return the plant to the same spot (out of direct sun for the first few days) to avoid further disturbance as repotting is stressful;
- Wait at least three weeks before applying any liquid fertiliser for palms (or fertiliser for houseplants rich in magnesium and potassium);
- Resume seasonal care for your palm, each species having specific needs. For Areca, read Pascale's advice in Areca: what care is required through the seasons?


Comments