When planting a tree or shrub, you may be tempted to dig a large hole and fill it with good soil. Yet this attention can backfire on the plant! To avoid the flower-pot effect, it is better to dig wider than deep, loosen the sides and mainly retain the garden soil. This allows the roots to spread freely into the surrounding soil. Here is how to prepare a planting hole without confining the roots, even in clay soil.
What is the flower-pot effect and why does it occur?
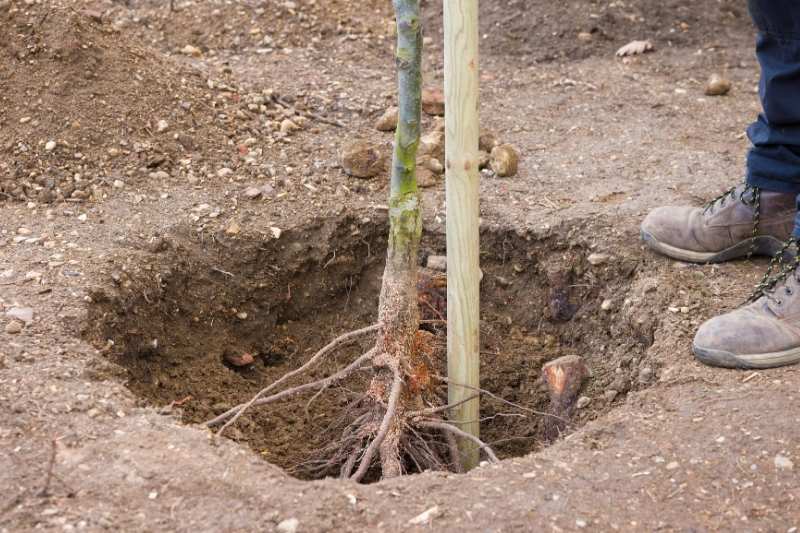
We speak of the flower-pot effect when roots remain confined to the planting hole instead of exploring the surrounding soil. When faced with smooth, hard or compacted sides, roots may follow the edges and eventually grow round and round, as they would in a pot.
This phenomenon occurs mainly in heavy or clay soils, particularly when they are worked while too wet. Backfill soil (potting compost) that is much looser than the garden soil can also make the problem worse, as roots will prefer to remain in this softer substrate rather than make the difficult effort of pushing through. The result is limited root development, sometimes slower growth and a plant that is more sensitive to drought.
How do you prepare a planting hole without creating a flower-pot effect?
With a spade, shovel, garden fork, hand cultivator and watering can, you have everything you need. Here is how to prepare a planting hole that encourages root development.
Step 1: examine the soil before digging the planting hole
Before taking out your spade, take the time to examine your soil. When it is wet, clay soil sticks to tools, whereas sandy soil crumbles easily.
If the ground is waterlogged, it is better to wait. Working soil that is too wet risks compacting it further and creating smooth sides. The ideal time to dig is when the soil has drained, meaning that it is still cool but no longer sticky.
Step 2: dig a hole wider than it is deep
For a tree or shrub, allow for a hole two to three times wider than the rootball, but no deeper than the height of the rootball. Roots mainly need room to spread sideways. Also keep the base firm enough to prevent the rootball from sinking after planting, which could bury the root collar.
Should you dig a round or square hole? There is no need to make things complicated! A scientific study published in 1995 in the Journal of Arboriculture compared different planting-hole shapes, without finding any one shape clearly better than the others for the establishment of young oaks. The important thing is to prepare the soil around the rootball properly.
Step 3: break up smooth and compacted sides
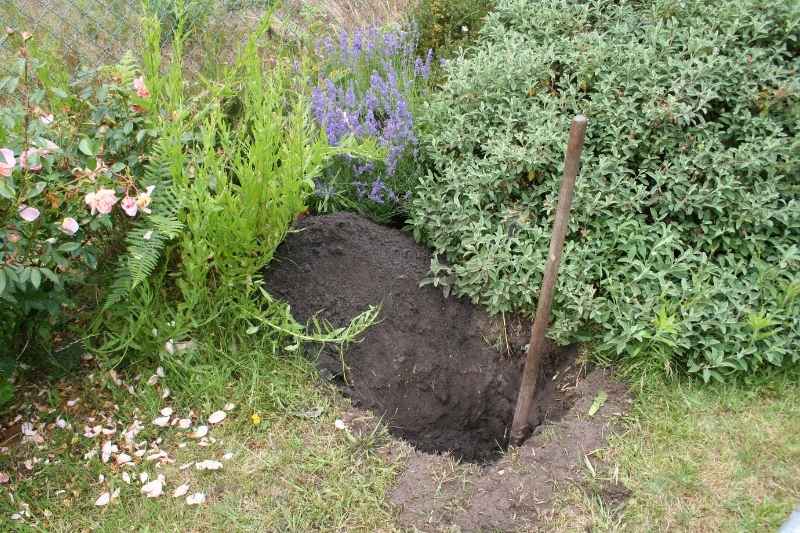
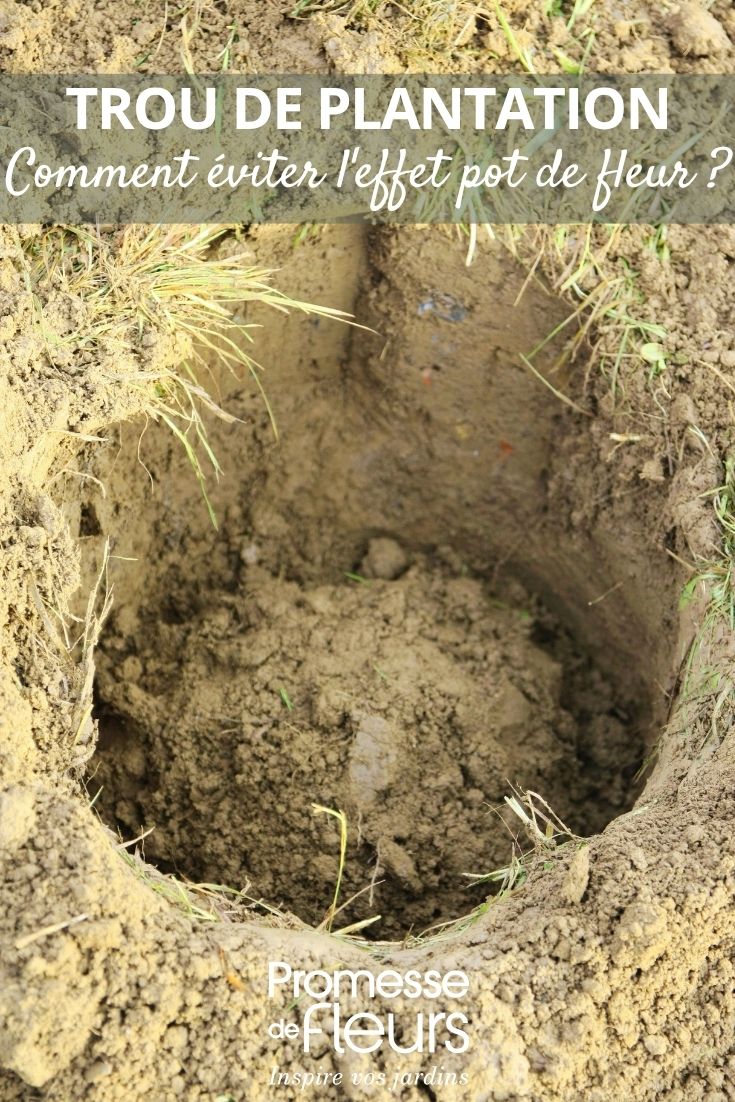
Once the hole has been dug, take care to loosen the sides, especially if your soil is heavy or clay-based. When digging with a spade, the sides of the hole can become smooth and compacted, forming a barrier that young roots struggle to cross. They may then remain confined to the hole instead of developing in the surrounding soil.
Using a garden fork or hand cultivator, scratch and loosen the sides deeply to break up this hard and smooth surface. The roots will then be able to penetrate the garden soil more easily and develop there.
Step 4: retain the original soil for backfilling the hole
You might think that a hole filled with potting compost would be ideal for roots. Not necessarily! Backfill soil with a consistency that is too different from the garden soil can create a pocket that encourages root confinement.
So mainly reuse the soil removed from the hole, but do not hesitate to improve it if its nature requires it or according to the plant's needs:
- In heavy or clay soil: mix it with a little well-rotted compost or a little potting compost to loosen it and encourage root development. Use two-thirds original soil and no more than one-third soil improver.
- If your soil is poor: you can add a little mature compost, preferably at the surface, rather than concentrating soil improvers in the planting hole.
- For plants that dislike damp conditions: adding pozzolana or grit mixed into the soil can also be considered.
In all cases, avoid replacing all the garden soil with potting compost: the aim is to improve the soil without creating a pocket that is too different from the surrounding ground.
Step 5: check the plant's roots and position the rootball
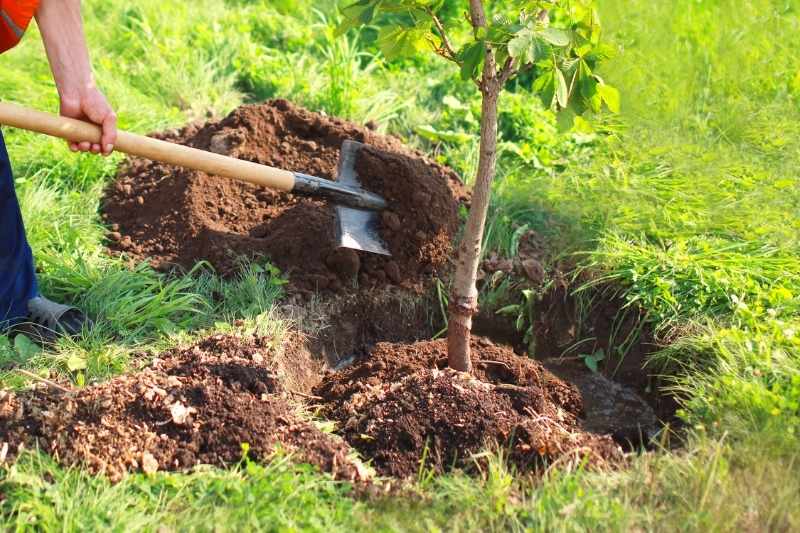
Before planting, take a look at the roots. If they have formed a root-bound mass, meaning that they are circling around inside the pot, gently tease them out.
Then place the rootball in the planting hole, taking care not to bury the root collar in the soil.
Step 6: backfill, water and mulch
Gradually replace the soil around the rootball and firm it lightly to remove large air pockets. Water generously after planting.
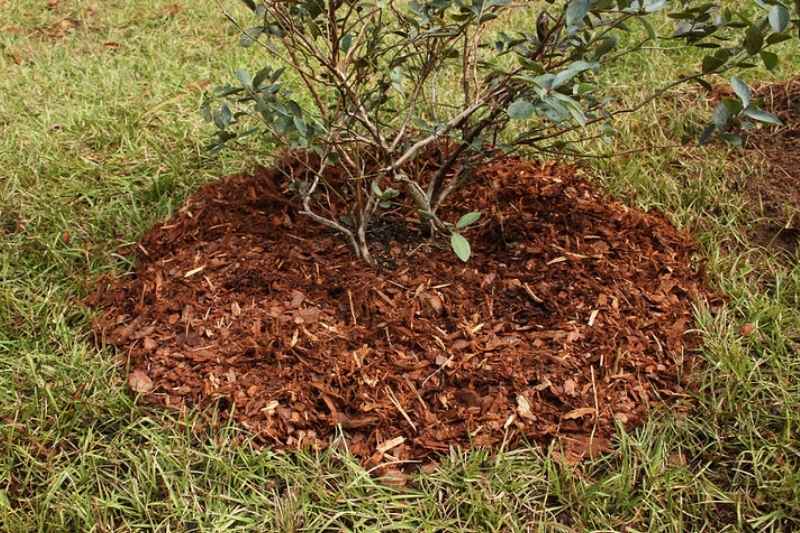
Spread a layer of 5 to 8 cm of organic mulch (straw, hay, wood chippings, ramial chipped wood, etc.), leaving around 10 cm clear around the trunk to prevent moisture from building up against the bark.
For the first two years, check the soil moisture regularly, especially during hot, dry weather. If the soil begins to dry out a few centimetres below the surface, water thoroughly, but do not leave it waterlogged.
How do you avoid the bathtub effect in a clay-soil planting hole?
In clay soil, another problem can arise: the bathtub effect. When the soil is very compact and poorly permeable, rainwater infiltrates the planting hole but struggles to drain into the surrounding soil. It eventually stagnates around the roots, which may then become starved of oxygen.
You might be tempted to place a layer of gravel at the bottom of the hole to improve drainage. But if the water cannot escape, the gravel solves nothing: the hole remains a real bathtub!
To avoid this problem, it is better to improve the soil structure over a wider area by incorporating one-third potting compost and compost. And if your ground remains regularly waterlogged, opt for planting on a raised mound, which will help water drain away and keep some of the roots above the wettest area.
Finally, in naturally damp ground, the simplest option may sometimes be to choose trees and shrubs suited to these conditions.


































Comments