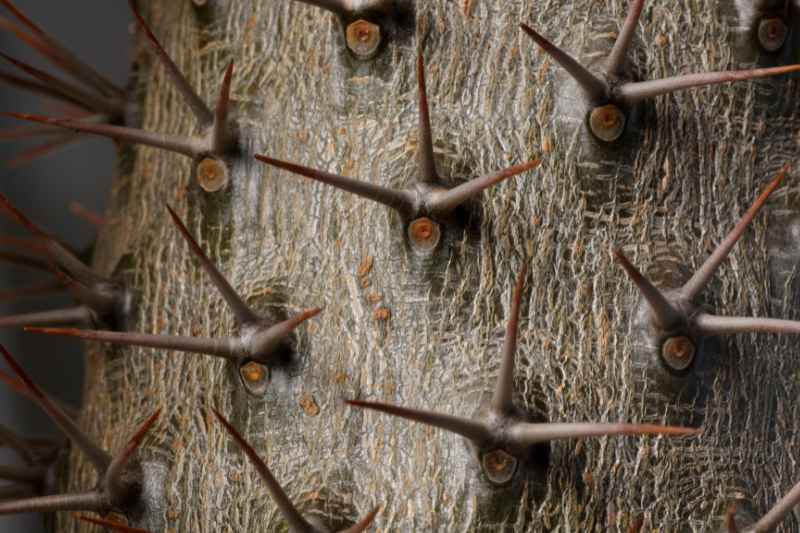
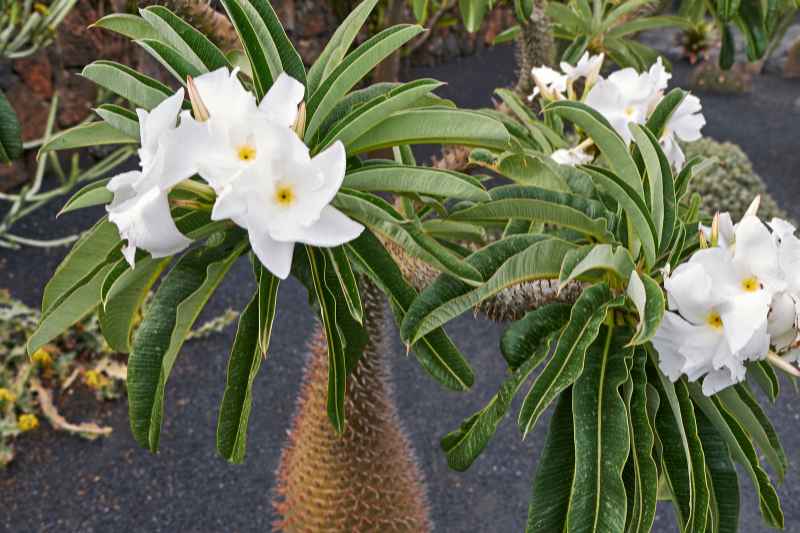
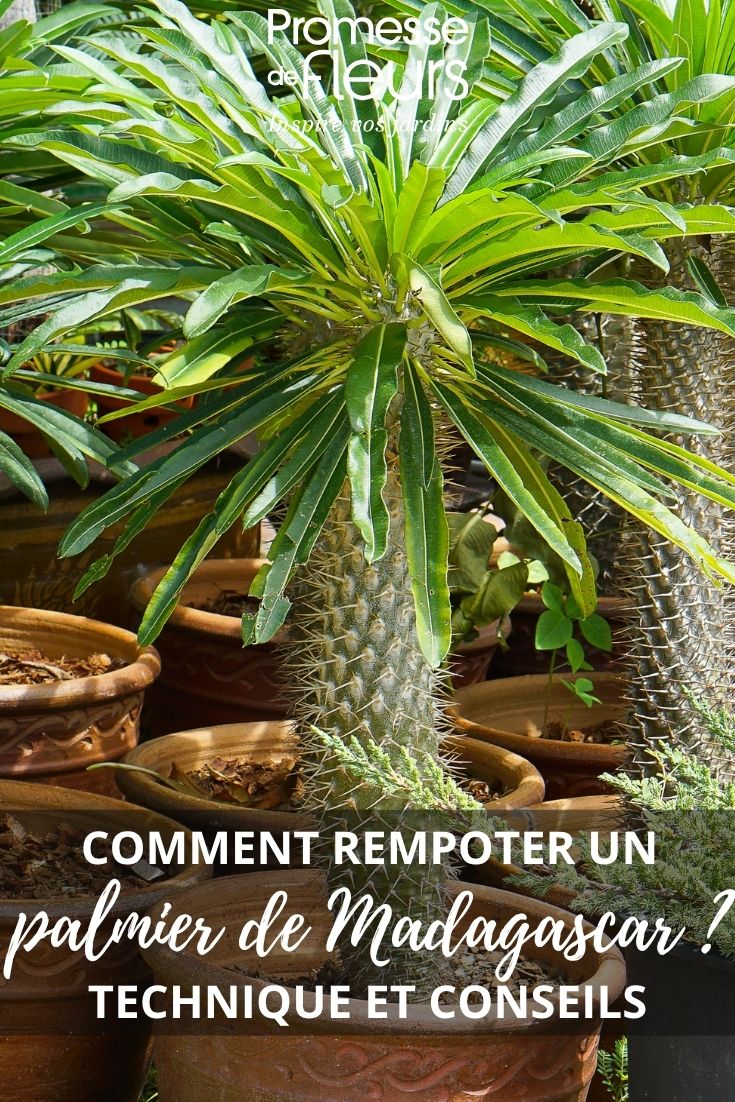
Despite its palm-like appearance and its confusing vernacular name, the Madagascar palm (Pachypodium lamerei) is a succulent plant from the Apocynaceae family. It is distinguished by its thick, fleshy stem, topped with a bouquet of deciduous leaves, and especially by its prickles arranged along the false trunk. This protection is certainly effective against herbivores in its natural habitat, but it makes handling very painful. Our advice on handling the Madagascar palm as safely as possible when repotting it.
Gathering the equipment
Before you even repot your Madagascar palm, you need to organise yourself carefully and gather all the equipment you need. The slightest wrong move can have painful consequences, as the prickles of Pachypodium lamerei can pierce ordinary protective materials.
- Protective gloves are absolutely essential. However, simple fabric or soft leather gardening gloves are not enough, as the prickles will easily penetrate them. You must therefore use extremely thick gloves designed for handling, or specific gloves for pruning roses or handling cacti.
- To handle the trunk without pricking yourself, you will need to protect it. The trick is to use several layers of newspaper or a piece of flexible cardboard. Simply wrap them around the stem to create a thick protective layer that the prickles cannot penetrate.
- You should also prepare the new pot, with drainage holes in the bottom, and 3 to 5 cm wider than the previous one. An excessively large volume of compost would retain moisture for too long after watering, causing fatal root rot. Choose a terracotta pot, a material that encourages water evaporation and is heavier for large palms. Obtain a bag of clay pebbles or pouzzolane to improve drainage at the bottom of the pot.
- Finally, prepare a perfectly free-draining growing medium. As a succulent plant, the Madagascar palm does not tolerate stagnant moisture at all. The growing medium should consist of one-third horticultural potting compost and two-thirds free-draining materials such as coarse sand, perlite or pouzzolane.
- A clean, thoroughly disinfected pair of secateurs may be useful.
- Crushed charcoal and a soft-bristled brush may help the tissues to heal.
Preparing the new pot
To repot a Madagascar palm, you need to wait for the right time, between the beginning of spring and the beginning of summer, that is, between March and May. During this period, the plant emerges from its winter dormancy and begins its growth phase. Never repot a Madagascar palm in autumn or winter, as its growth slows down and it may rot.
To find out whether your Madagascar palm really needs repotting, observe it carefully. If the roots are emerging through the drainage holes, the growing medium has become compacted or the plant has stopped growing, repotting is necessary.
Next, prepare the new pot:
- Place a 3 to 5cm layer of clay pebbles or pouzzolane at the bottom of the pot to ensure perfect drainage.
- Cover this drainage layer with the prepared growing medium, adjusting the height so that the palm is exactly at the same level as in the previous pot. If the root collar is buried too deeply, root rot is guaranteed!
Removing the rootball from the old pot
This is certainly the most delicate stage when repotting your Madagascar palm. To make it easier to remove the rootball from its pot, it is advisable to stop watering at least one week before repotting. The growing medium will be dry and will come away from the roots more easily.
Now move on to removing the plant from its pot:
- Put on your protective gloves.
- Wrap your layers of newspaper or your flexible cardboard around the palm's trunk.
- Hold the palm firmly while tilting or laying the pot on its side.
- If the pot is made of plastic, gently tap the outside. If it is terracotta, you can run a knife around the inside of the pot.
- Never pull on the palm's trunk, even if it resists. If the pot is plastic, it is better to cut it open. If it is terracotta, run a blade between the pot and the compost down to the bottom.
- Once the rootball has been freed, rub it with your fingers to remove the old potting compost and allow the roots to relax.
- Using your disinfected secateurs, cut off any dead, damaged, dry or soft roots, or any showing the slightest sign of rot, so that only healthy roots remain.
- You can sprinkle a little crushed charcoal over the cut surfaces to disinfect them.
Planting the palm in its new pot
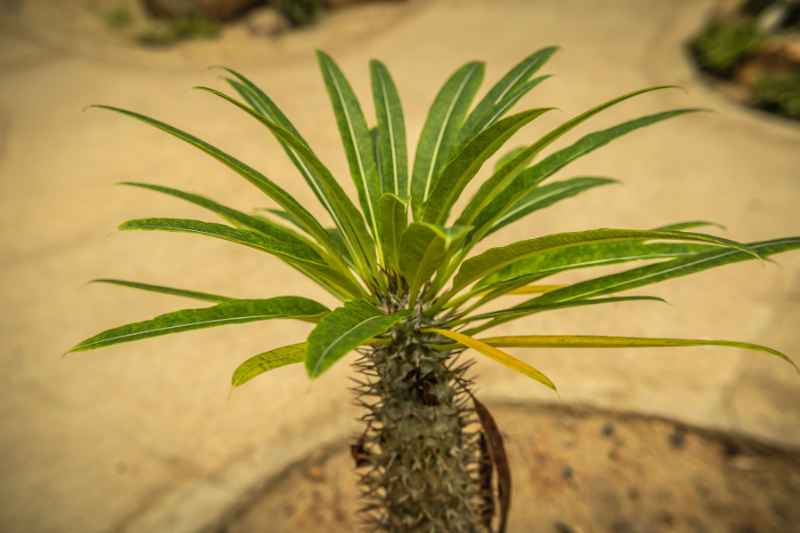
- Place the palm upright in the pot and hold it with one hand using the newspaper or cardboard. With the other hand, fill the pot with the remaining growing medium, tapping it regularly but gently so that the compost settles properly at the bottom.
- Make sure that the base of the trunk is just level with the surface of the growing medium.
- Place small gravel, pouzzolane or coarse sand around the trunk to prevent residual moisture.
- Remove the newspaper and clean the trunk with the brush to remove any soil debris.
- Place your Madagascar palm in a very bright position, but protect it from direct sunlight.
- Wait seven to ten days before watering again.

































Comments